Watch it
Introduction
I recently came across a job I found intriguing. A gentleman was restoring old Citizen chronograph watches and was looking for someone to make some new bezels for him. He was having trouble finding a shop which would take on the quantity and delicacy of the work. It seemed like an intriguing challenge to me, so I contacted him and took a stab at it.
Part
This watch bezel is just under 1 mm thick and about 33 mm wide and 34 mm long.
Material
The customer requested the bezels be made from 6061 Aluminum. I ordered a few plates of 1.5” by 1/16” by 4” aluminum from the local metal supply for initial testing.
Method
My first idea was to adhesive the work plates to a thicker block of material, similar to how John Saunders demonstrated in one of his YouTube videos.
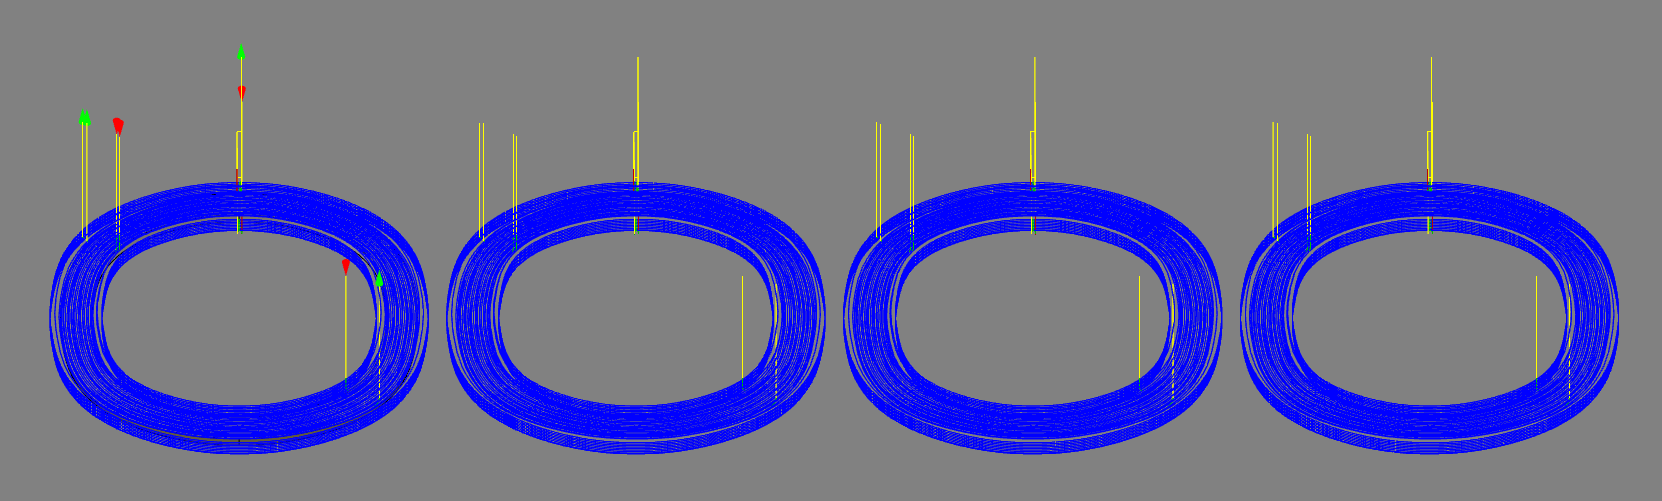
With parts so thin, I was worried that adhesive removal might bend the parts and was curious if an adhesive could be used that would be chemically removed rather than mechanically removed. I did some research on adhesives and debinders and decided to try a few. In the picture below I show some of the adhesives I tried, my clamping method, and one of the clamped parts.

I tried several adhesives. I had a decent rate of success with Loctite Super Glue Professional Liquid. I was getting decent surface finishes with my test parts, but felt I could do better. Based on these findings I felt it was worth trying a few dozen.
One of my curiousities of this method was establishing flatness of the part and getting a proper Z-heigh.
I faced my base material on both sides before gluing the plate to it, and then checked the parallelism of the top of the plate with the XY plane of the mill. I foud it to be acceptably parallel. This means that each part that as I cut out successive parts thickness should be maintained.

In the process of trying to order more material I discovered that the plate my metal supplier had provided was some 5000 series instead of the 6061 requested. I was hopeful that the switch to 6061 would improve my surface finish. When I arrived at the metal distributor to pick up my order I found that they had sheared the 6061 from sheet. This produced material that was not acceptably flat. I opted to order material from McMaster-Carr. I’m happy I did, as McMaster cuts their lengths exceptionally square and leaves a good surface finish.
I measured the thickness of all of my stock and found thicknesses to be very close to eachother, but different between the center and edges of the stock.
I did a series of test parts and measured thickness, then adjusted my Z-offset appropriately by touching off the top face of the plate.

I did some testing of different tools and tool path strategies trying to improve the scrap rate. I found the most success doing roughing, semi-finishing and contouring with a 2 mm 3-flute flat nose end mill and then finishing the top surface with an 8 mm 3-flute ball nose end mill.


I patterned my toolpaths in CAM to be able to do the first three operations on all four parts before switching tools and doing the finishing on all four parts, minimizing tool changes.

Results
After machining I used heat and acetone to debond the adhesive with really good results. The parts came off with a minimum of prying, leaving no gouging, scratches, or adhesive on the parts.


Conclusion
I had quite a bit of difficulty maintaining part thickness between runs. I think part of this problem had to do with the material being different in thickness from the center to the edges. None of my fixture plates were the same thickness, as they were made from scrap jaws. I think I could have done better to face them all down to the same thickness and dial in my part thicknesses without picking up my Z-offset between runs.
Even so, I’m happy with my adhesive and debonding method.