Toyota 4A-G piston metrology part 1
4A-G pistons
I recently did some metrology on some 4A-G pistons. This
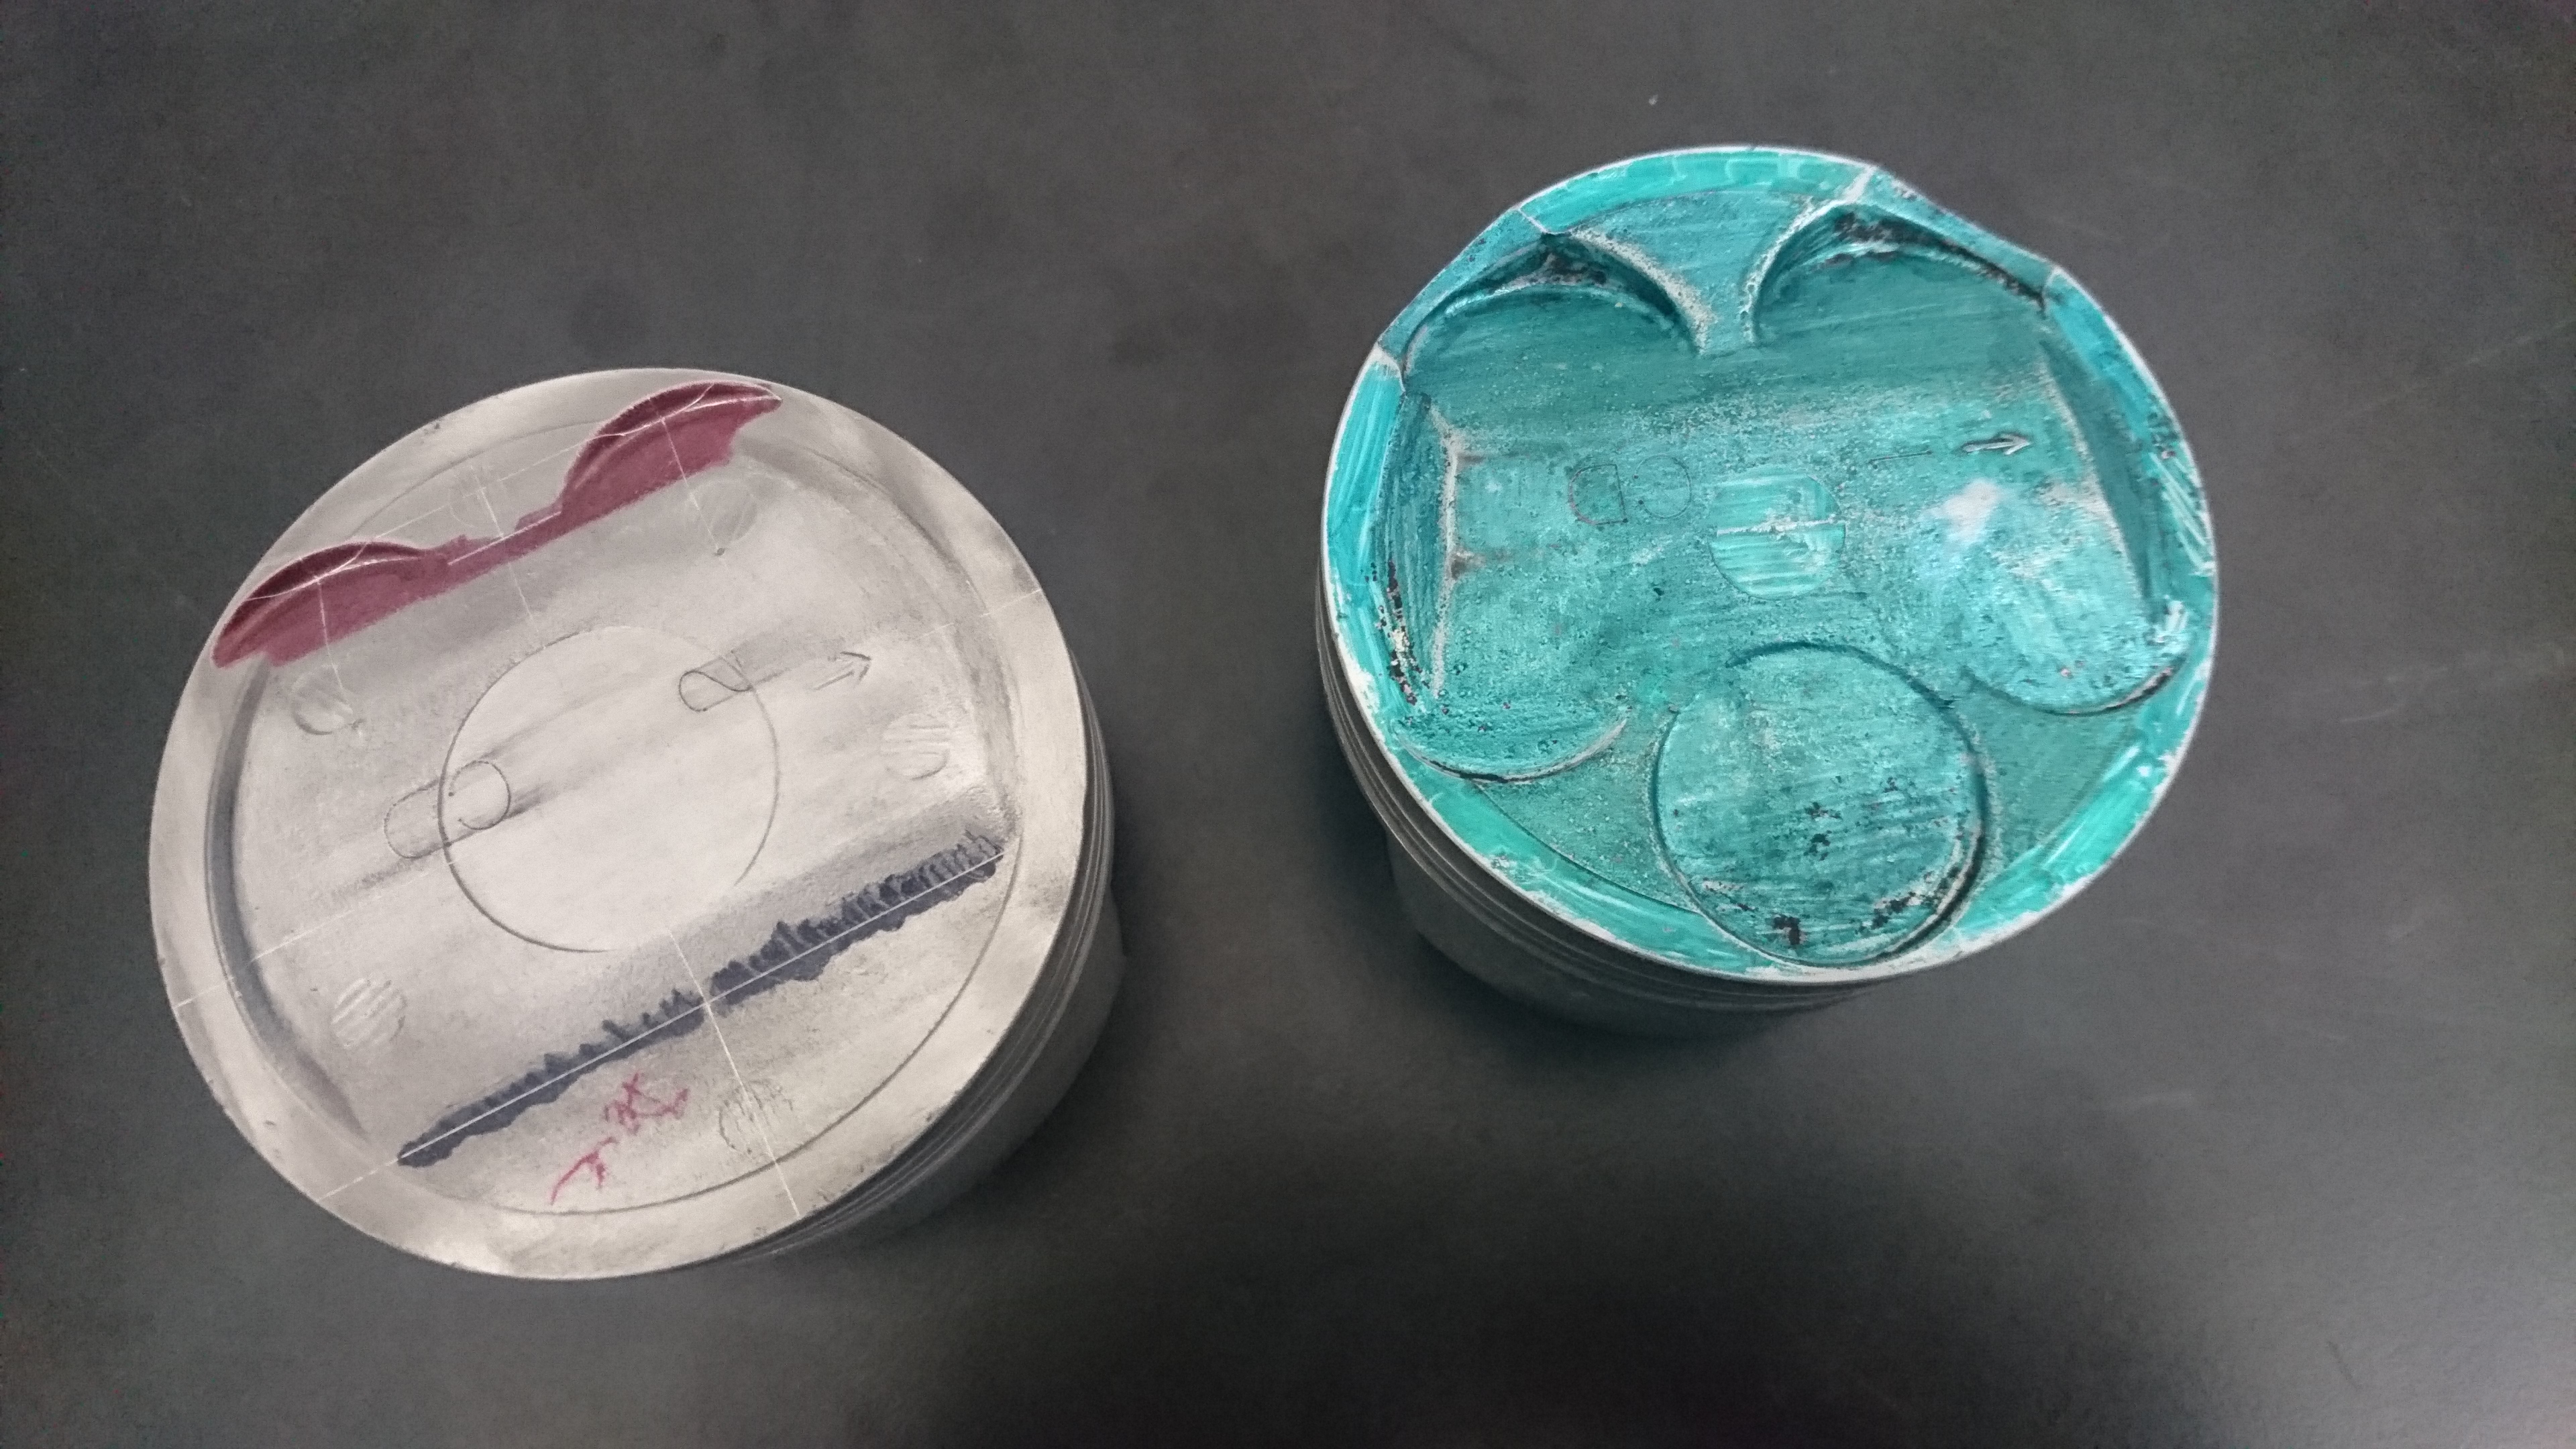
I have an 81.5 mm OEM AE111 piston and an 81 mm OEM AE101 piston.
laser scanning on CMM
First thing I did was scan the pistons using a laser scanning head on a Mitutoyo CMM.
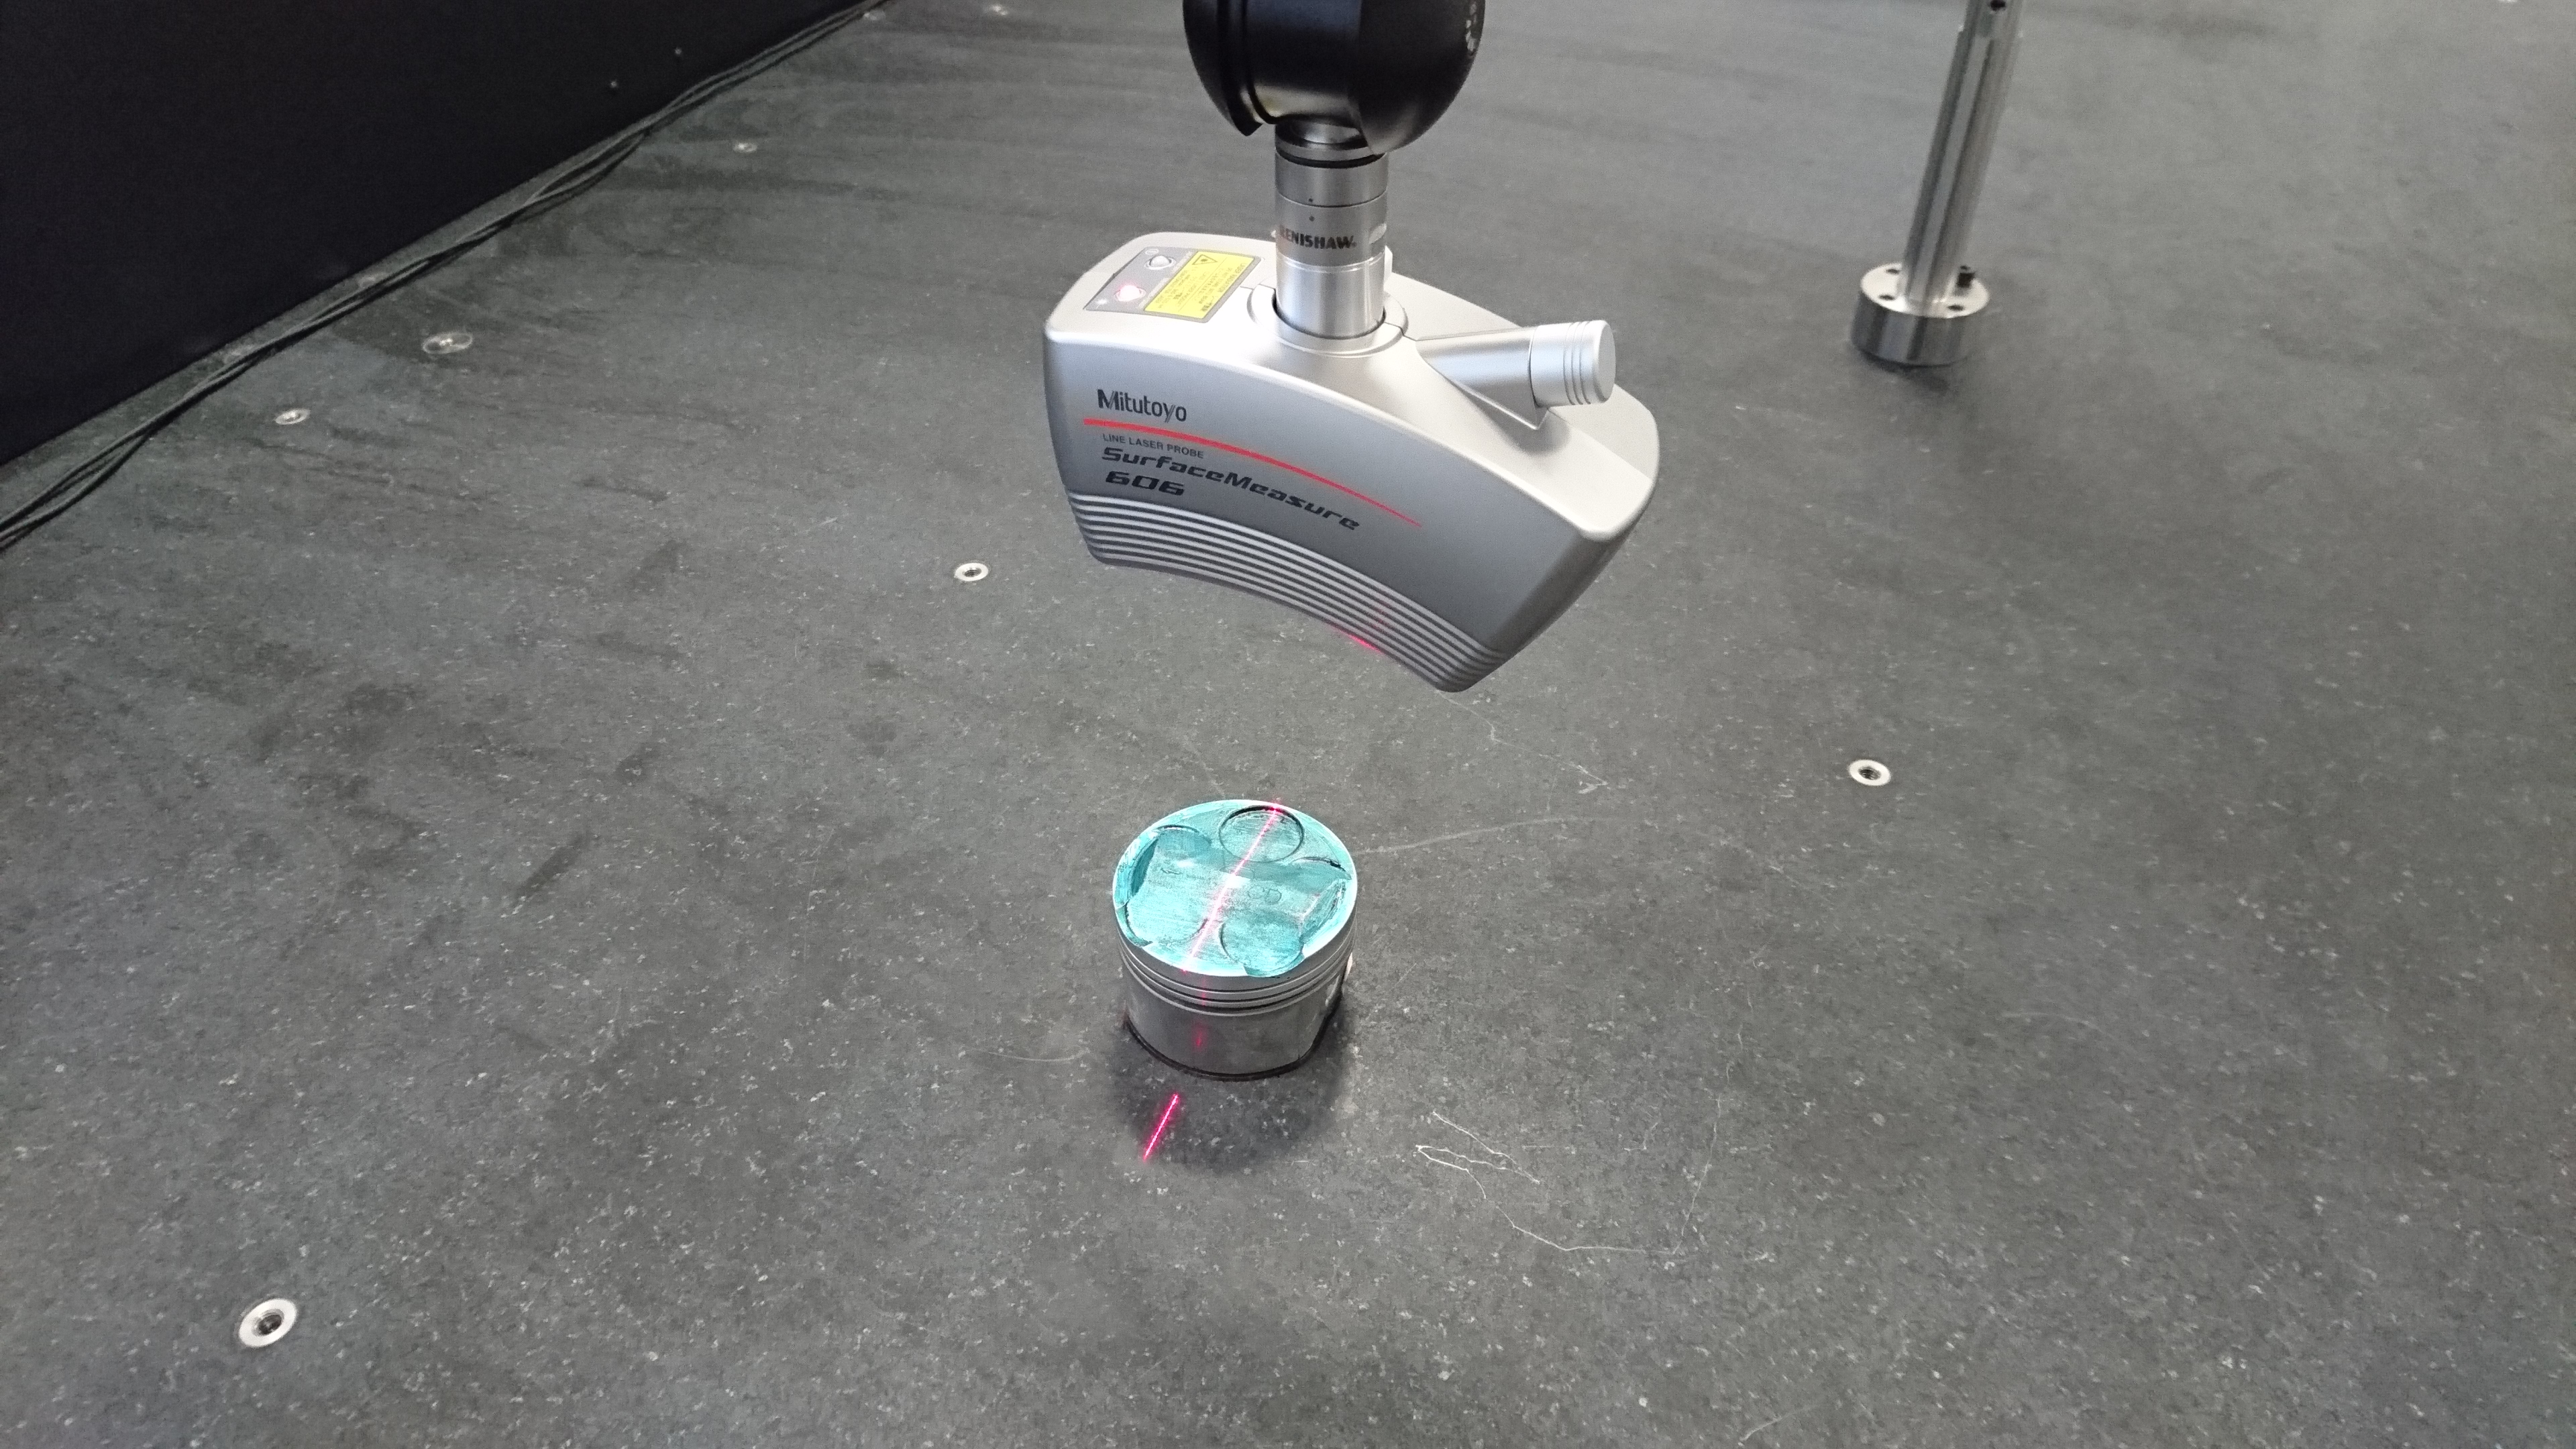 Getting good results with laser scanning or photogrammetry and metal parts usually requires the use of a powder to reduce reflections which would otherwise cause problems. Even so, I normally try without first, just to see how bad it will be. These parts went very well without, so I scanned them as you see them here.
This created a point cloud which I turned into an STL polygon mesh.
point cloud
mesh
contour tracing
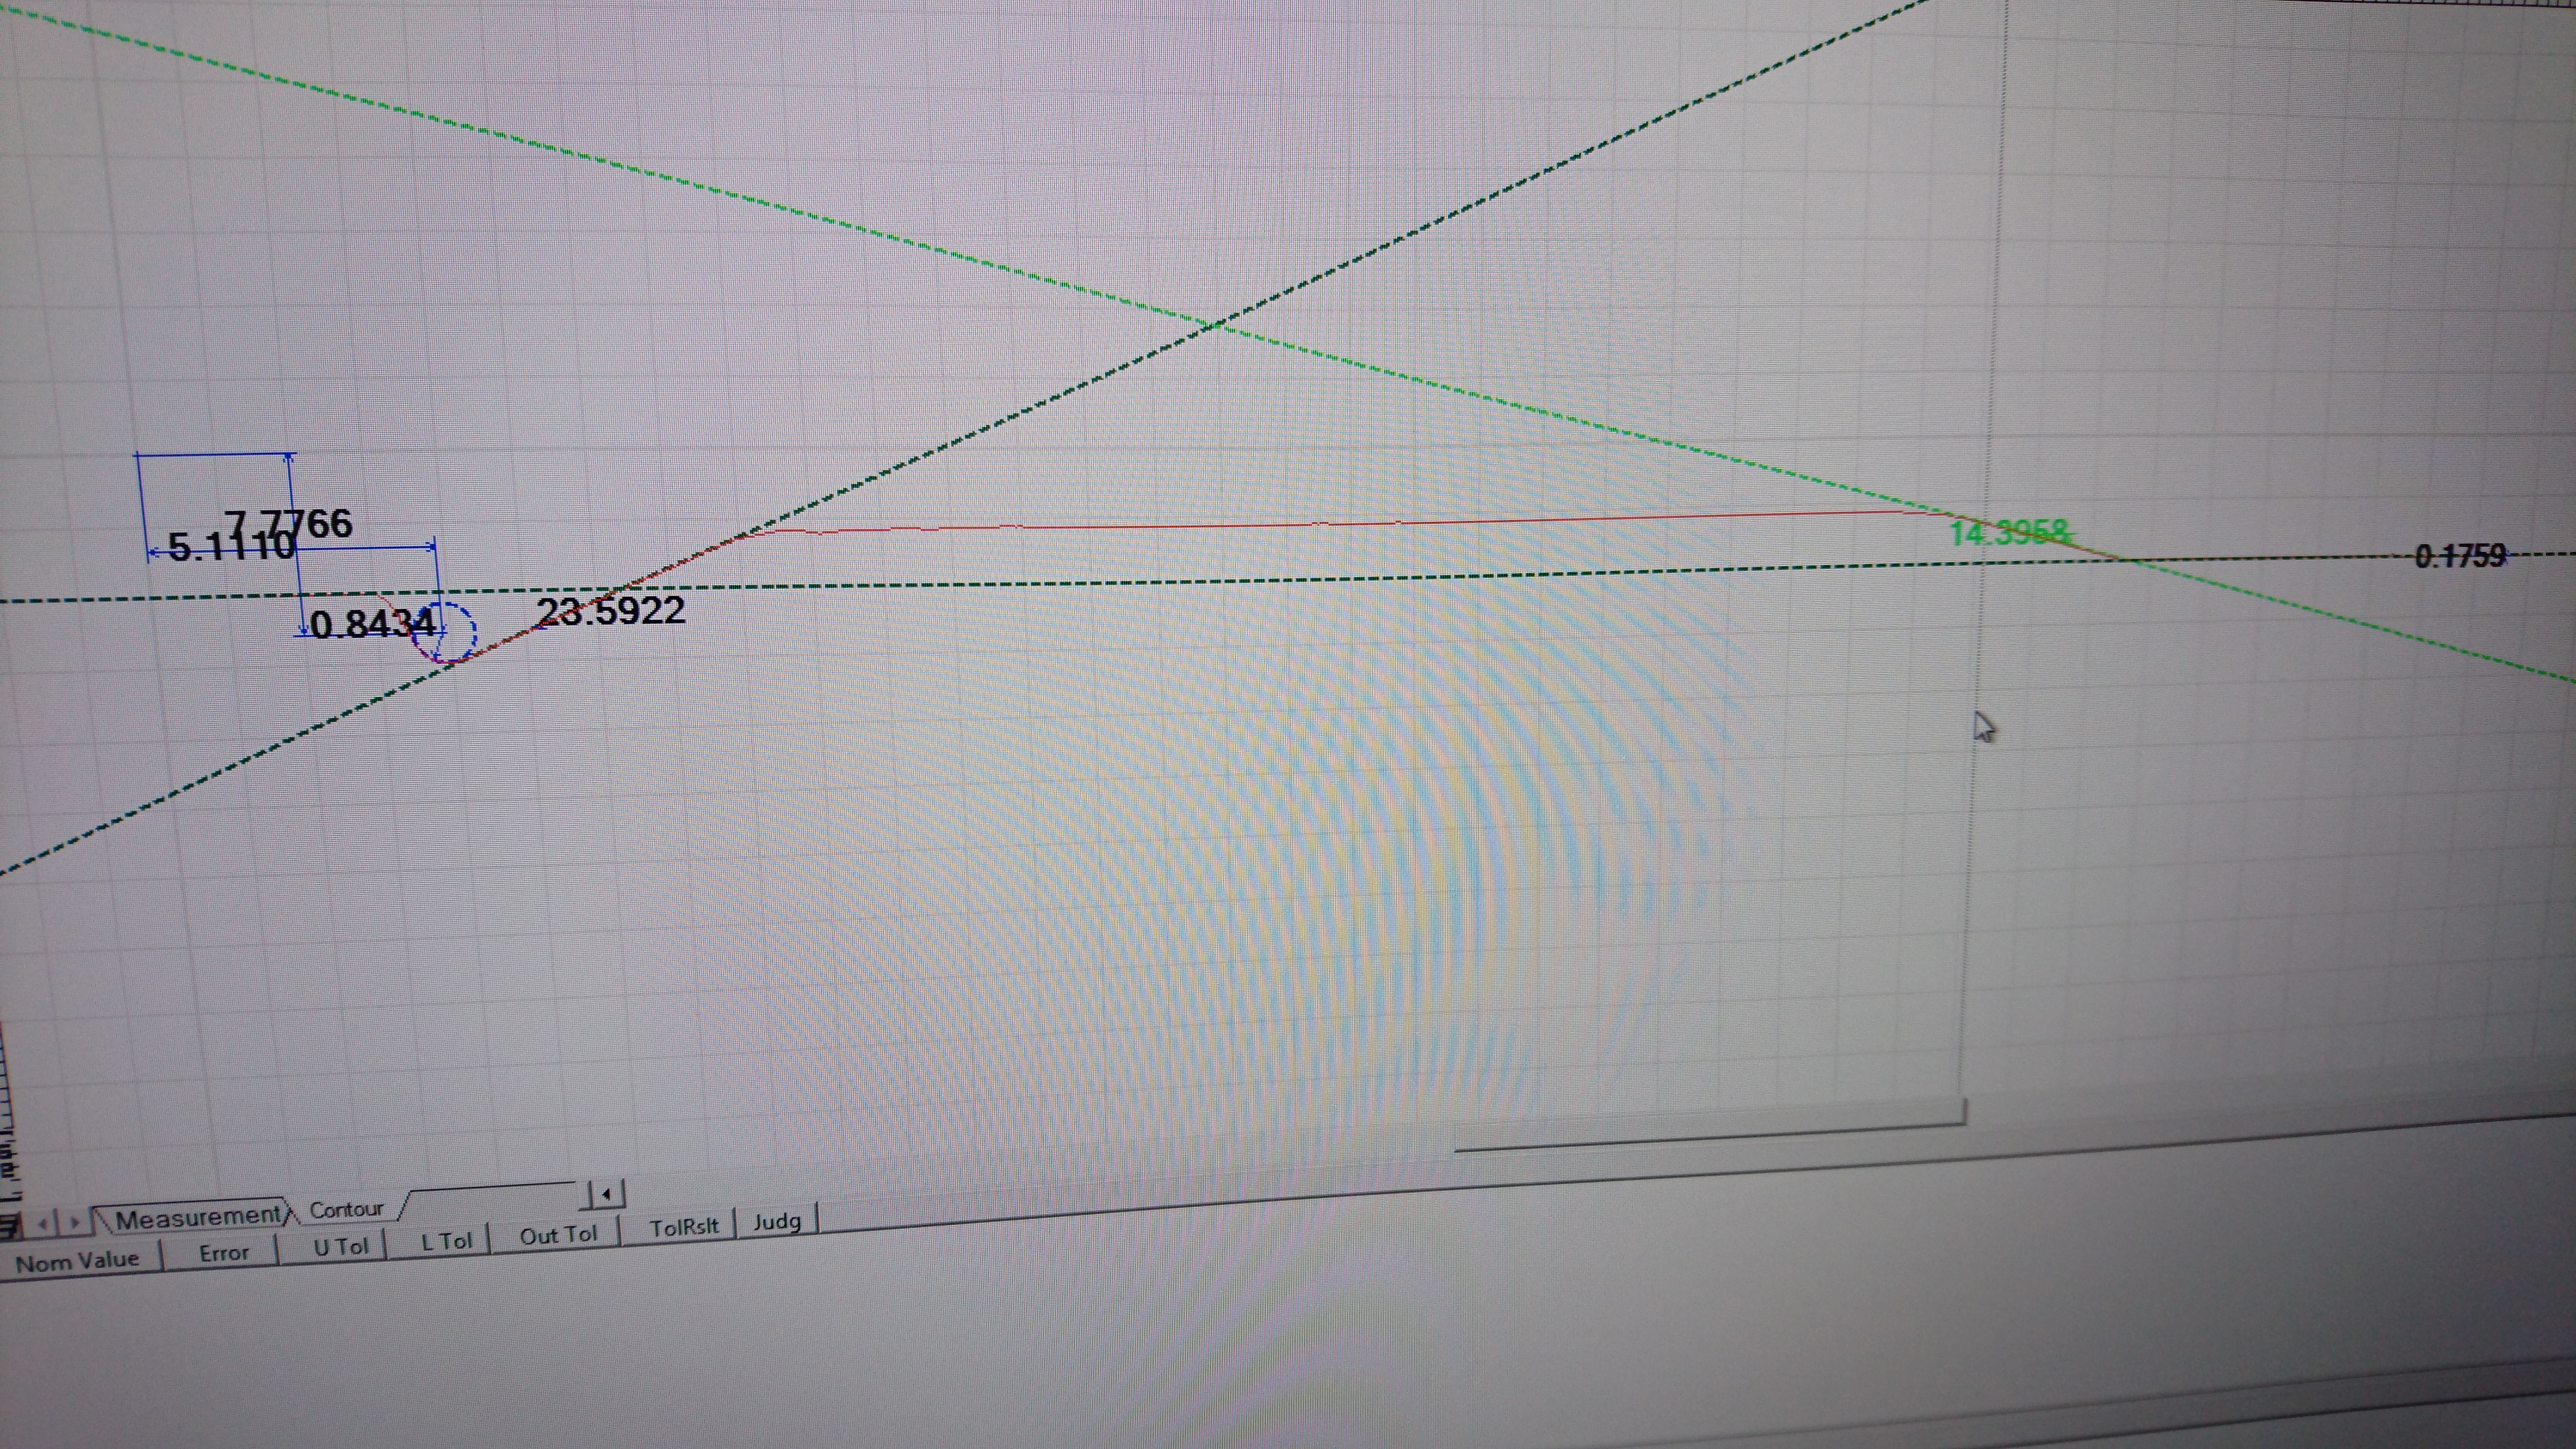
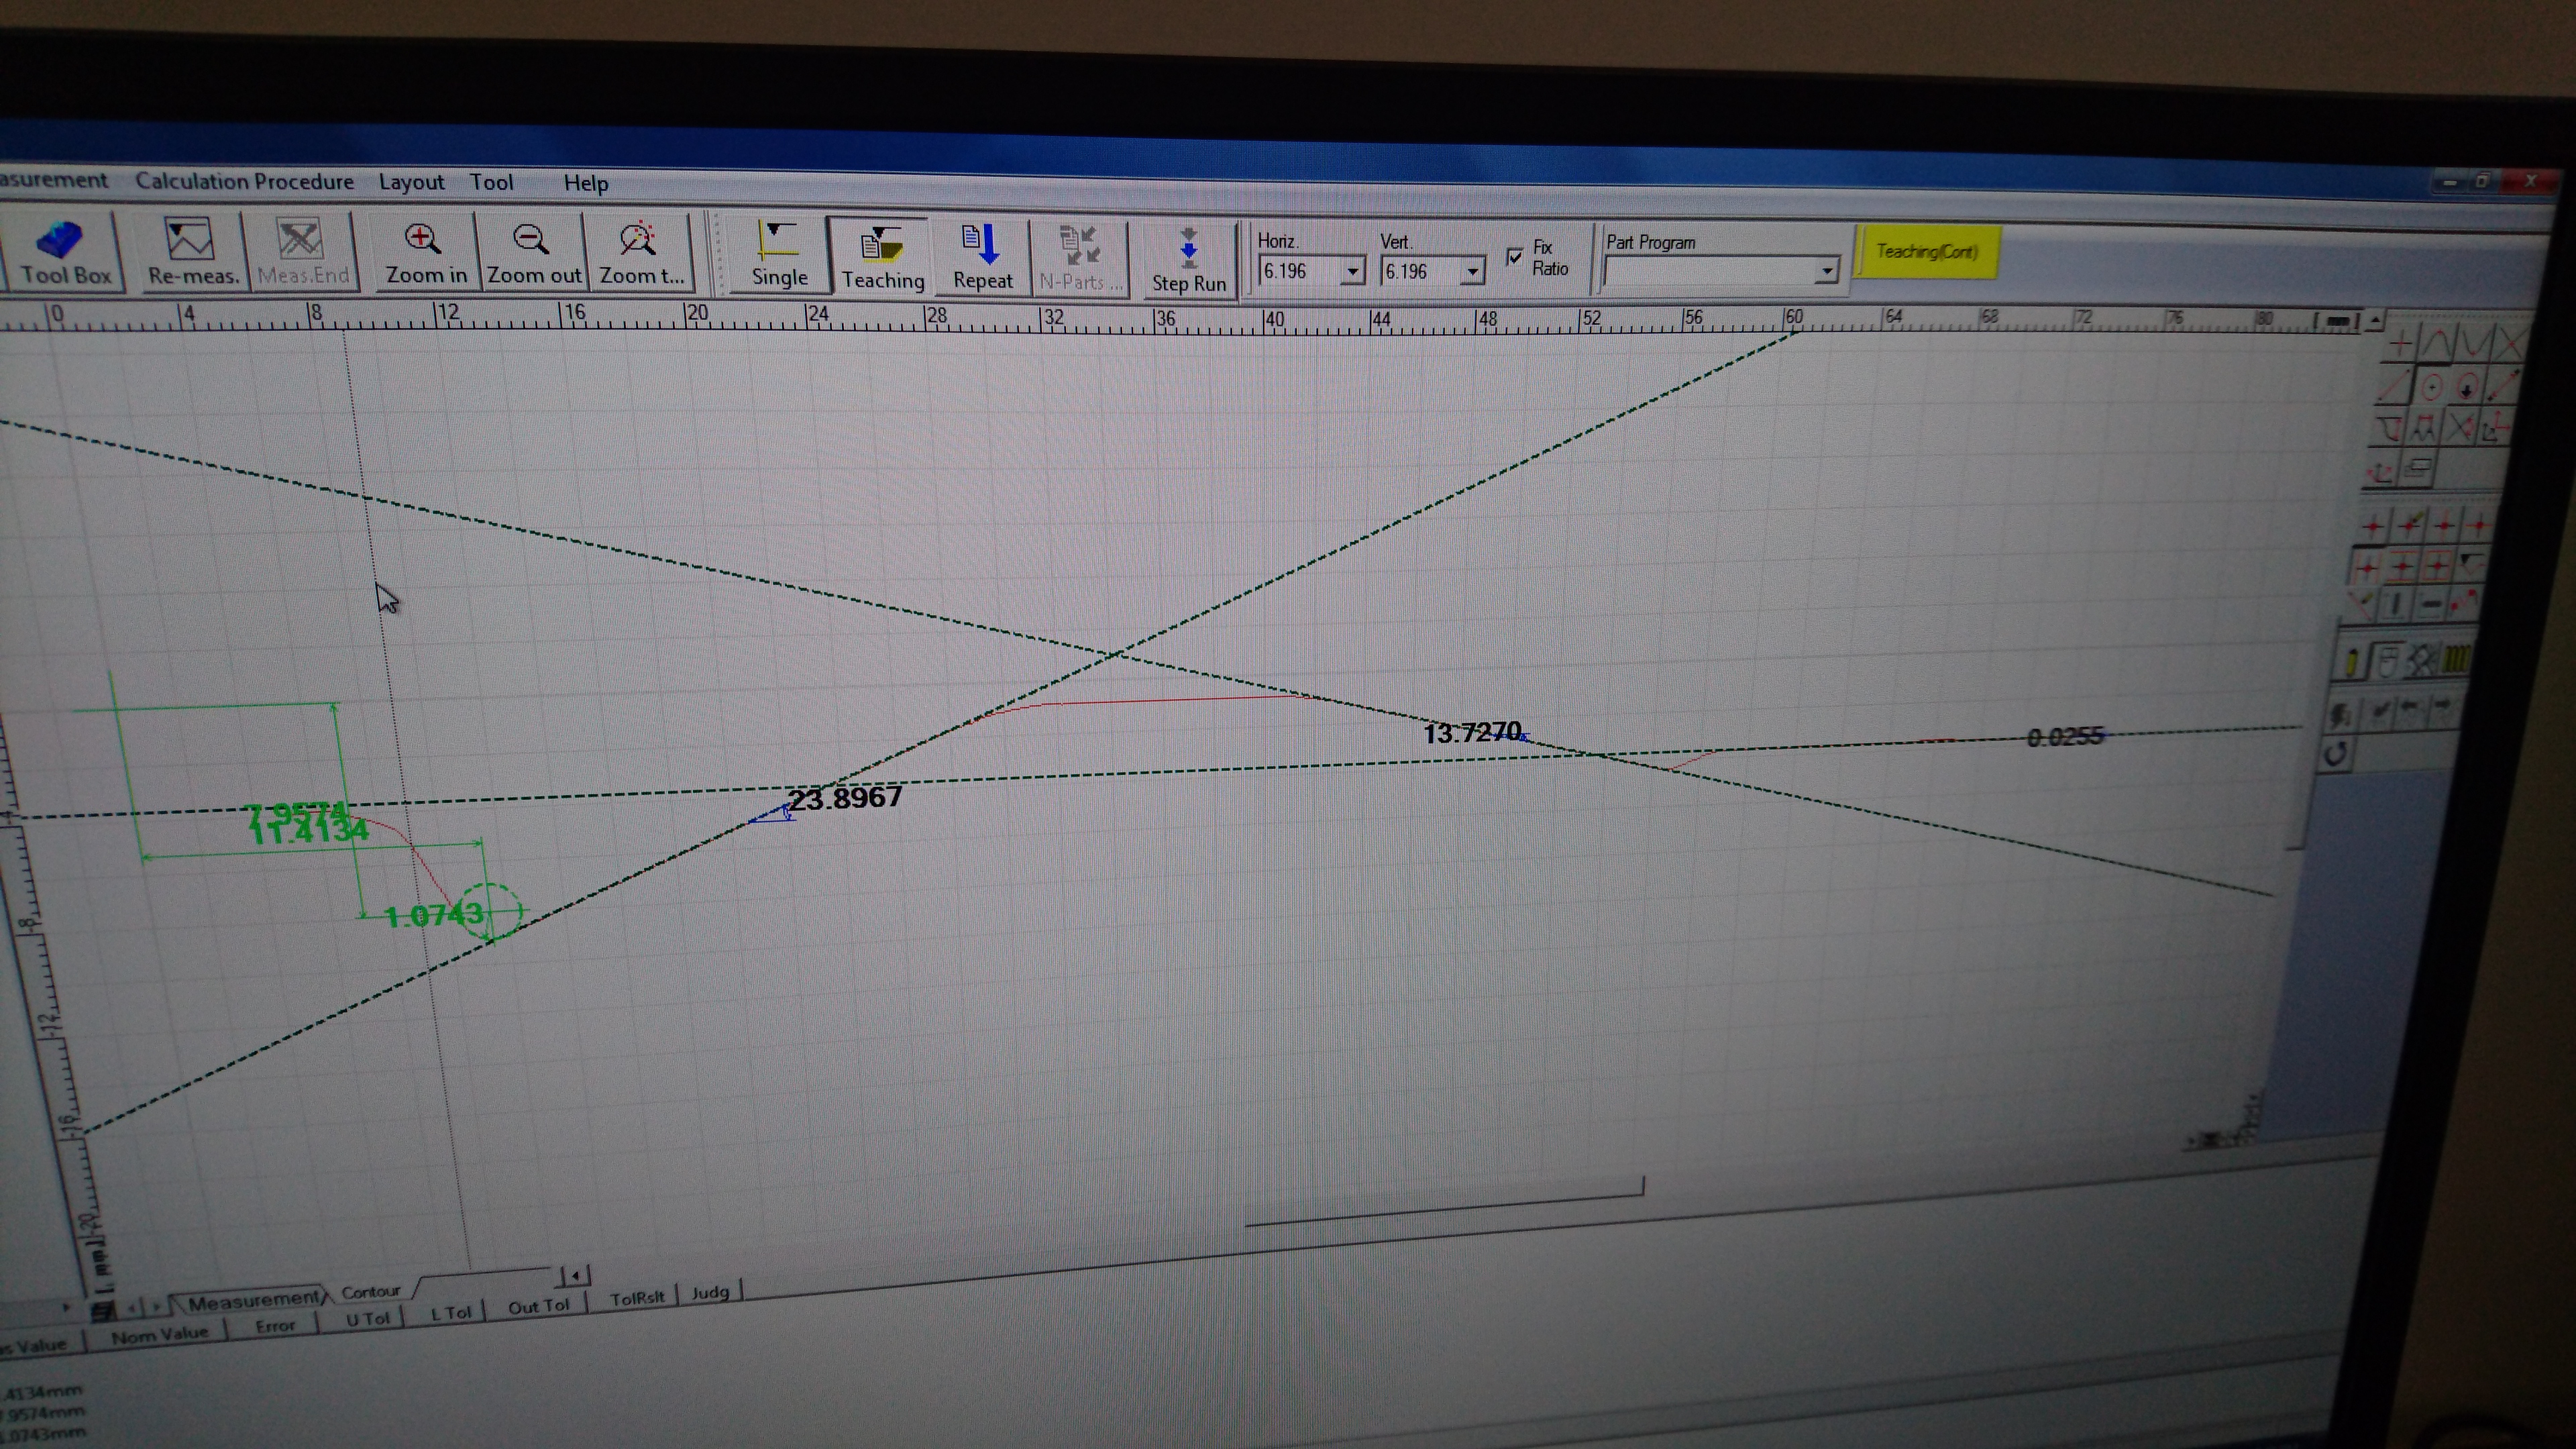
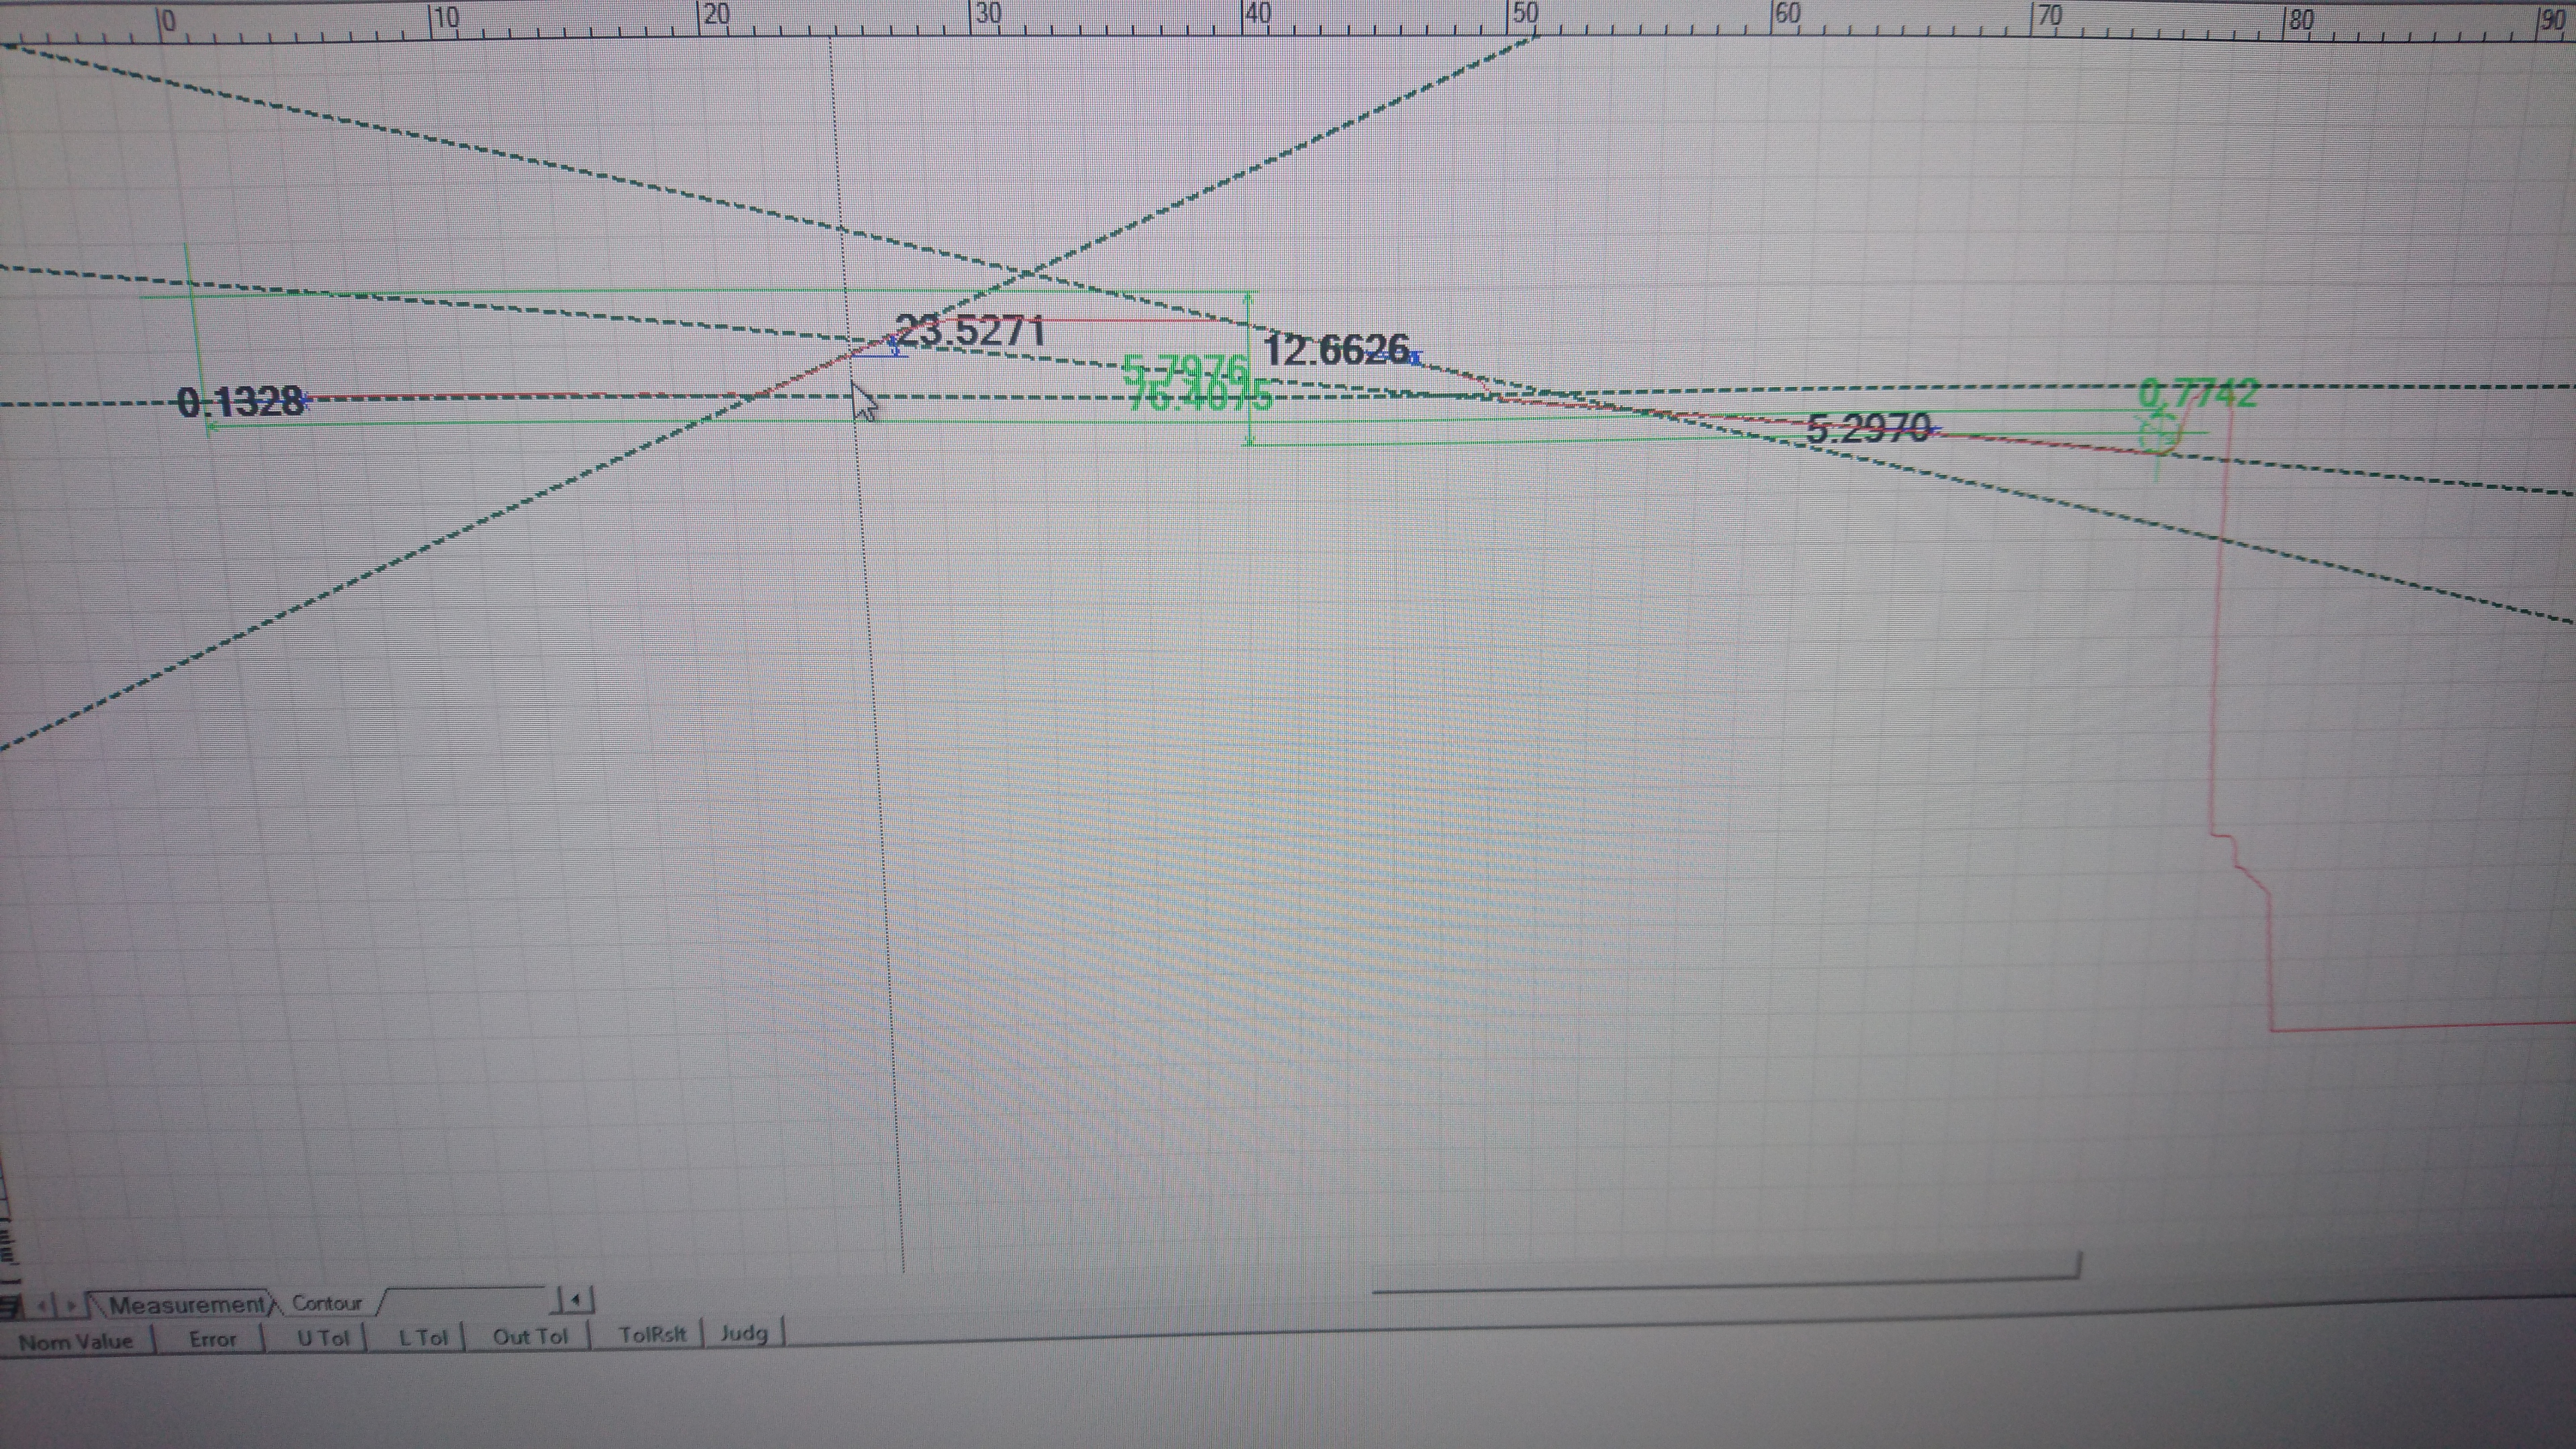
Next I took each piston and did some quick contact contour measurements using a Mitutoyo contracer. This provides a series of closely-spaced points. The stylus has a 25 um radius. This is about as accurate of a measurement as you can get over the surface of the piston.
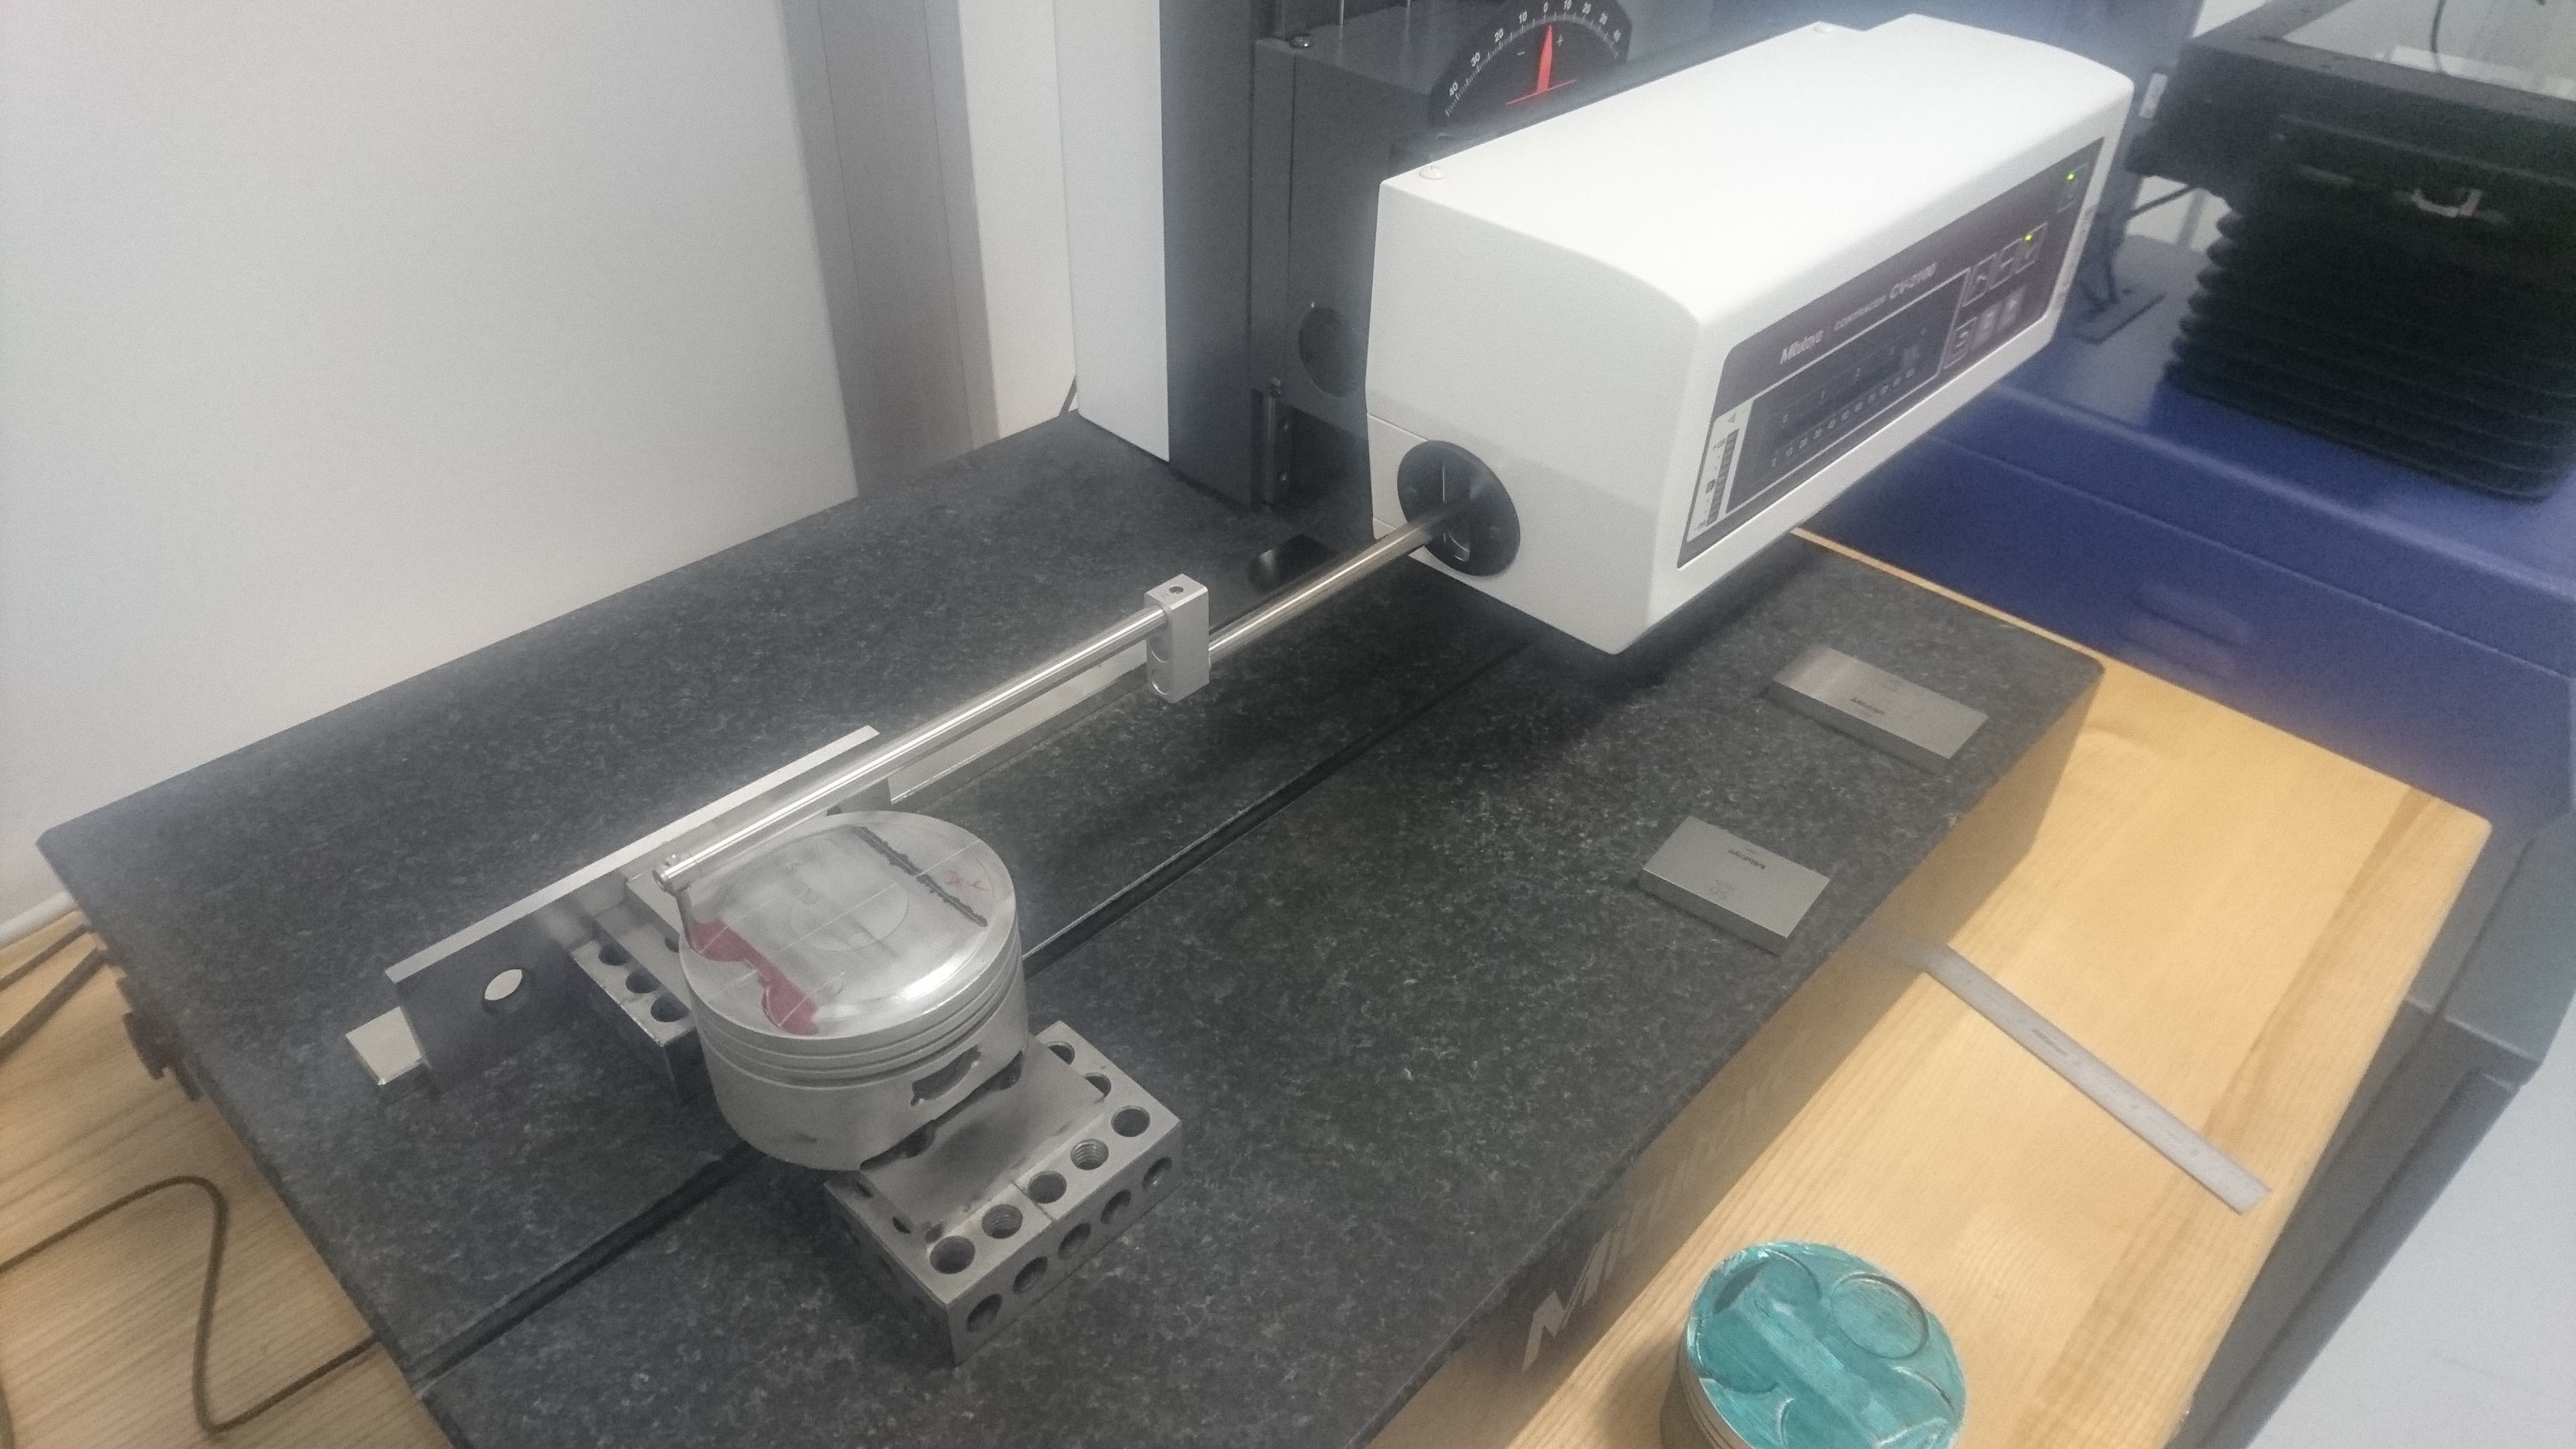
I did one line through the exhaust pocket on the AE111 piston.
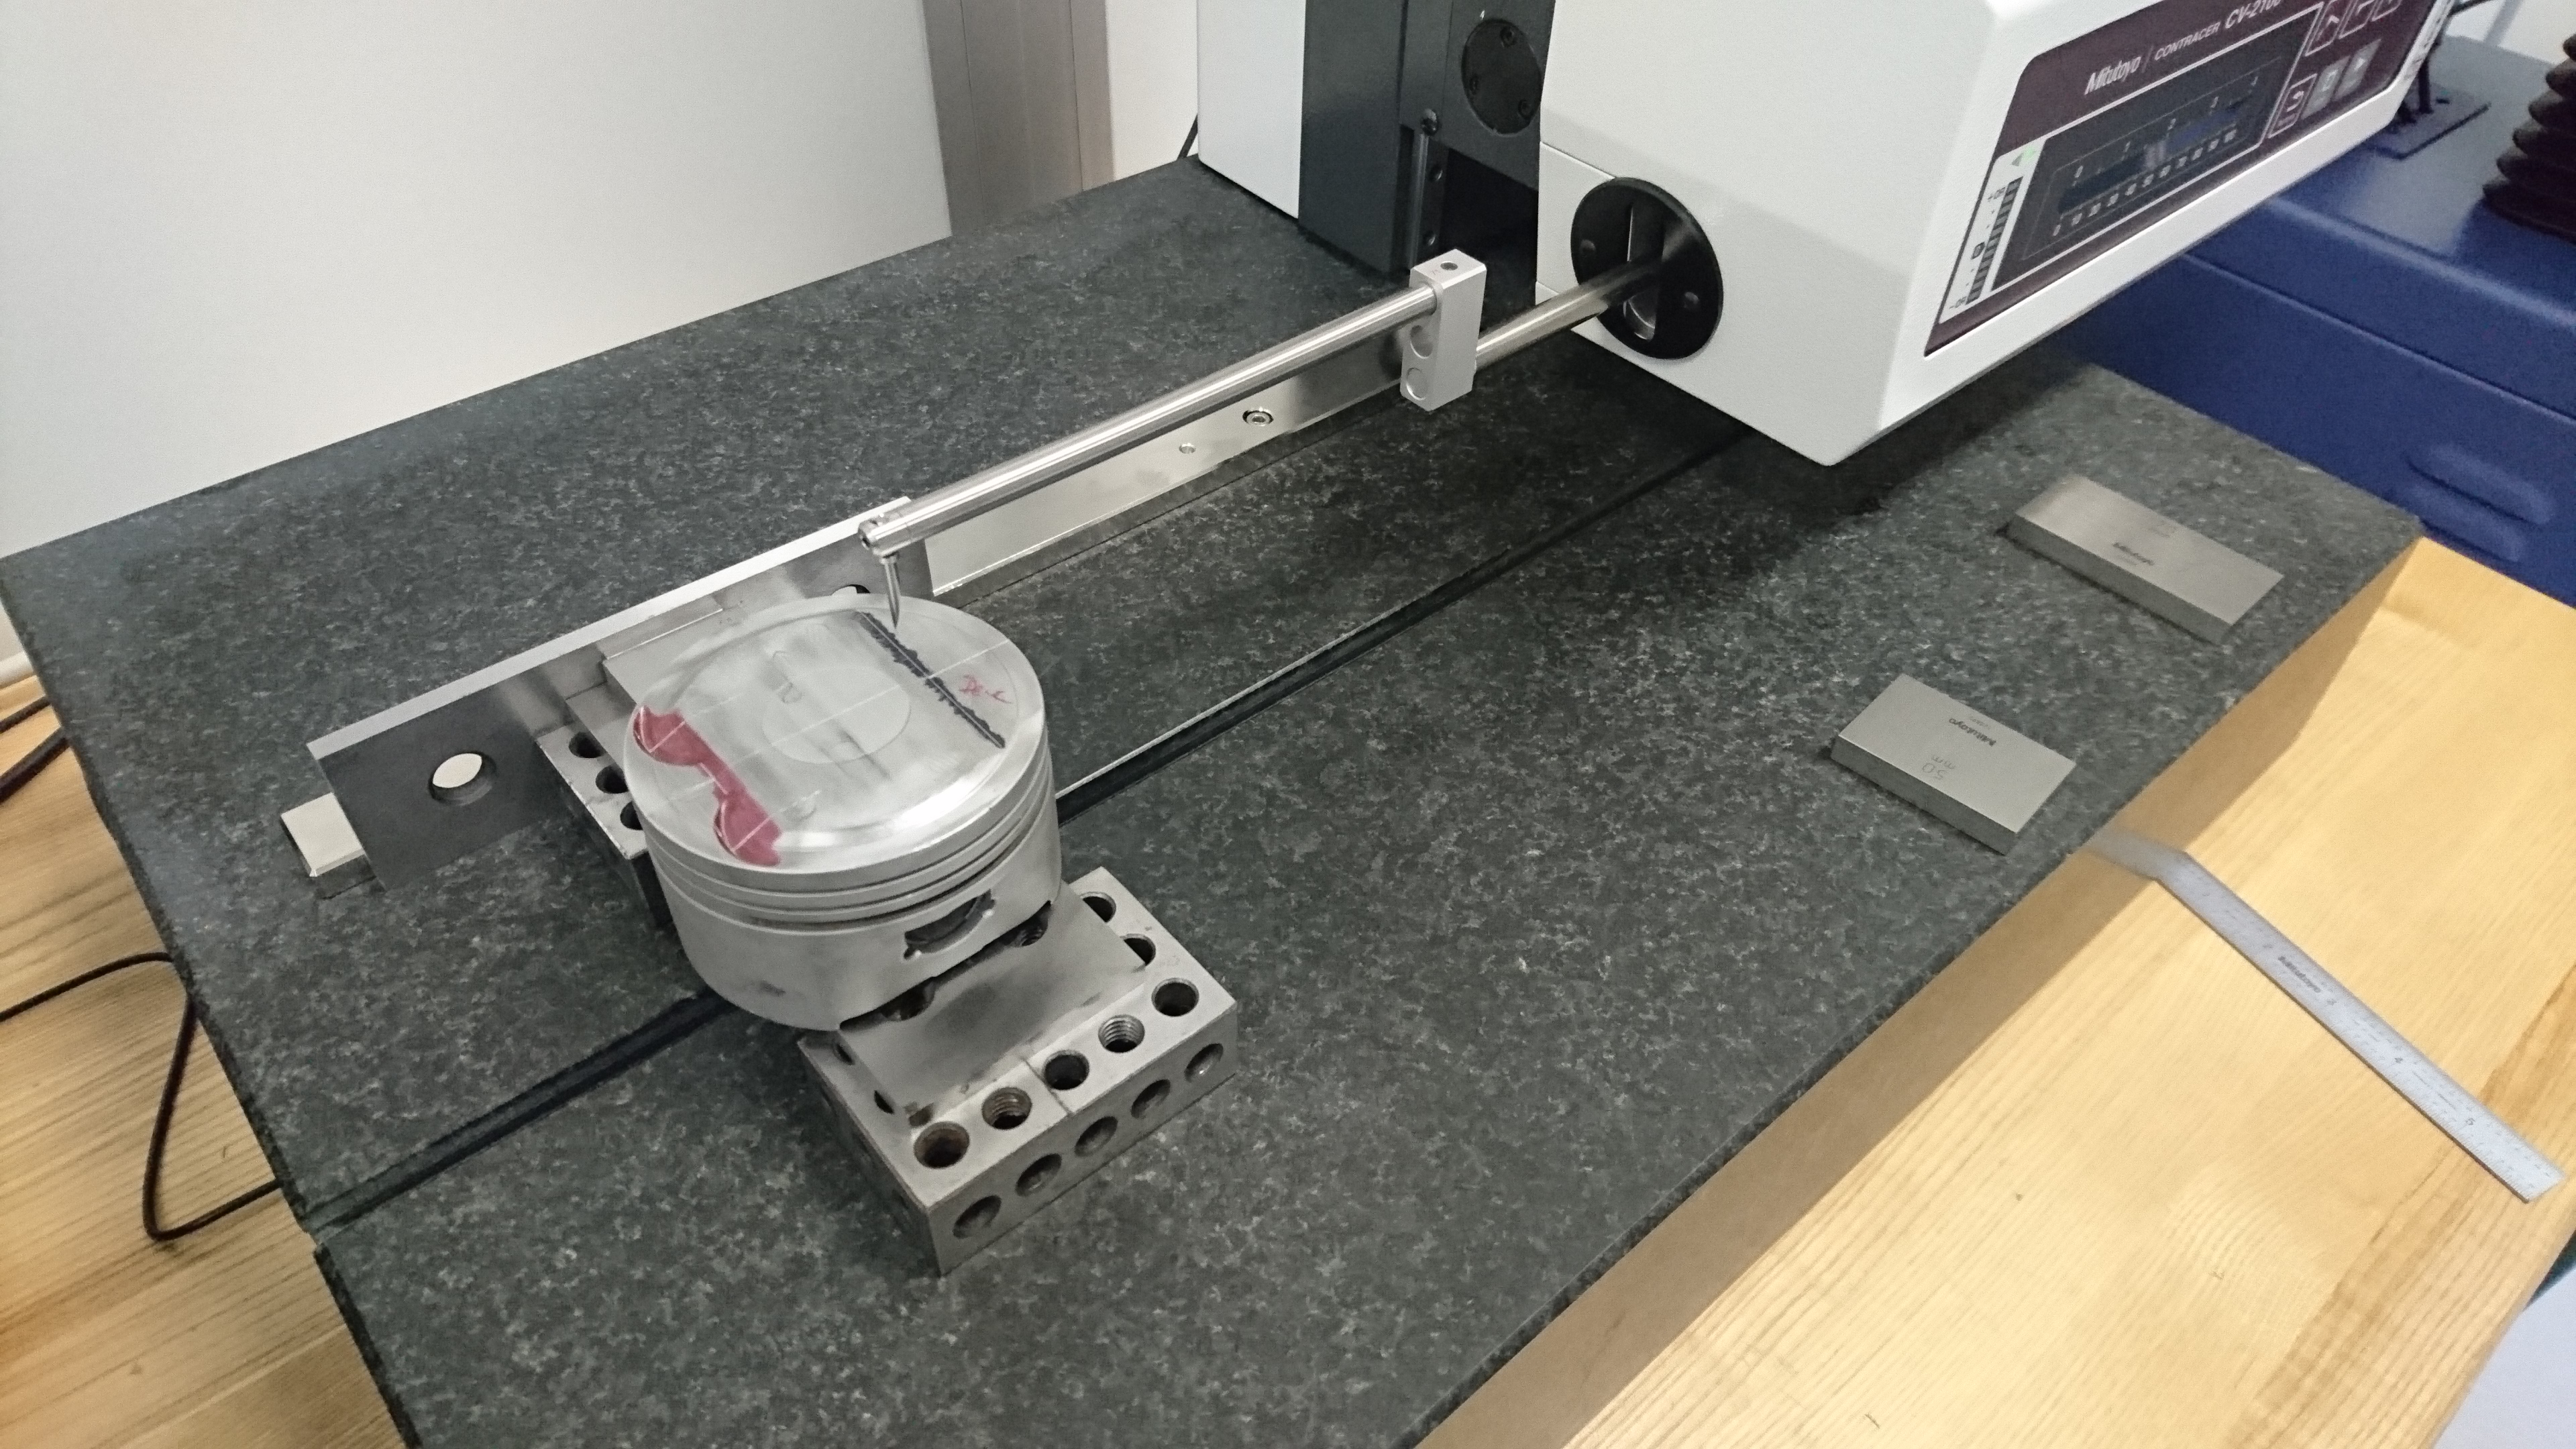
On the AE101 piston I did a line through the exhaust pocket and through the center intake valve pocket.
I took pictures of the output screen on the software as well. They’re not very useful, but they’re better than nothing.
AE111
AE101 exhaust
AE101 center intake
future work
My next intention is to do touch probe measurements to be able to reconstruct the piston tops in a CAD package.