Investigating the DXU hot end part 1
Introduction
I recently came across a post on the Ultimaker community forum for a nozzle switching head to fit the Ultimaker 2+. I was intrigued enough to give it a try. More importantly, I wanted to see if I could contribute to the project in a meaningful way.
Background
In 2017 I purchased an Ultimaker Original+. I printed a single benchy on it before promptly modifying it. I never found the laser-cut feeder assembly to be all that appealing and wanted to use an all-metal hot end. To this end I tried several head designs to use the E3D-V6 hot ends I ended up buying an Ultimaker 2+ upgrade kit and applying it to the Ultimaker Original+. This has proven to be extremely reliable. Part of my initial desire for the E3D-V6 hot end was the ability to switch between 1.75 mm and 2.85 mm filament by switching out the hot end. I never got the E3D-V6 to work well on my Ultimaker. I did install an E3D Titan feeder and have been using it since.
Initial investingation
The hot ends for this head are based on a 1.75 mm upgrade kit for the Ultimaker 2+ being sold on Taobao and Ali Express. I have been using 2.85 mm filament since I purchased the Ultimaker. I was curious how easy it would be to switch that kit over to 2.85 mm filament and therefore be able to use 1.75 mm or 2.85 mm filament with this kit. I ordered up 4 of the hot end kits and waited for them to arrive from China.
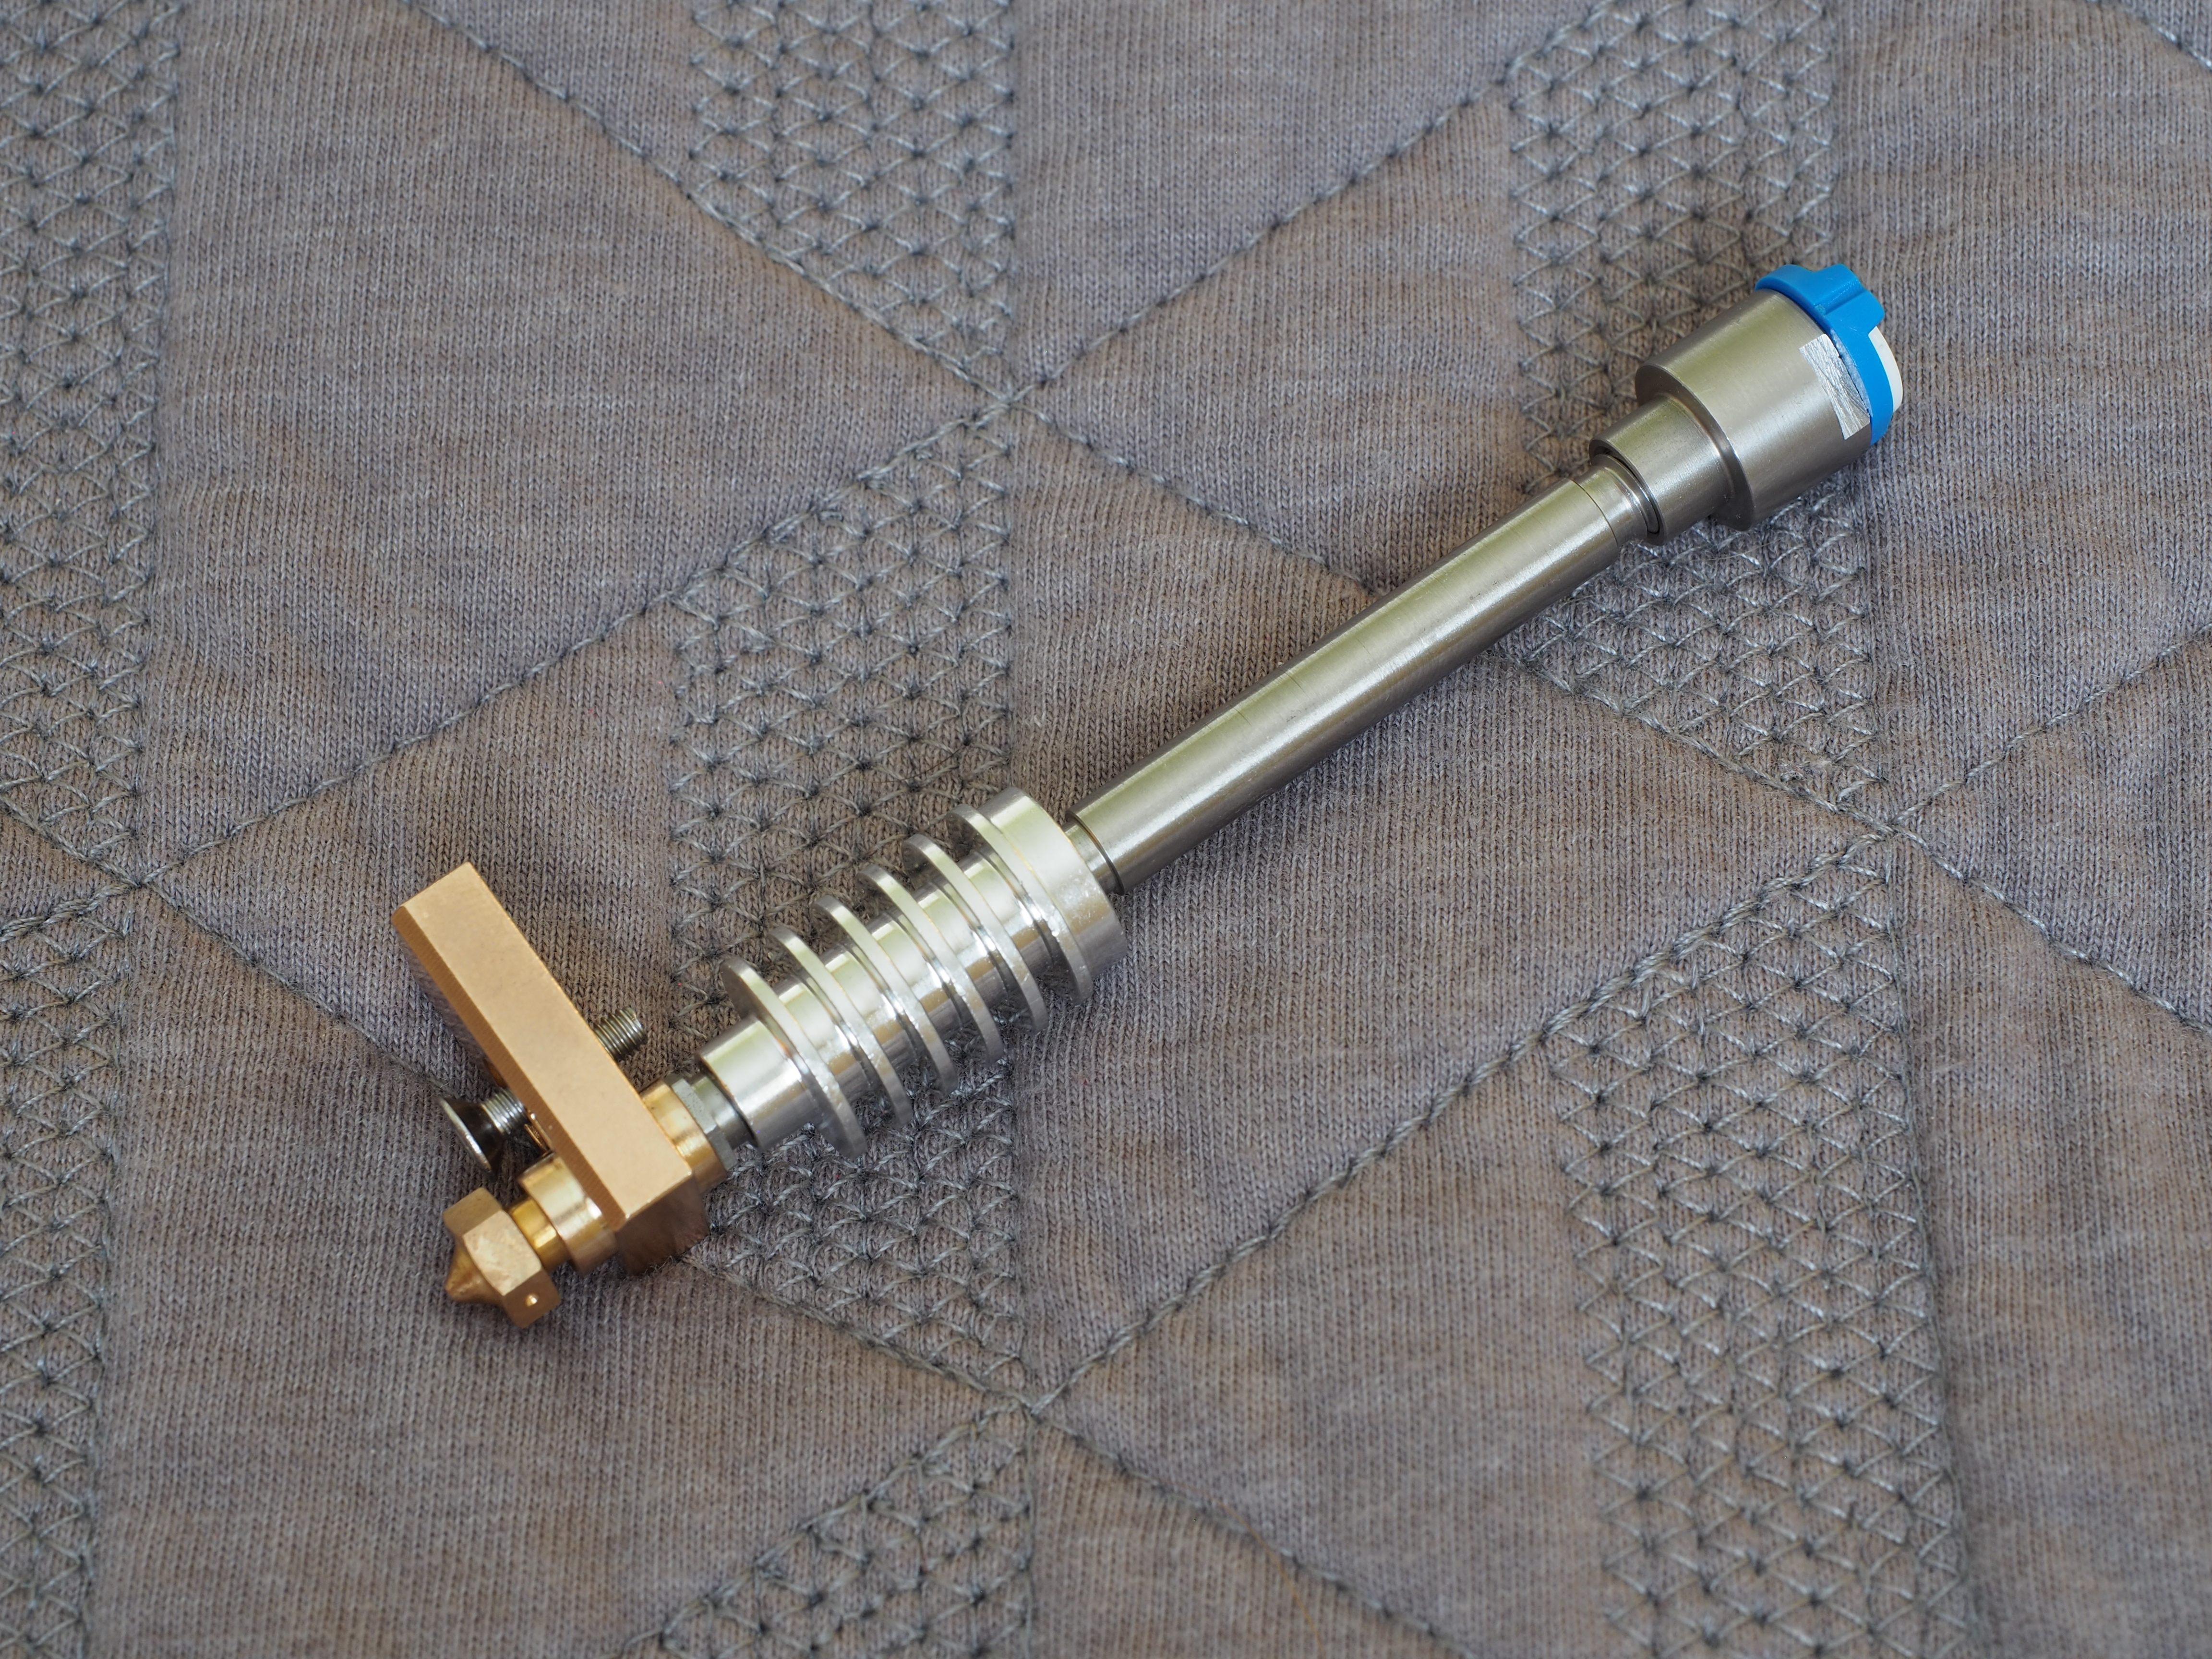
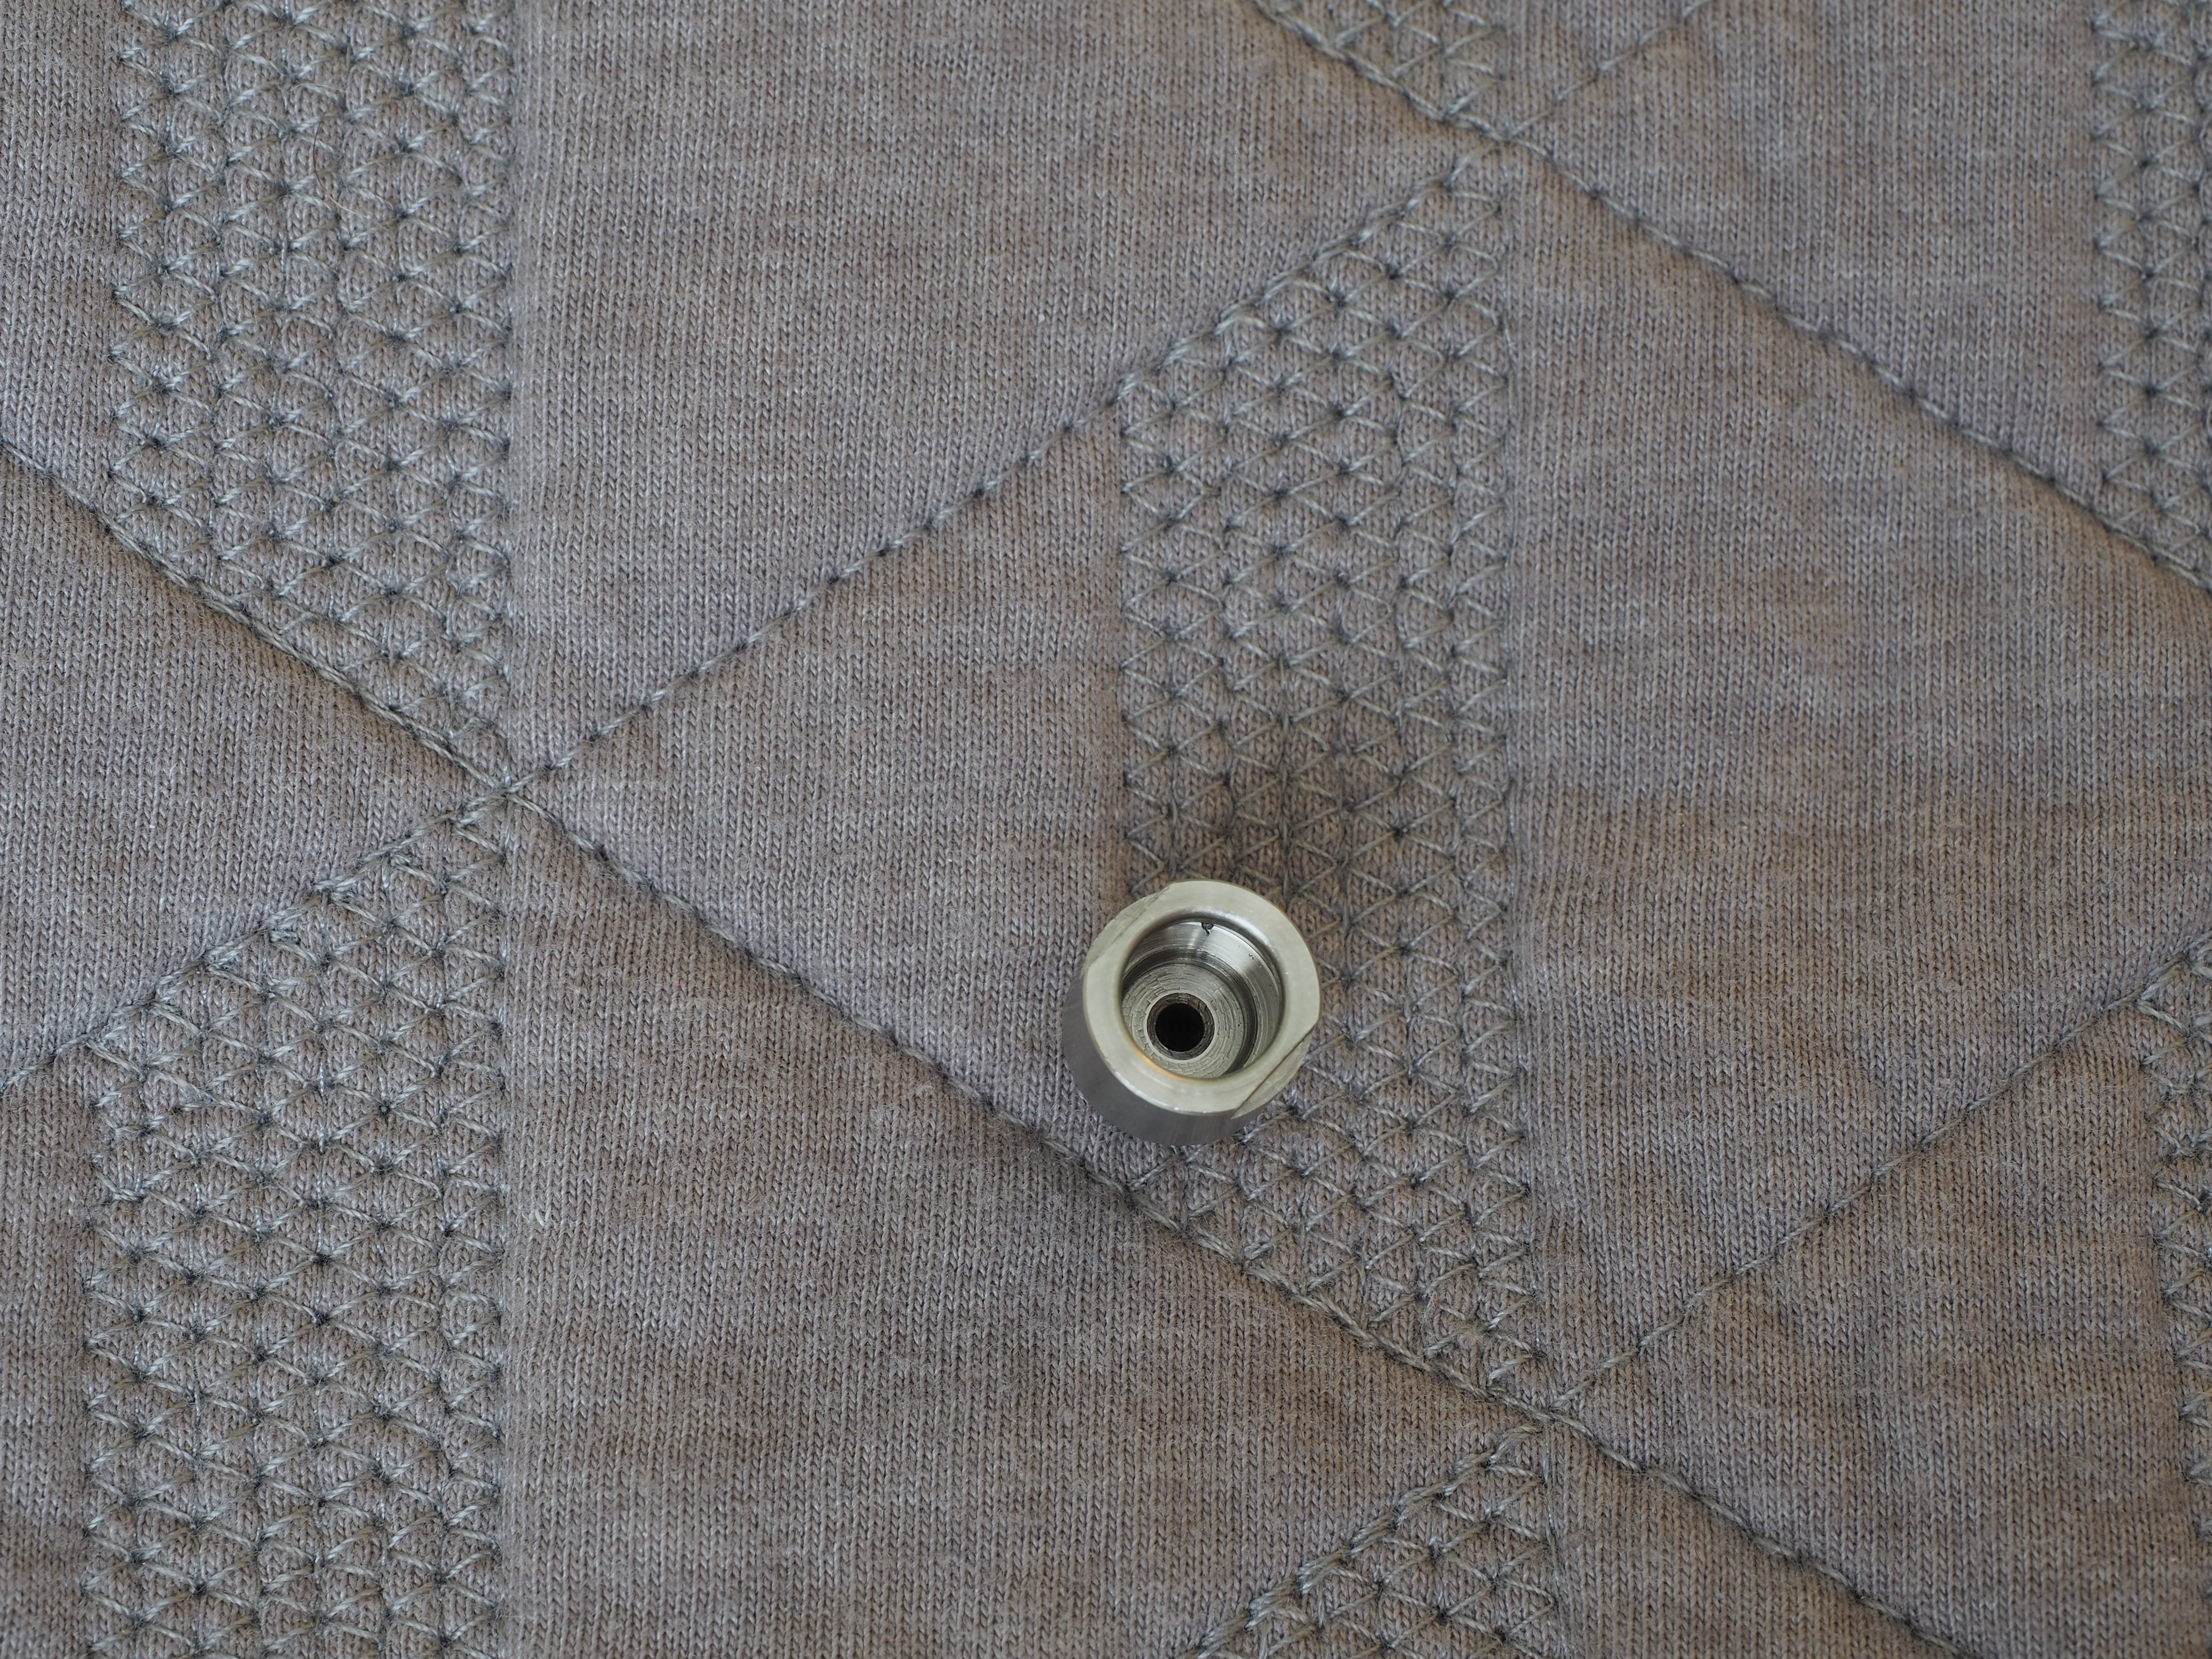
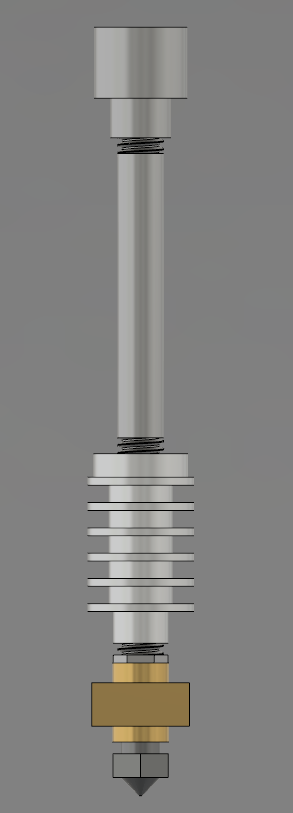
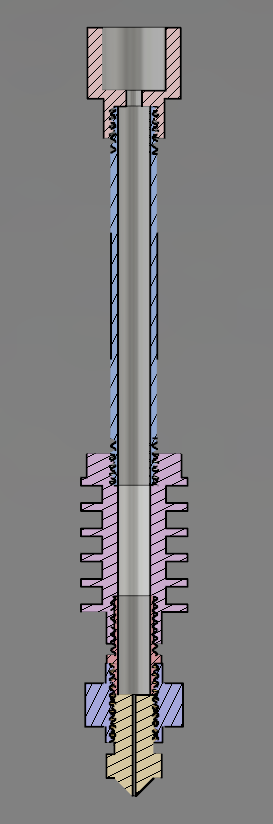
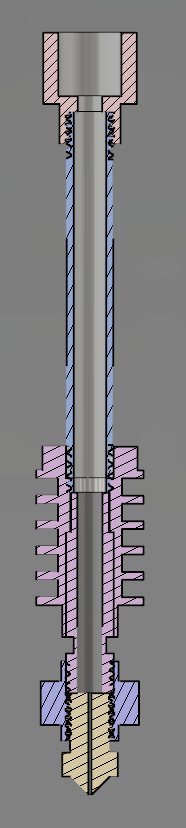
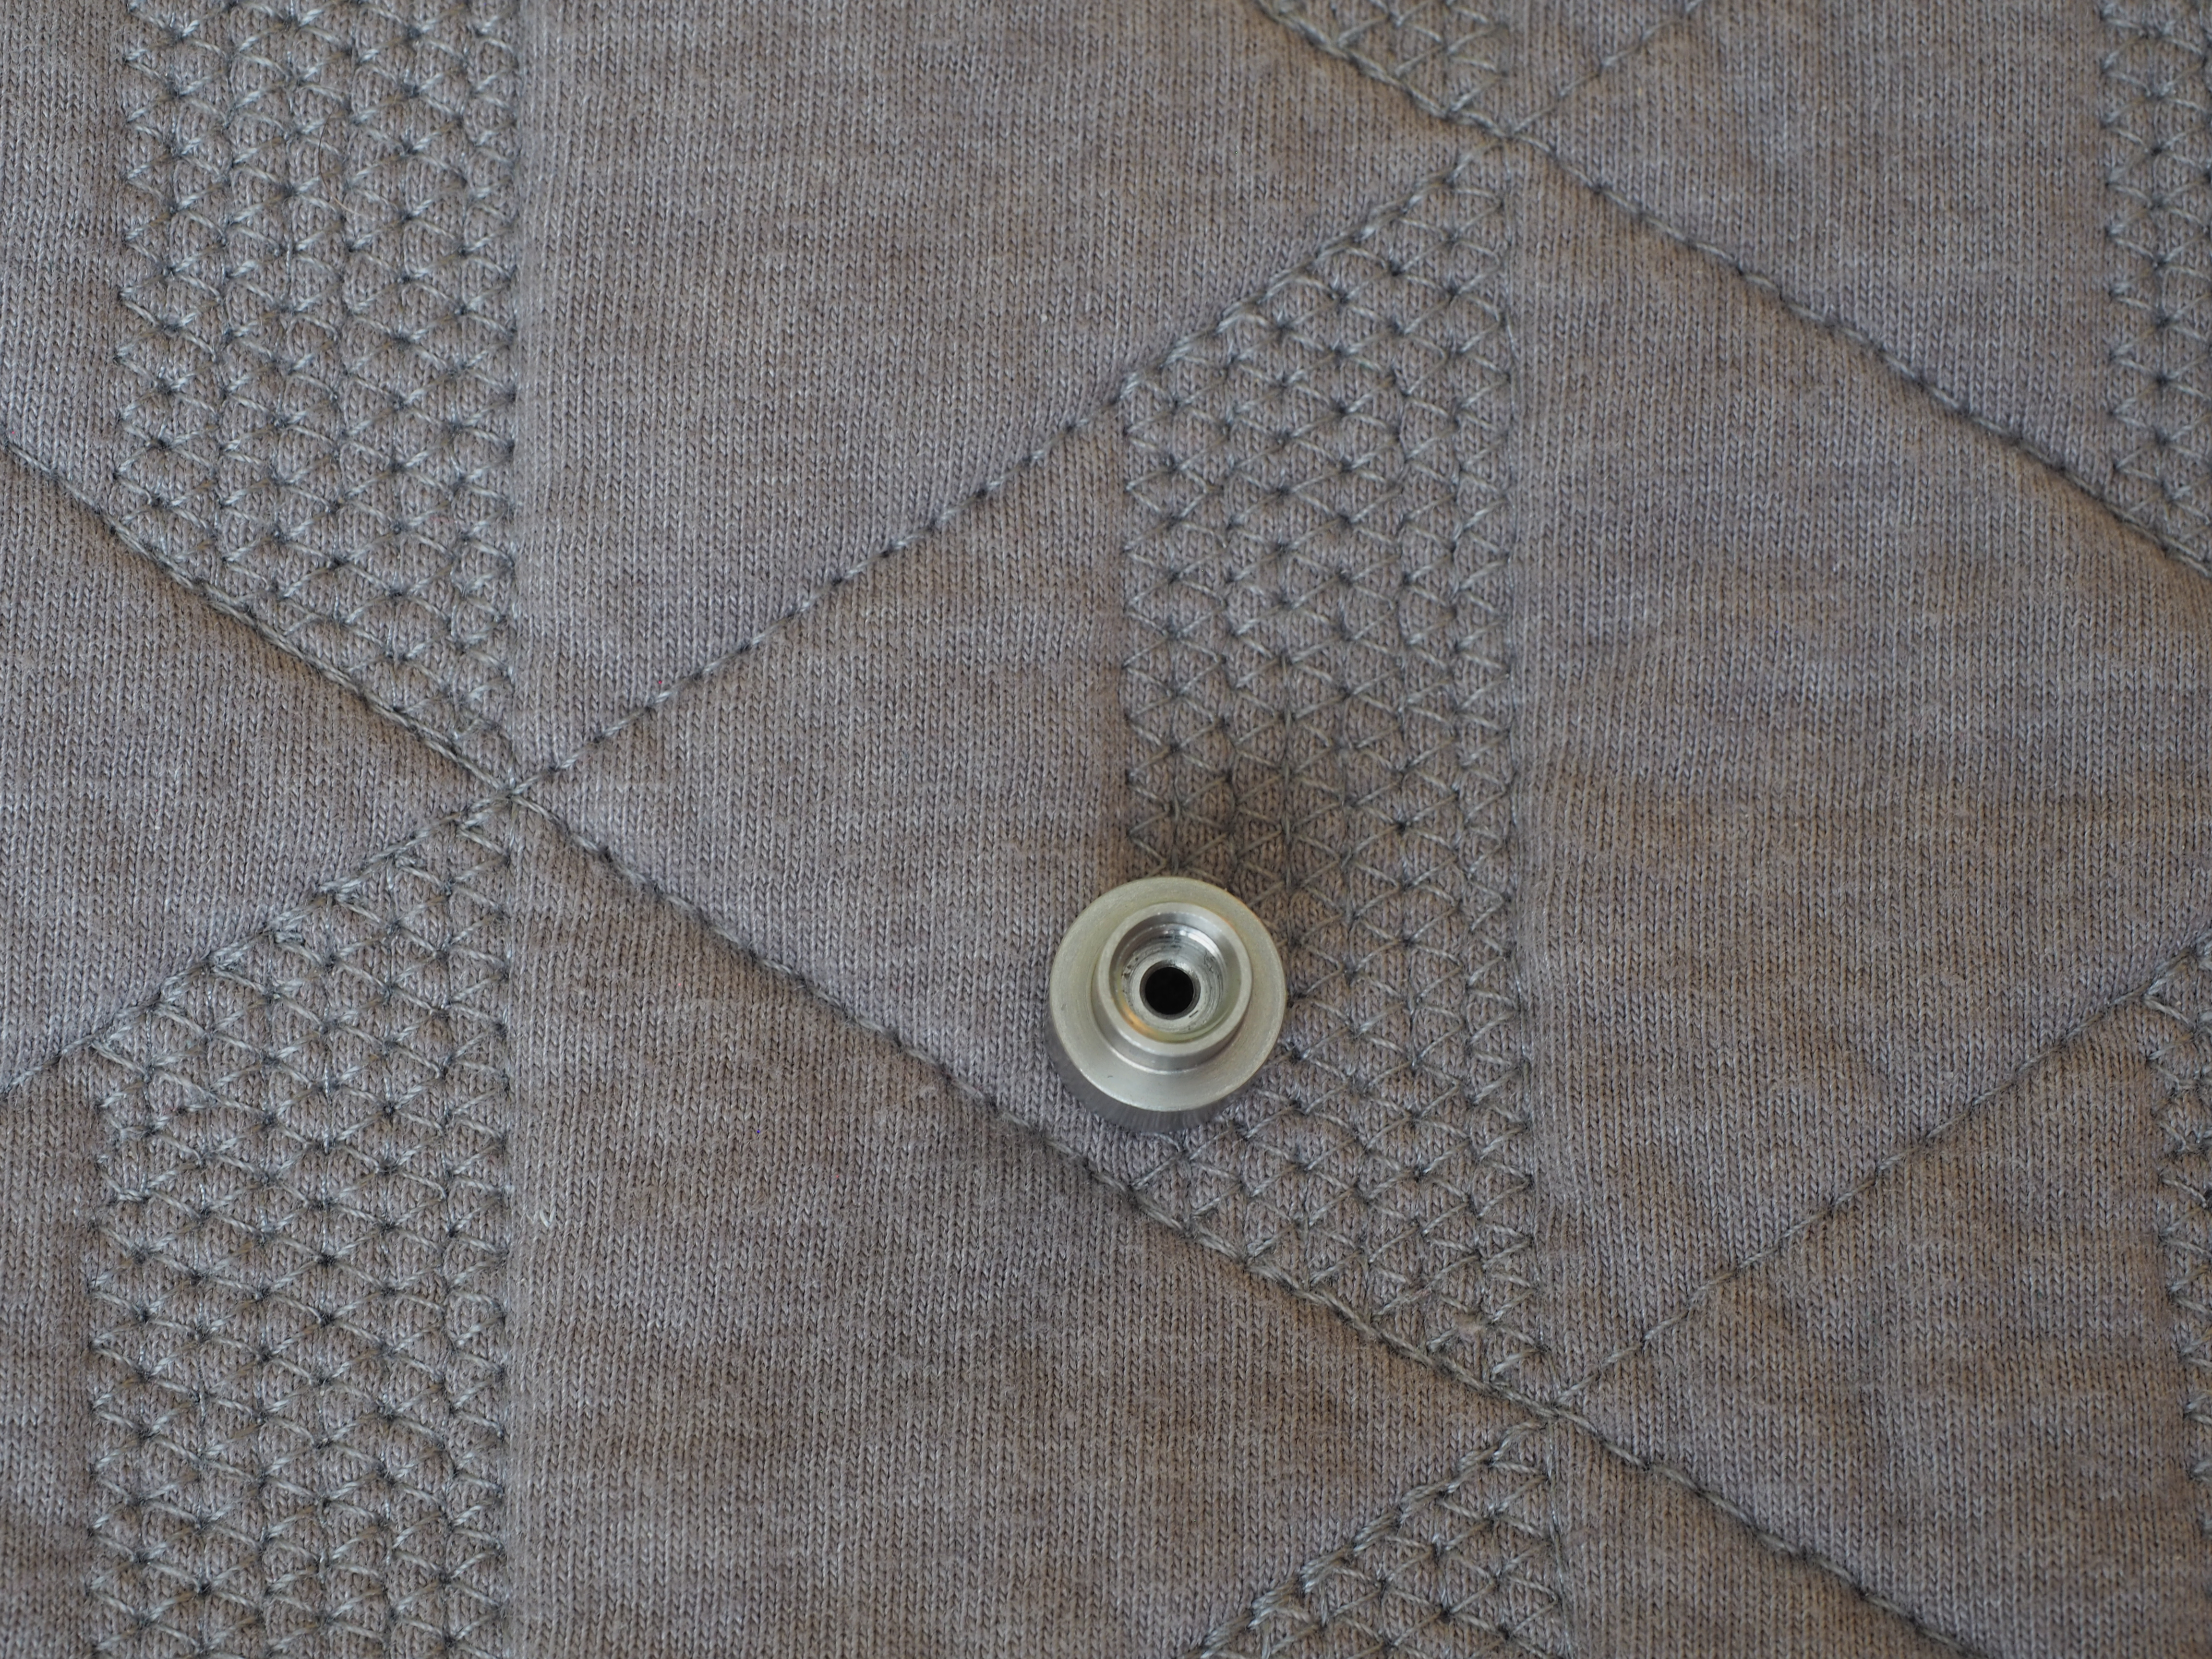
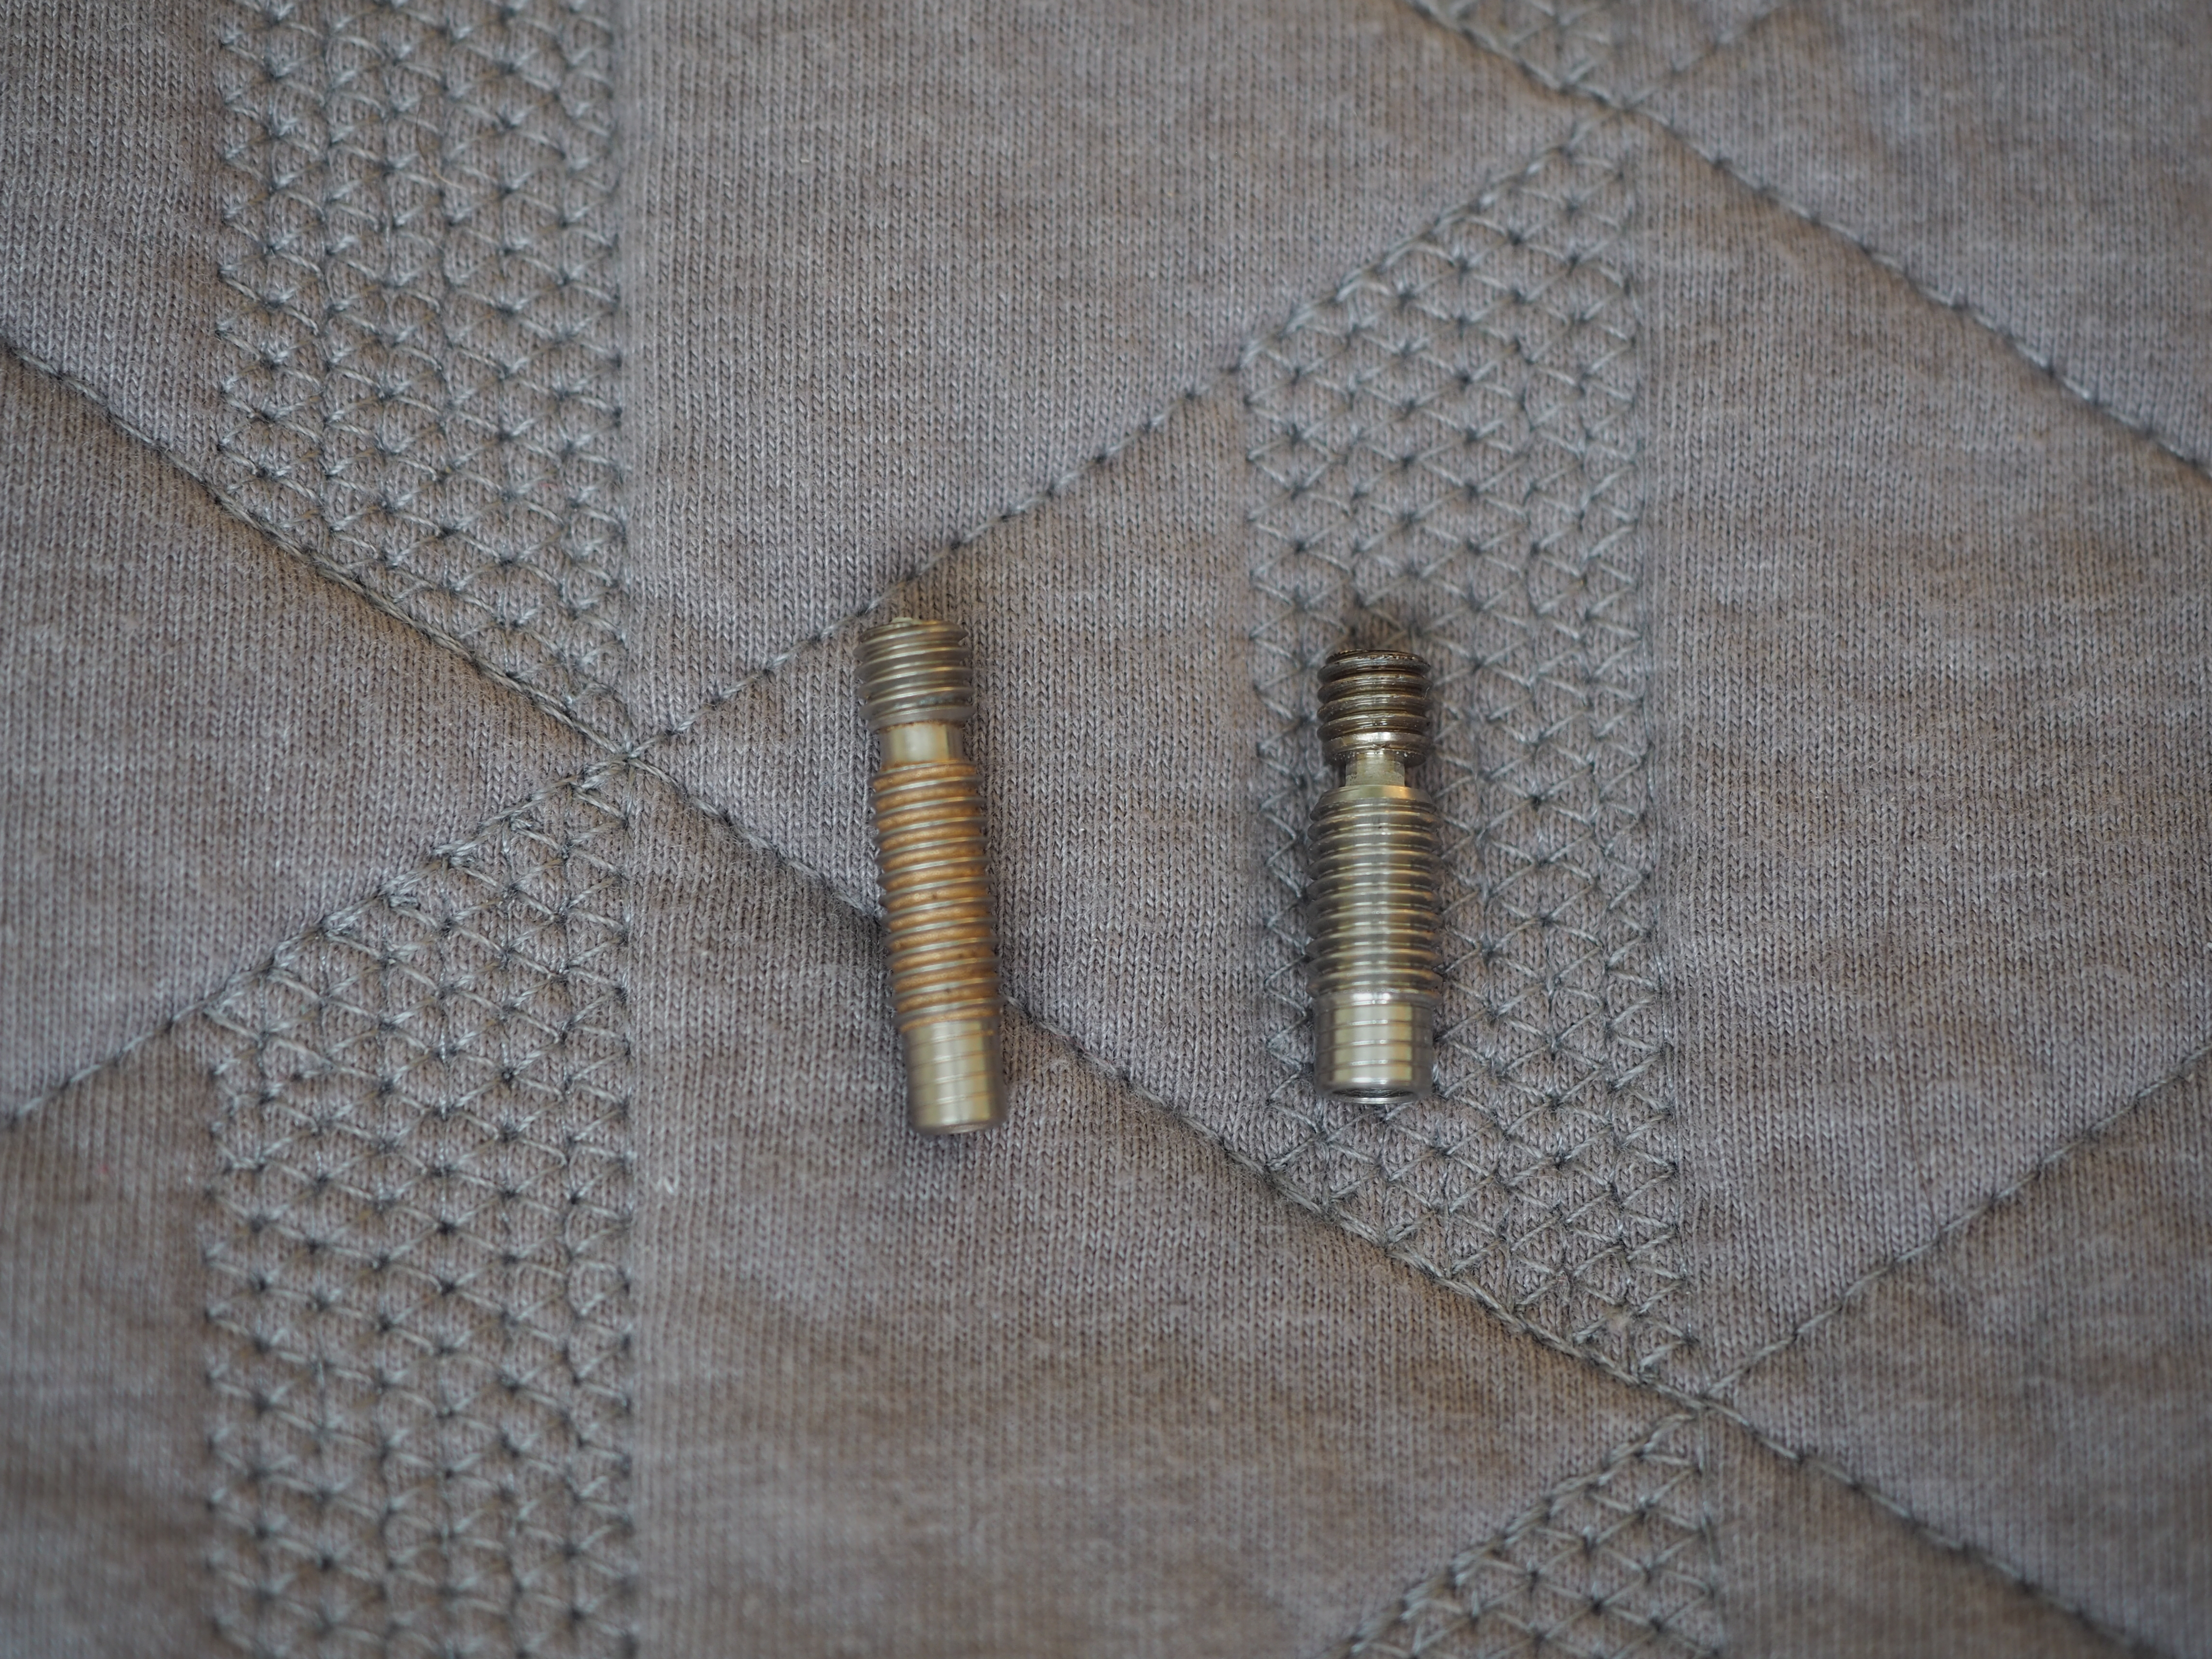
When my parts arrived I made a few quick observations. First, they seem to be machined well. Ordering parts from Ali Express is a gamble but these seem to be constructed well enough. Second, the hot end is designed for a 6.35 mm OD bowden tube. Bowden tubes intended for 1.75 mm filament have a 4 mm OD and 2 mm ID. I’d assume they either intend for people to run 1.75 mm filament in the regular Ultimaker bowden, with it’s 3.2 mm ID, or use a tube-in-tube setup like The GR5 Store offers. In the picture below you can see the large diameter of the collet features and the small diameter of the pass through for the filament.
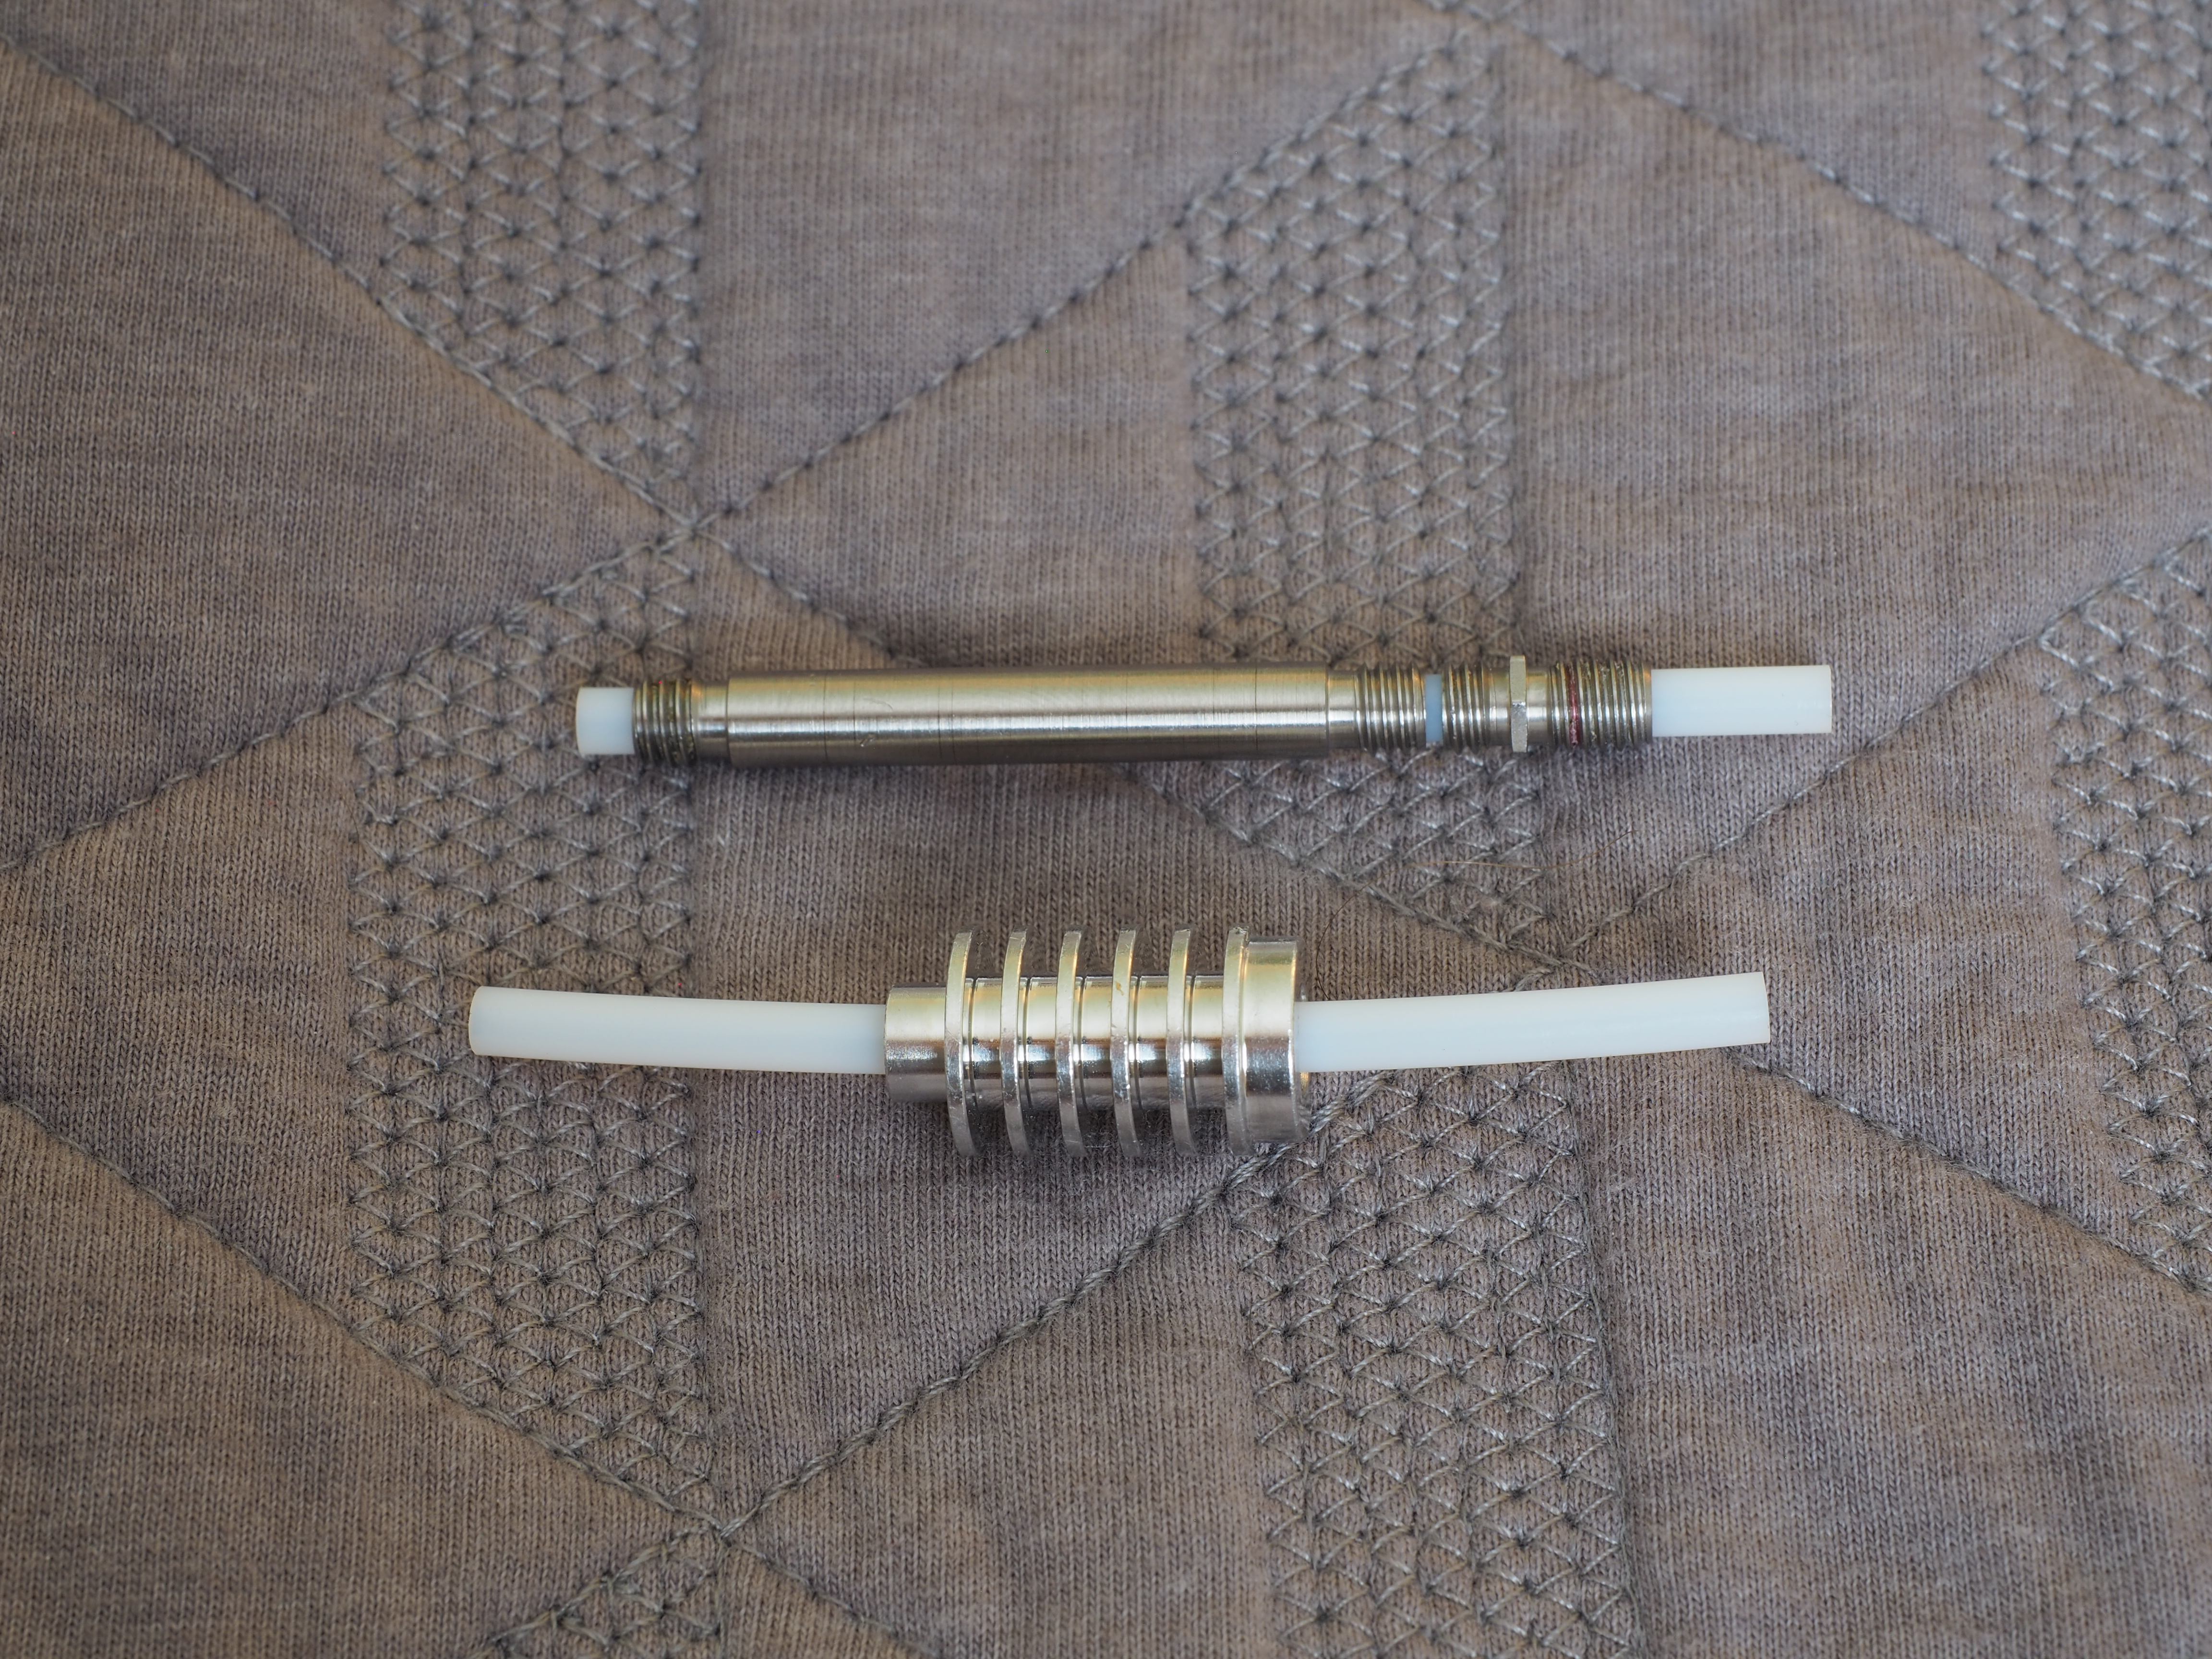
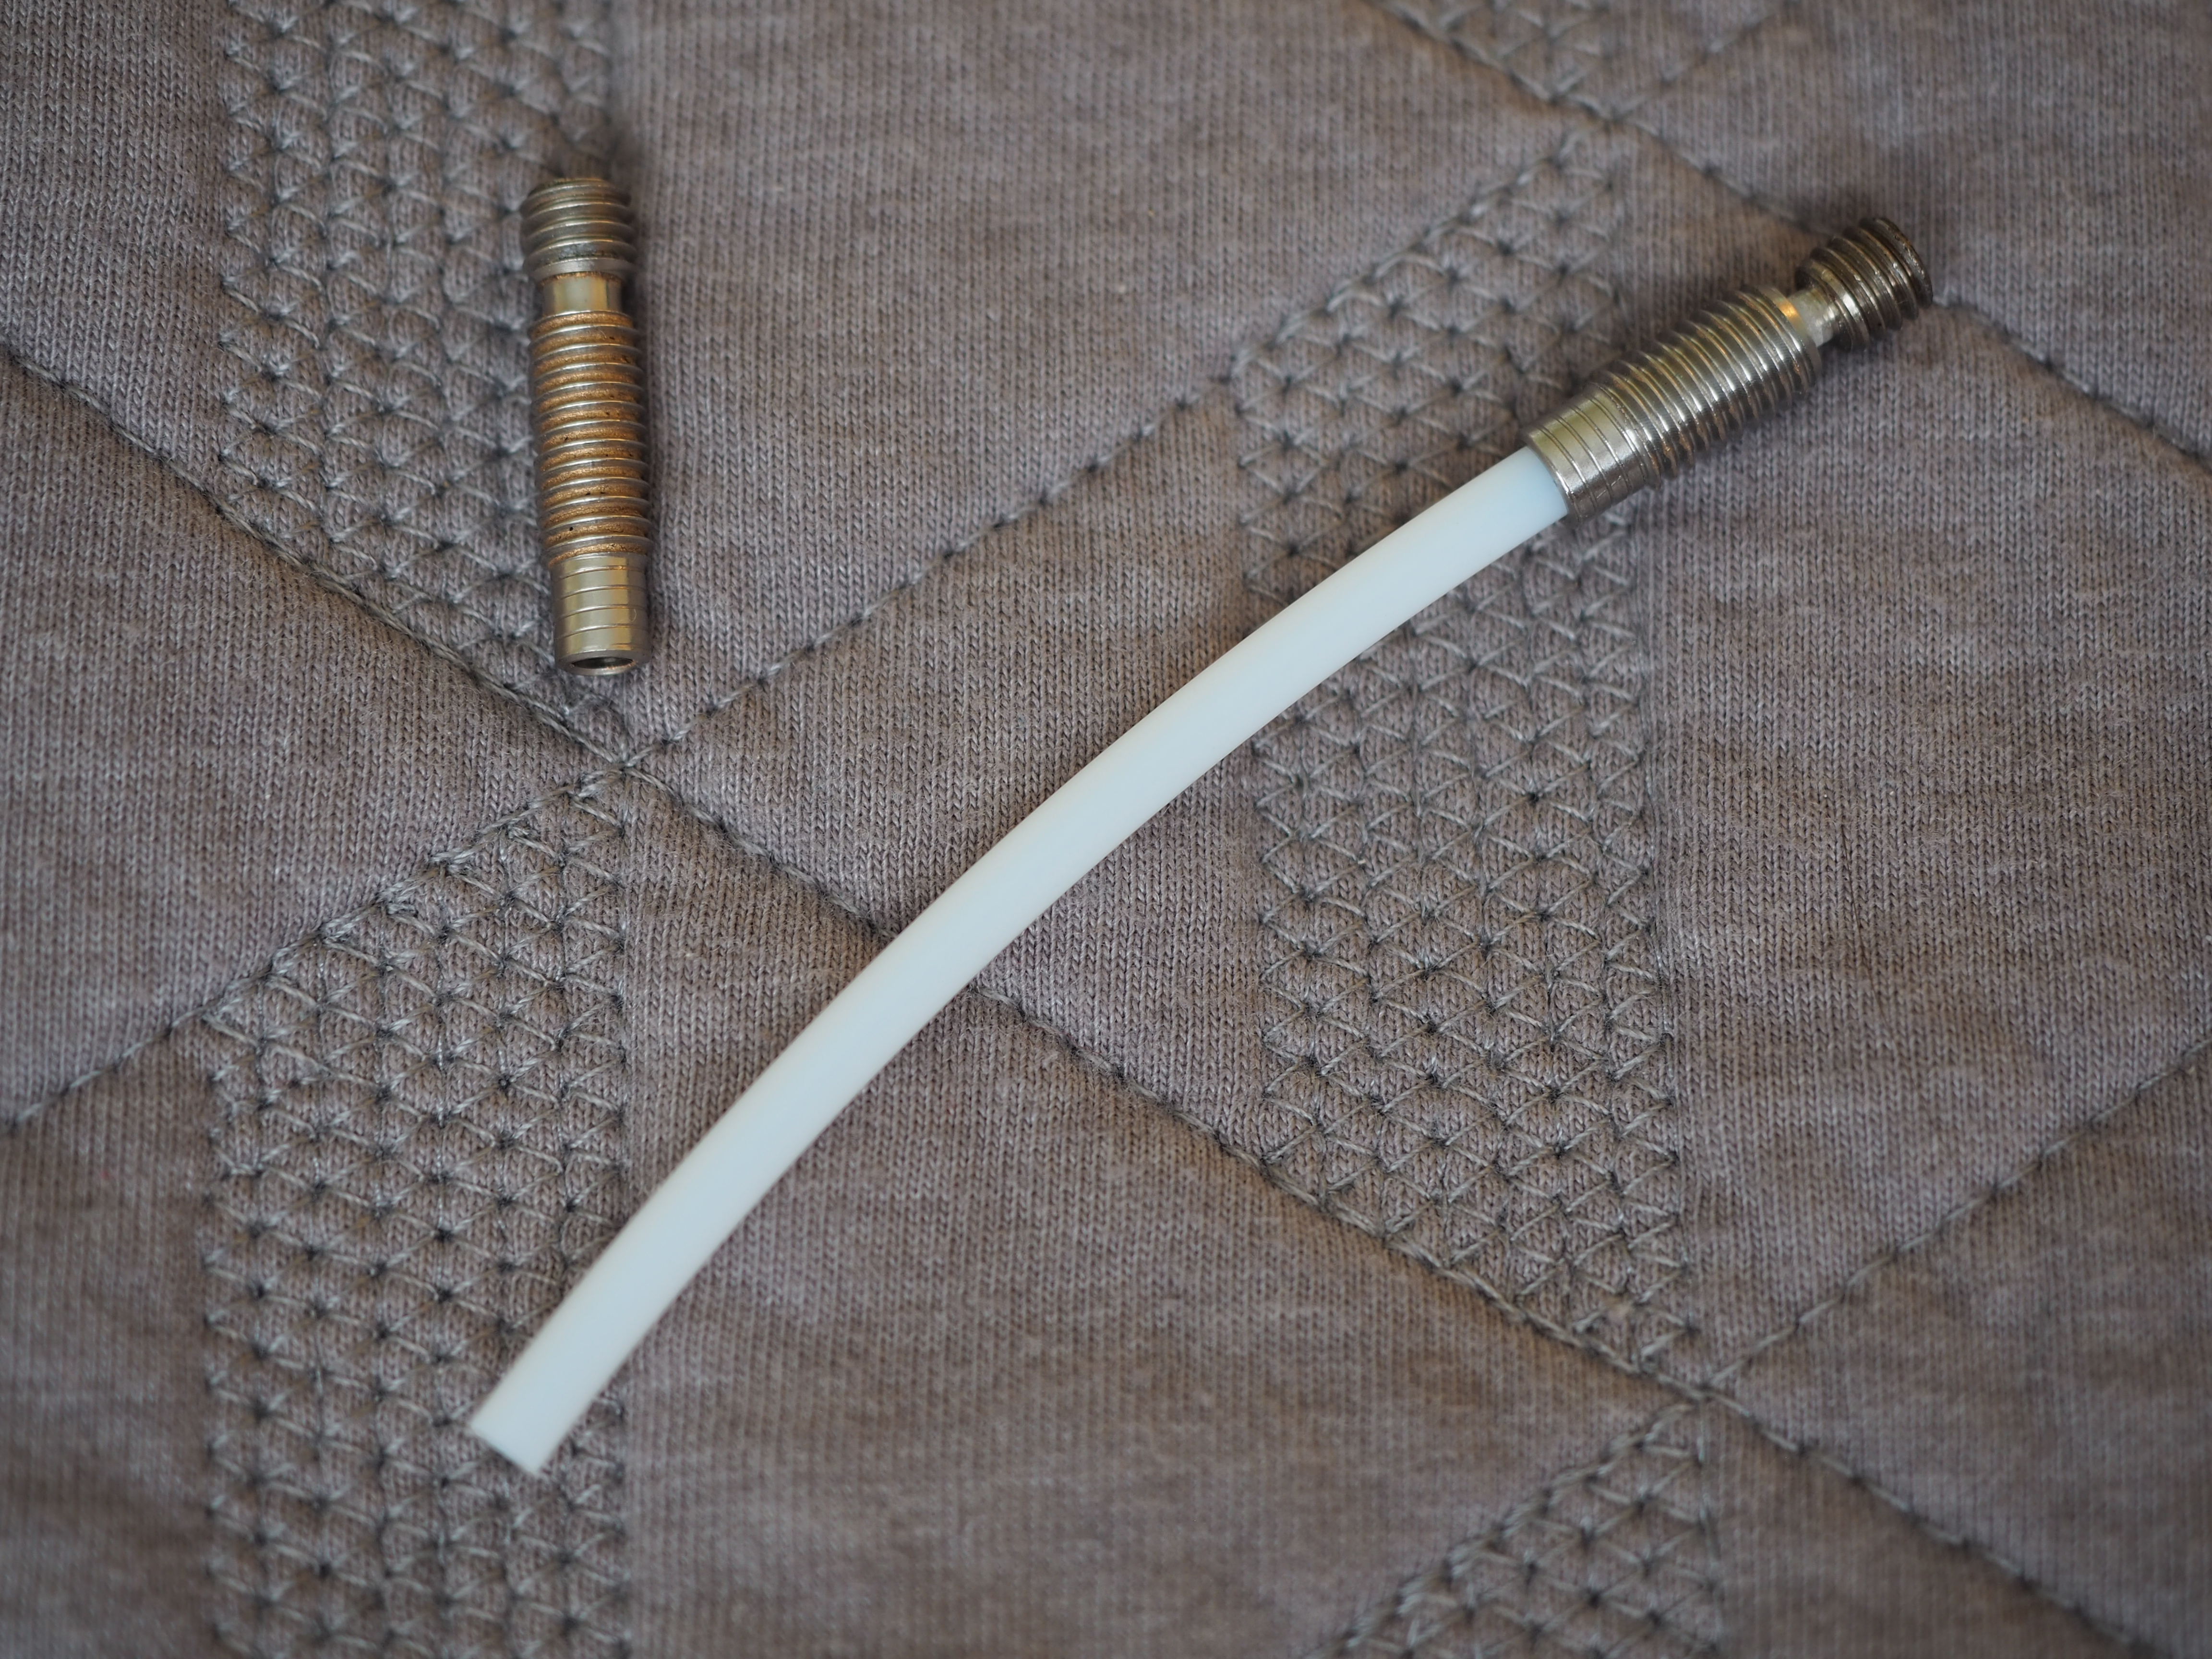
Third, the hot ends use a piece of 4 mm OD 2 mm ID PTFE internal to the hot end to guide the filament from the collet block at the top of the head all the way down to the nozzle. I’m not a fan of having PTFE touching the nozzle. The E3D Lite6 does this and in a blog post E3D describes the shortcomings of such a system.
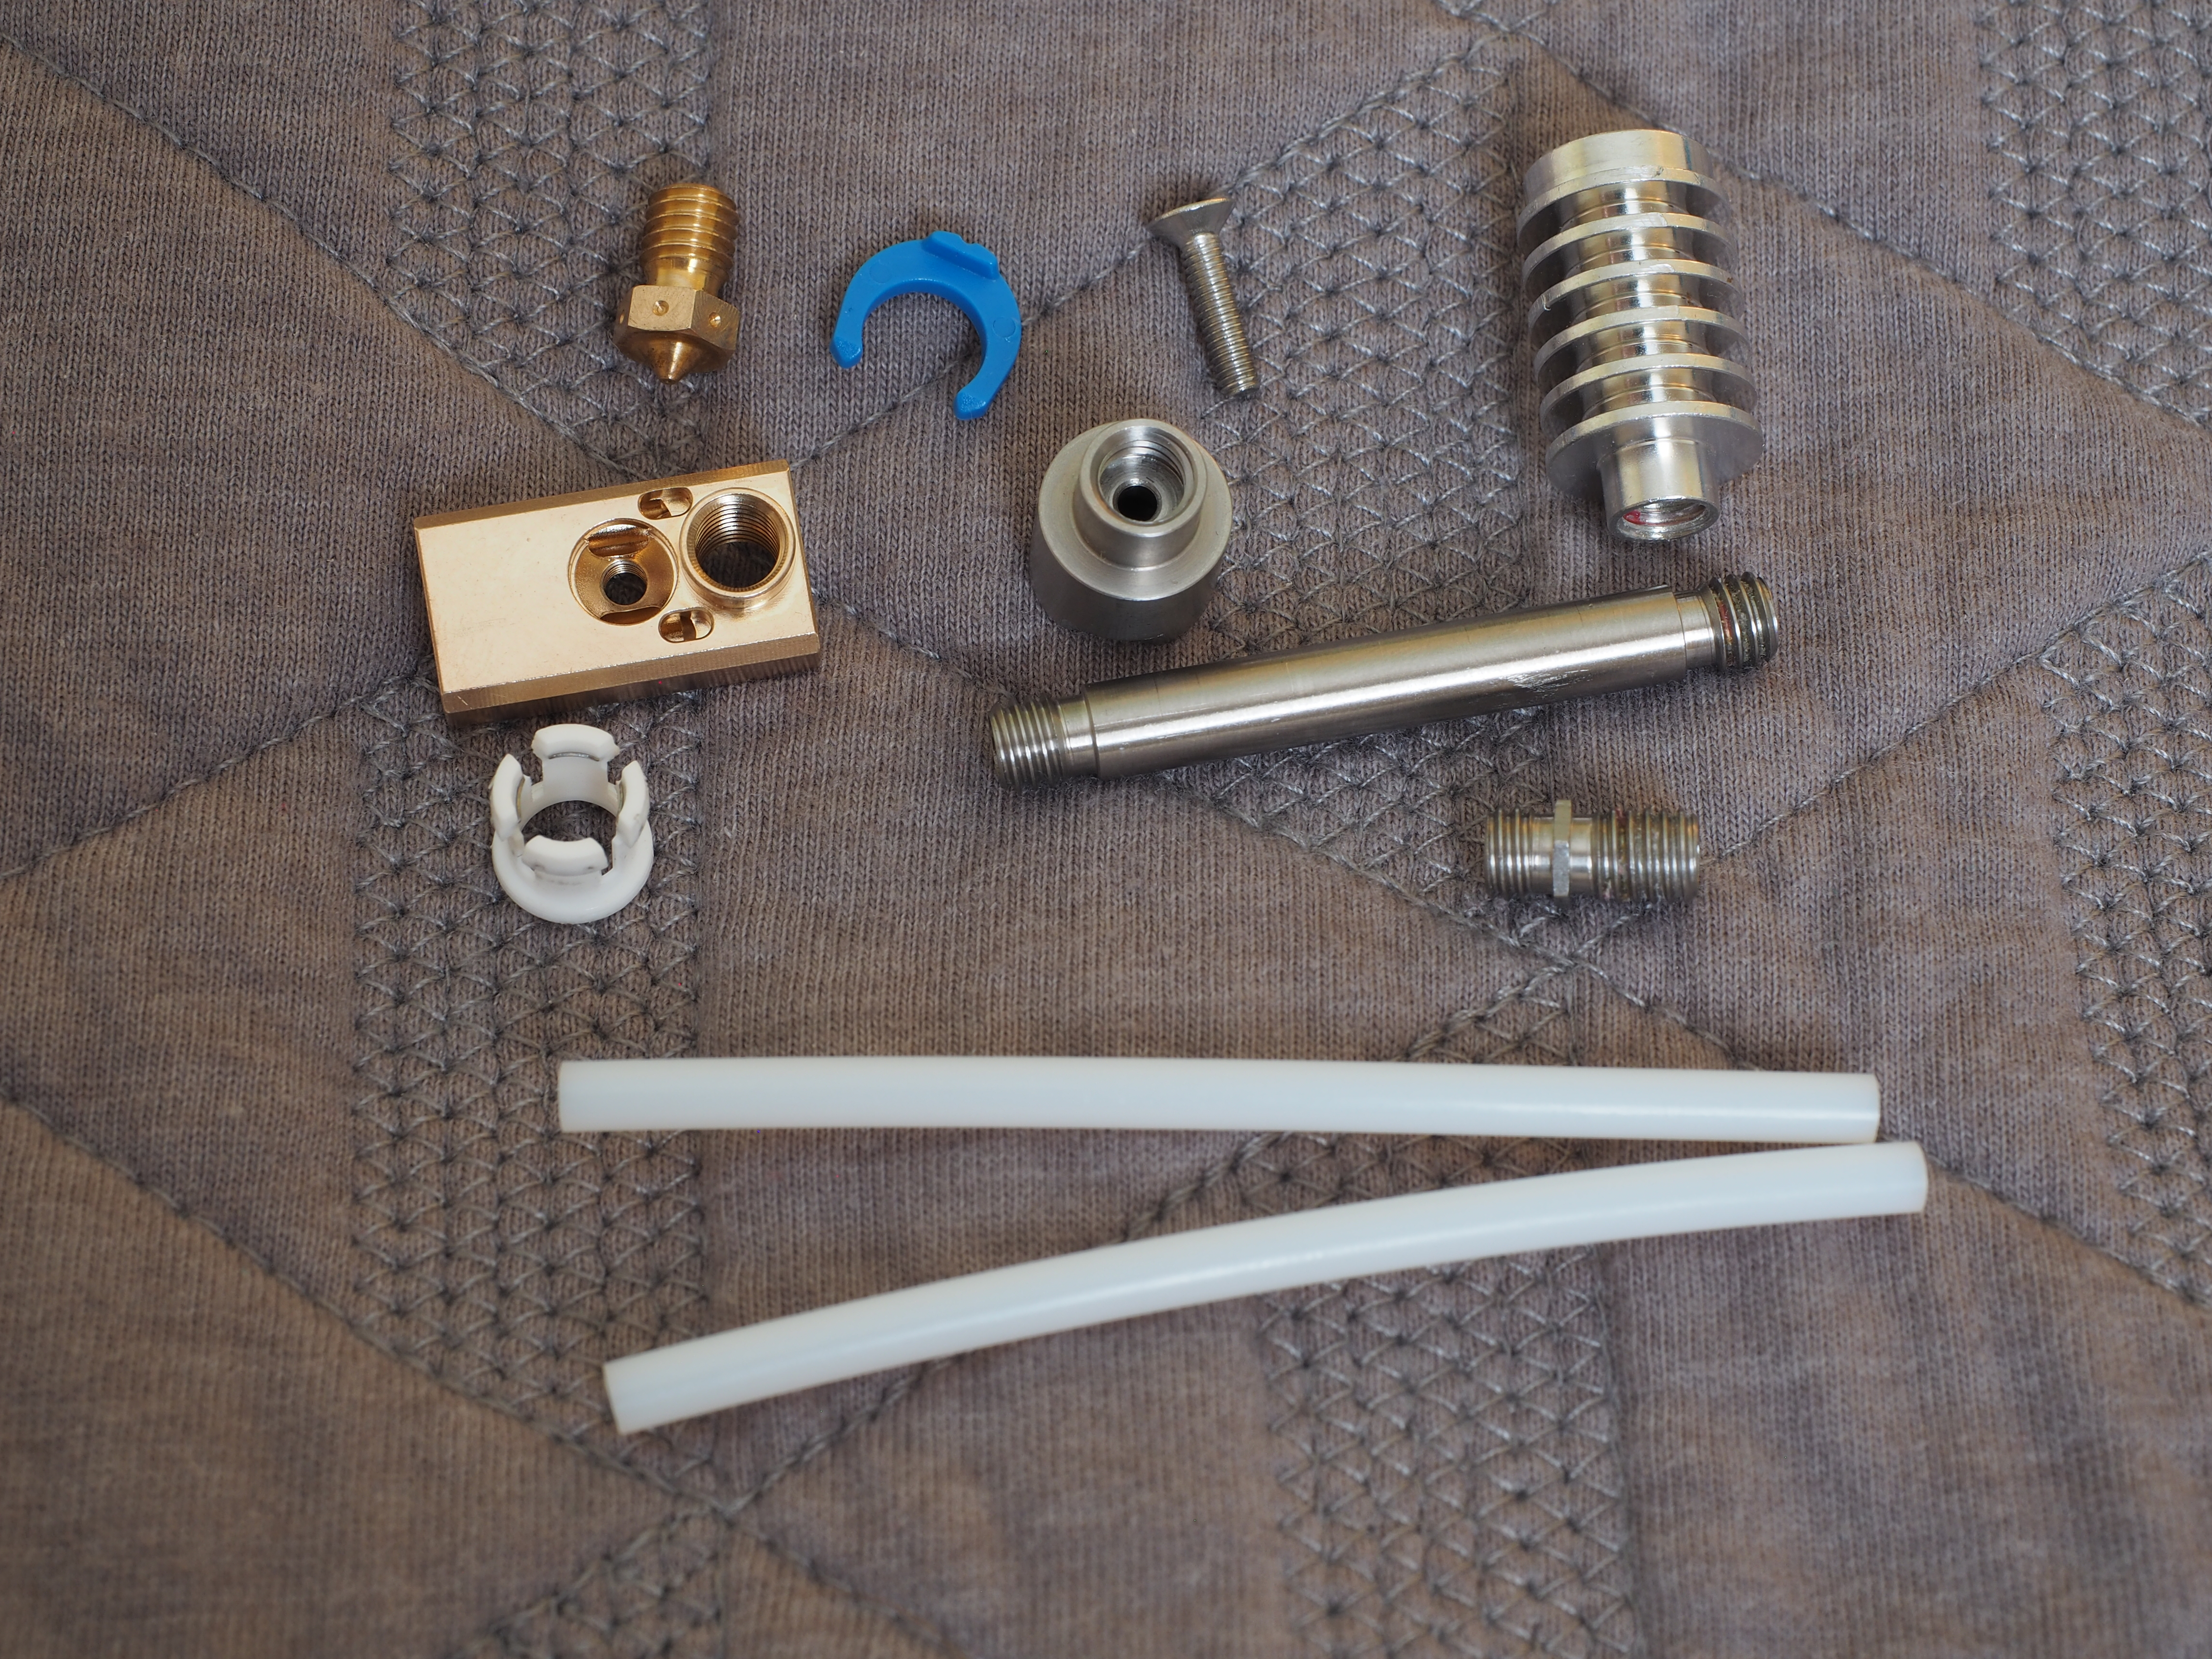
I started disassembling a hot end, taking measurements with calipers, and modeling the parts in Autodesk Fusion 360.
I then overlaid an E3D-V6 hot end and the Ali-Express hot end. After a little bit of poking around I came up with three plans.
The Fastest way to 3 mm filament
My first plan is to drill the collet block to 3.1 mm ID and use some 4 mm OD 3 mm ID PTFE tubing inside of the hot end. I can then run an E3D-V6 nozzle for 3 mm filament. This should be all it takes to run 3 mm filament, albeit with the shortcomings of having PTFE tubing touching the nozzle mentioned above.
The Better way to 3 mm filament
My second plan is to drill and tap the heat sink to accept a 3 mm E3D-V6 heat break. The internal 4 mm OD 3 mm ID PTFE would stop at the heat break. E3D uses this kind of construction, with the PTFE Bowden extending down to the heat break, in their 1.75 mm V6 hot ends.
The better way to 1.75 mm filament
My last plan is to improve the hot end for use with 1.75 mm filament to allow switching between 1.75 mm and 3 mm filament on the same printer. My first idea is to provision the hot end for 4 mm OD bowden tubes. I’m a fan of Capricorn Premium PTFE Bowden Tubing and currently use their XS Low Friction 2.85 mm Bowden Tubing on my Ultimaker. I’d like to use their 4 mm OD 1.9 mm ID tubing for 1.75 mm filaments. To do this I think I can use an E3D embedded bowden coupling for the top of the collet block. This requires an 8 mm hole 6 mm deep. The current collet block has an undercut for the 6.35 mm collets, which means it likely won’t work to just push one of these into the current collet block, but I’m going to try first before machining a whole new collet block.
After solving the bowden collet I’d drill through the collet block to accomodate the bowden down into the spacer tube and heat sink.
Lastly, I’d like to use the 1.75 mm E3D-V6 heat break. This should provide a robust solution for 1.75 mm filament. Unfortunately, the heat sink is internally threaded for M6x1 and the heat break is externally threaded for M7x1. The OD of the heat sink extension is 7 mm in diameter, which prohibits rethreading the heat sink for M7x1. The ID of the heat break is 4 mm, which would make the wall too thin to be externally threaded M6. I could trim this section off, leaving just the section that is thicker walled. The bowden tube would then be butted up against the end of the heat break. While this should be an improvement over having the bowden butted up against the nozzle, I’m not sure if it will be as reliable as the E3D heat break as it is intended. E3D must have a reason for using M7 threads and having the bowden inserted into the heat break rather than using M6 threads and having the bowden butt up against the heat break. There must be a reason for that short length of 6 mm OD and 4 mm ID tube on the heat break.
Conclusion
In closing, I see a good amount of promise for this hardware with easy modifications. I have some 4 mm OD 3 mm ID PTFE tubing on the way to try the fast way to 3mm filament with.