Test fitting, Machining, and Fabricating a Down Pipe
Introduction
We previosly discussed the beginnings of development on a downpipe for the Suzuki Cappuccino. In this post we’ll discuss developing operations and fixturing for CNC machining operations, fixturing for the weldment, and welding operations.
CAD
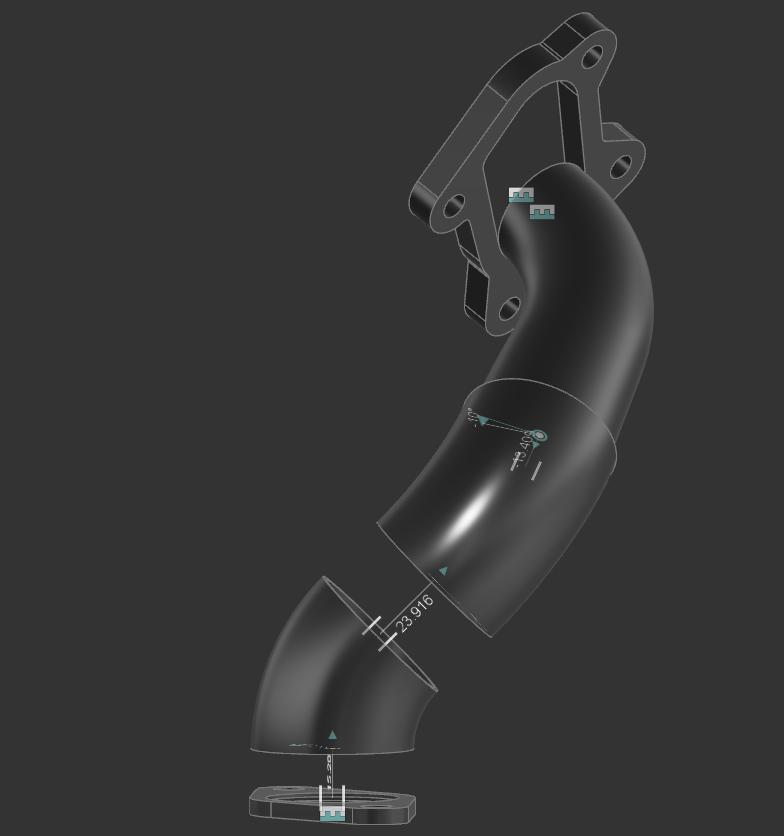
The downpipe is modeled in Autodesk Fusion 360 using off-the-shelf bends and cones. The elbow connecting to the turbine outlet must be manufactured in-house. The flange connecting to the rest of the exhaust will also be manufactured. The relationship between the elements is established as assembly joints. These joints establish constraints between the components which define the lengths of straight tubing and angles between components.
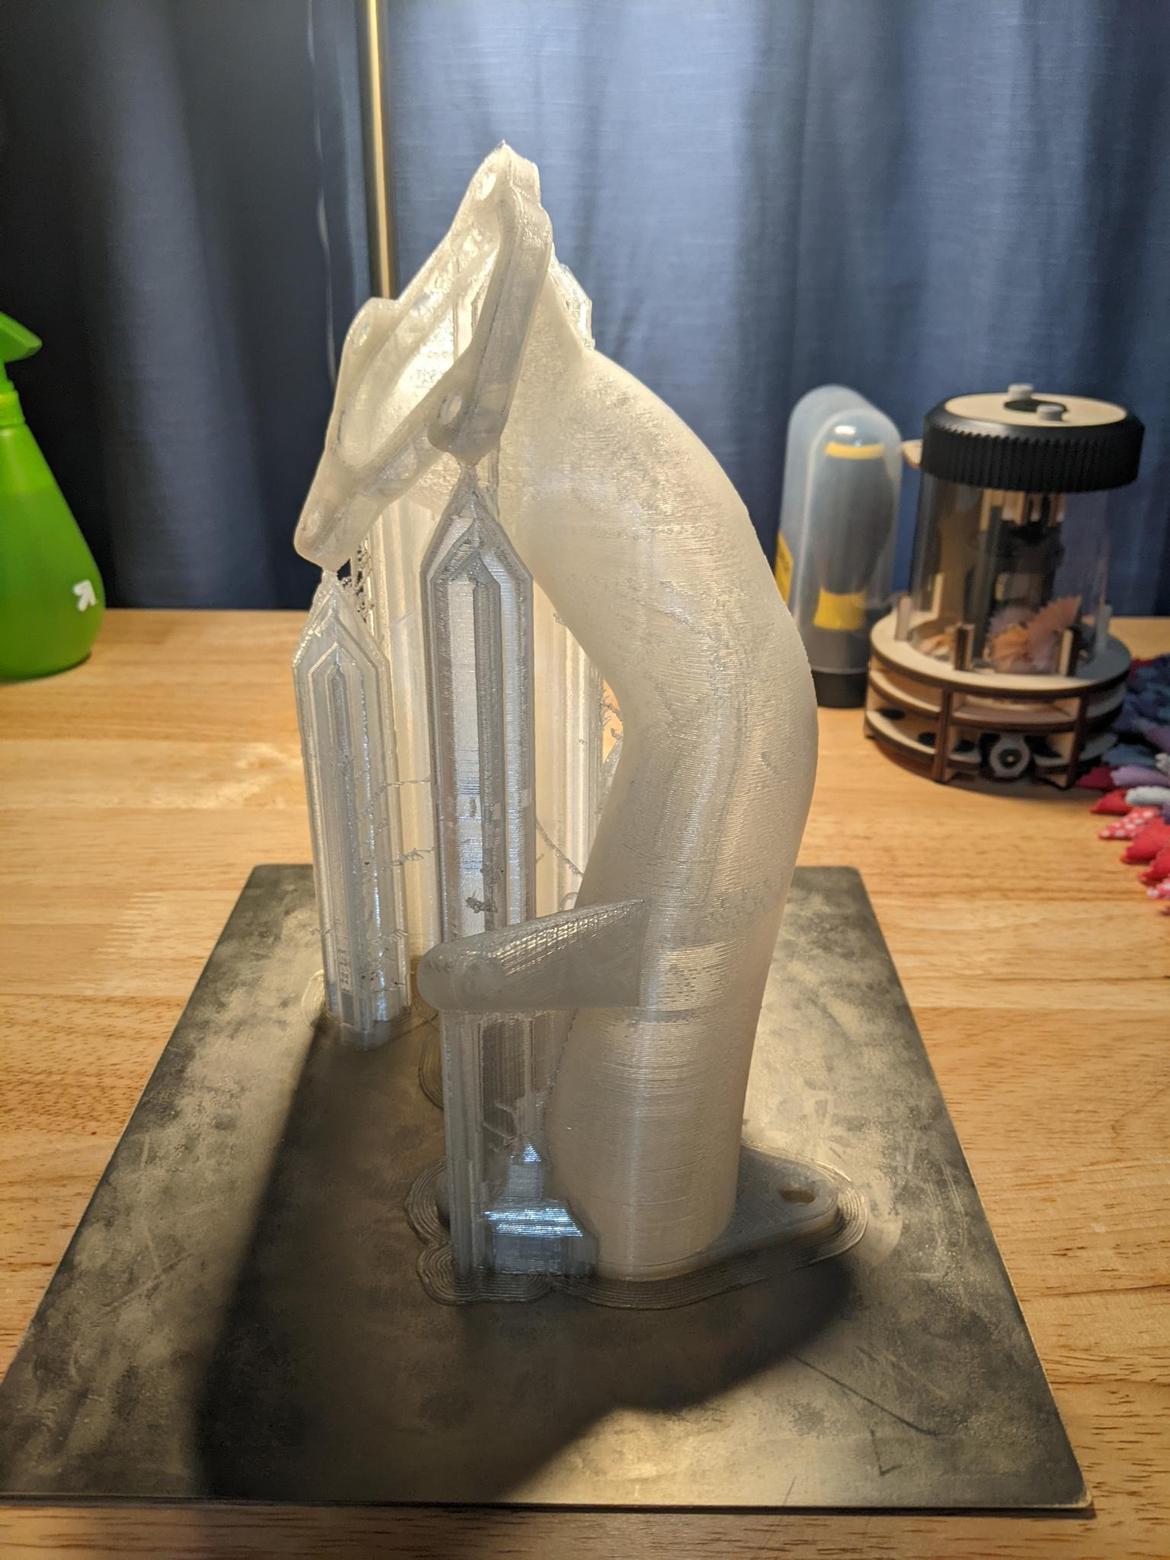
Printed prototype
Once a configuration of the assembly is decided on, it can be 3D printed in PLA on an Ultimaker 3 Extended.
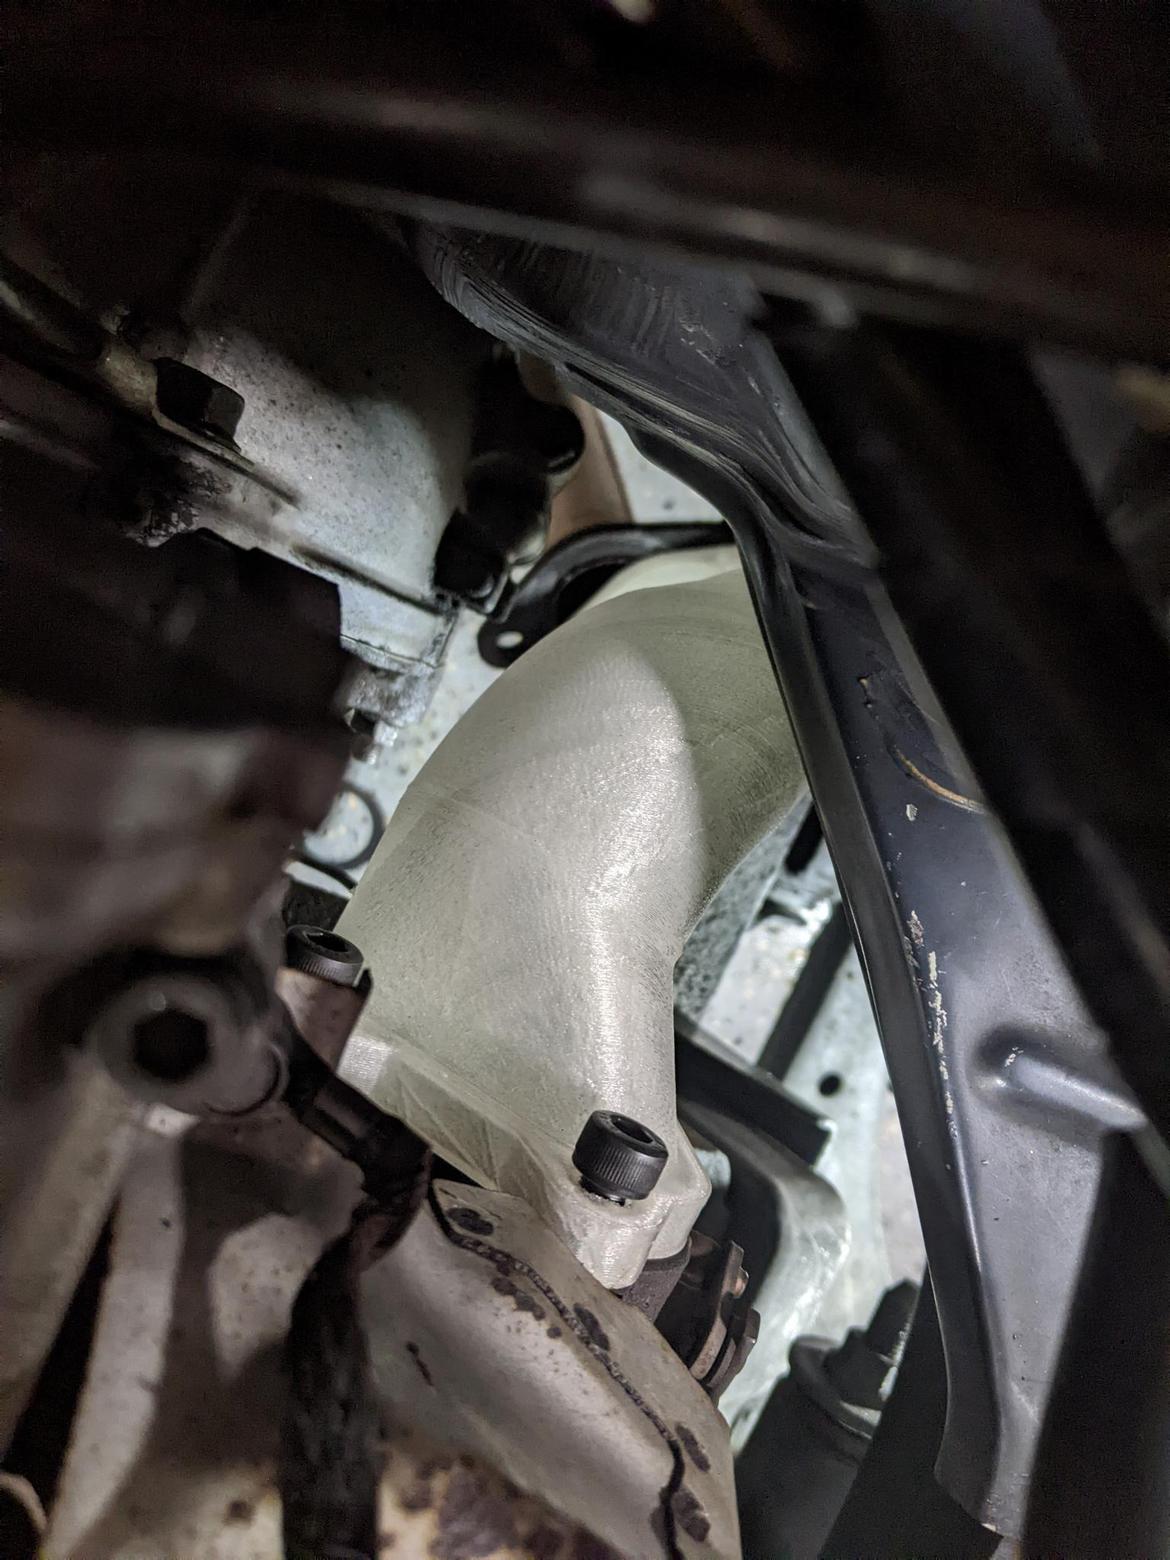
This can then be test fitted on the car. The constraints of the assembly can be adjusted and the model reprinted. In this way the design can be iterated cheaply and easily. The below image shows a printed model being test fitted on the car.
CNC Machining
Once the geometry of the downpipe is established, design for manufacturing can begin. First, the orientation of setups is estalbished, then features are designed based on cutting tool access. The elbow for this downpipe starts out as a rectangular billet of metal. This is held in a set of serrated jaws by a very thin margin. Features are machined from this side, leaving the margin. The part is then turned over and held in soft jaws to be machined from the opposite side.
The elbow was first machined in AlMg1SiCu. This allowed for faster and less expensive iteration of toolpaths before moving to the slower, and more difficult to machine X5CrNi18-10.
The image below shows a part following the first set of operations. From this direction, the flange face and much of the internal features are fully machined.
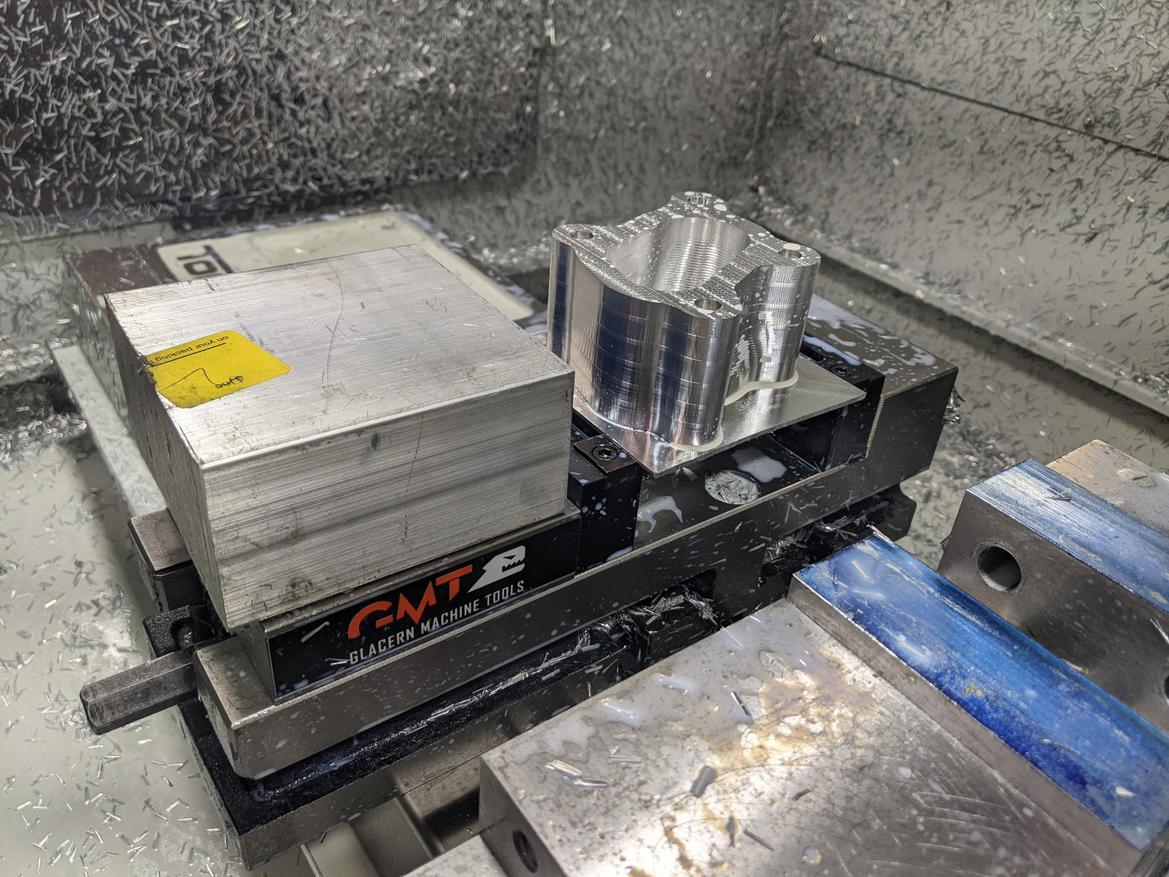
The soft jaws for the next operation can be seen on the right, prior to being machined to fit the part. The setup for the second operation is shown below. This operation removes the thin carrier and finishes the external features and much of the interal features.
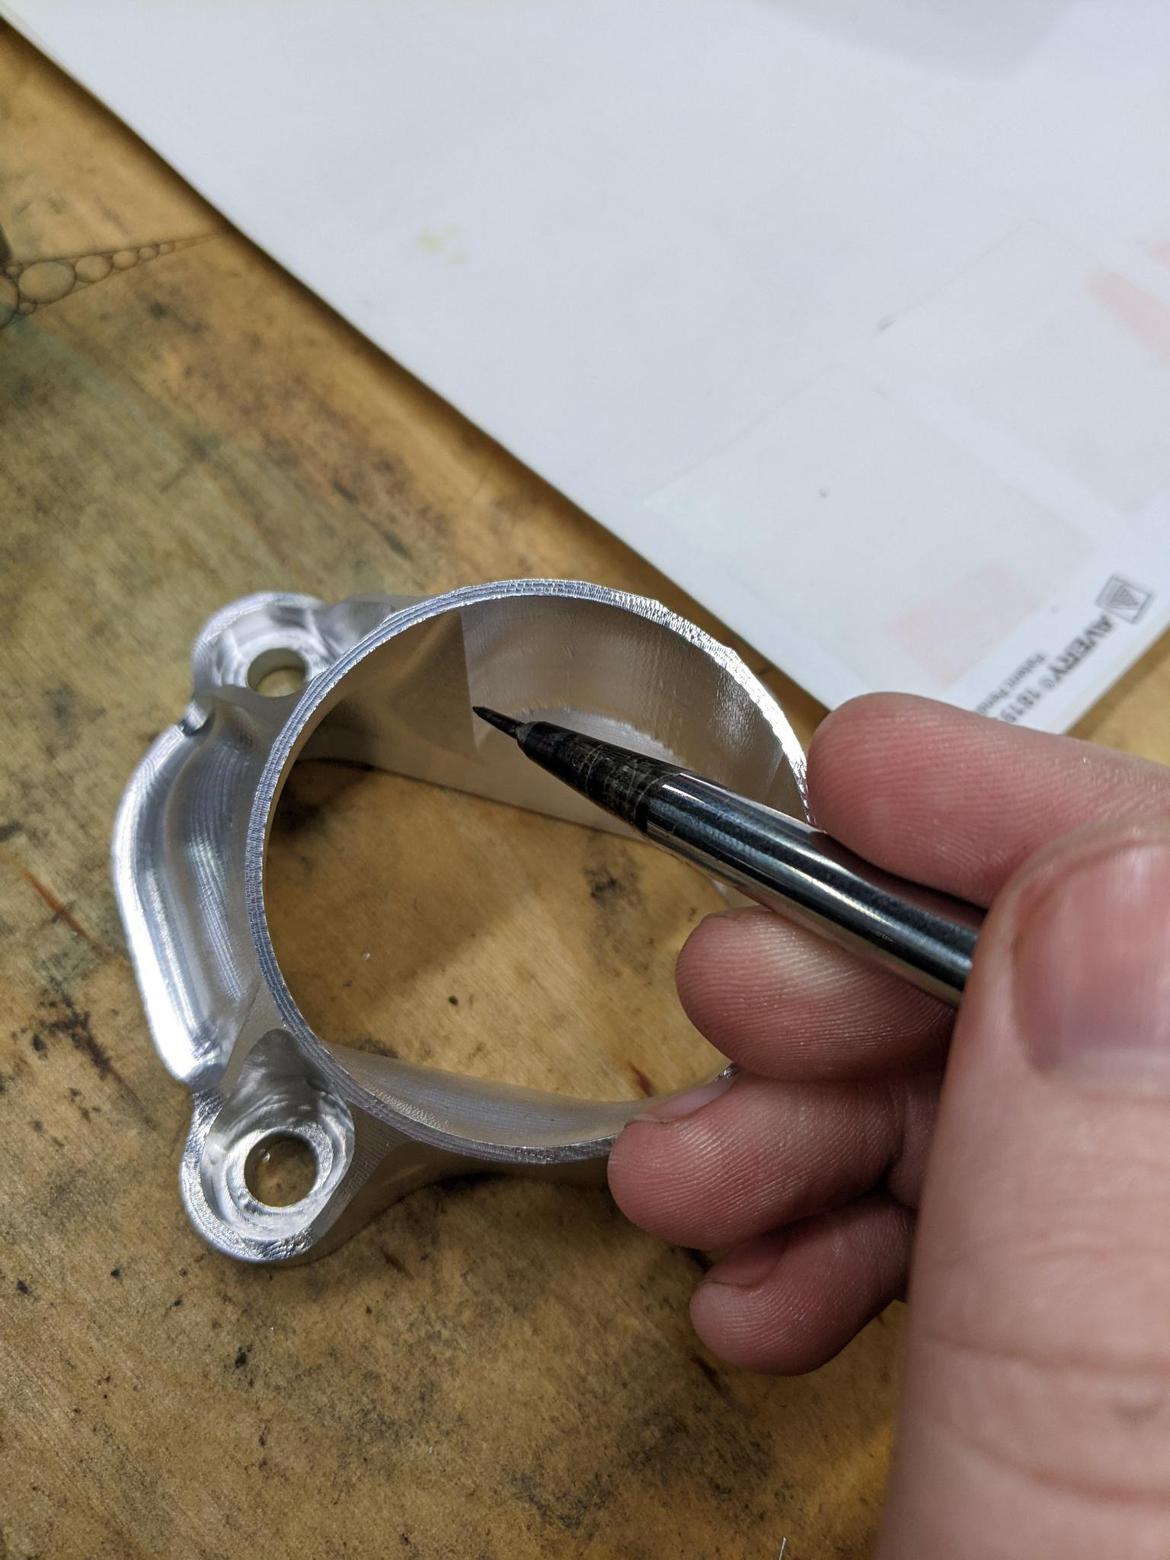
Because these two operations can only machine features which are accessible from these two opposite sides, some areas of the model remain unmachined. An example of that is shown below:
Third Operation Fixture
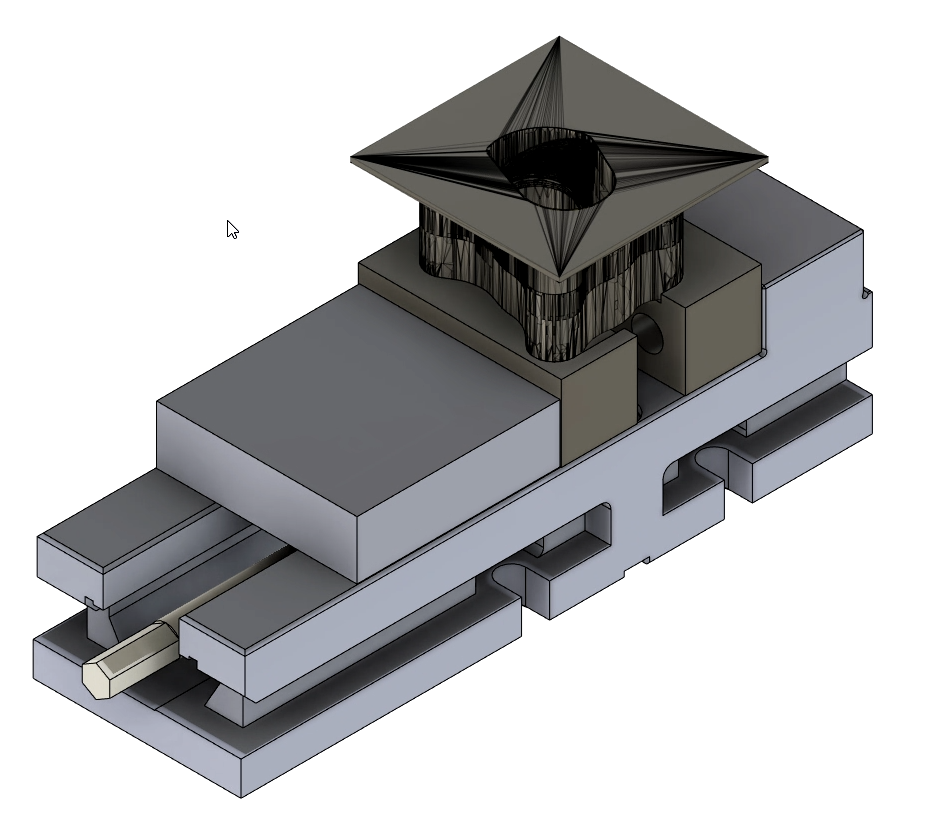
To access these areas, a third setup is required. The orientation of this third operation will be a compromise based on access to the offending areas and complication of the fixture. For this part, the fixture aligns the elbow outlet parrallel to the table of the mill.
Manufacturing of this fixture, establishing datums, and probing in the coordinate system is shown in the following images.
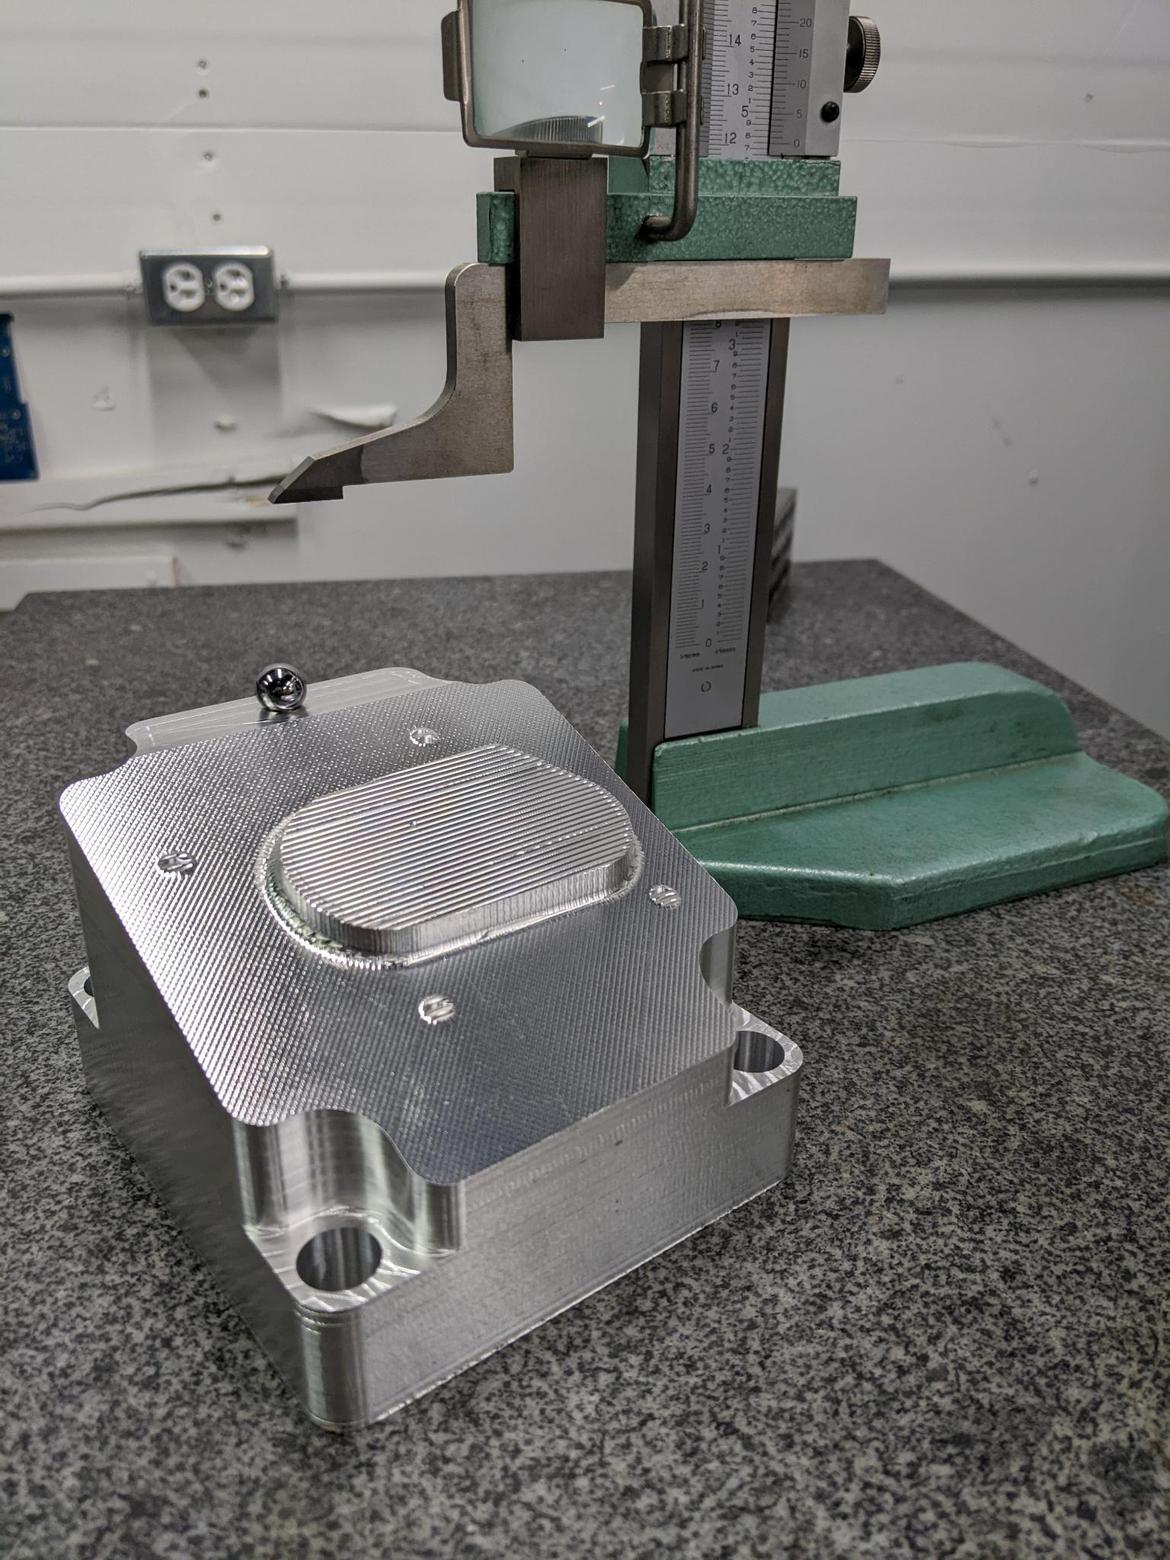
The first machining operation on the fixture finishes outside fixtures and roughs in the angle which will establish the orientation of the part on the fixture. This is then angled in the vise and trammed flat, as shown in the image below. A sphere is used to establish the coordinate system for this operation, as shown below. The sphere is attached to the fixture with adhesive and its position on the fixture is measured at the surface plate. This is then used to define the position of the origin for the subsequent toolpaths. The sphere is then indicated in on the machine and the work coordinate system is established. The remaining features are then machined.
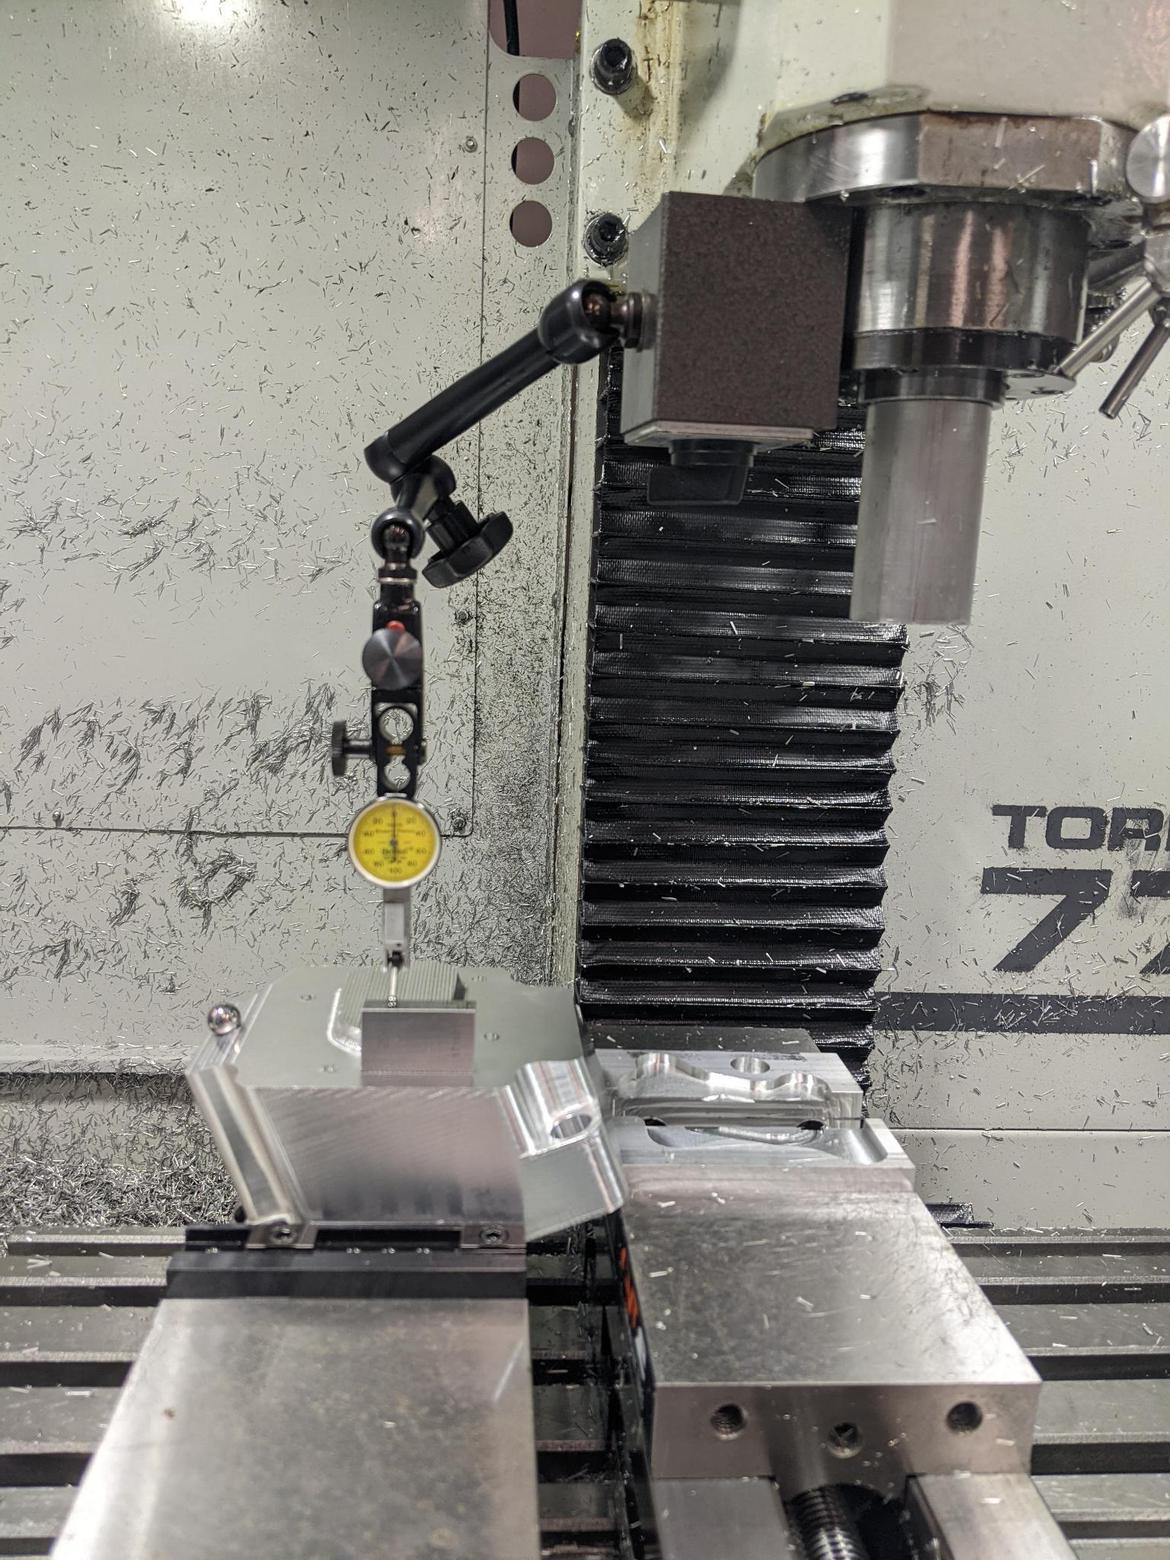
After the fixture is machined it is measured on the surface plate to determine the accuracy of the operation. A test part is placed in the fixture. The top surface of the part should be flat and 20 mm above the top surface of the fixture. The origin of the fixture is the center of the hole, on this top surface.
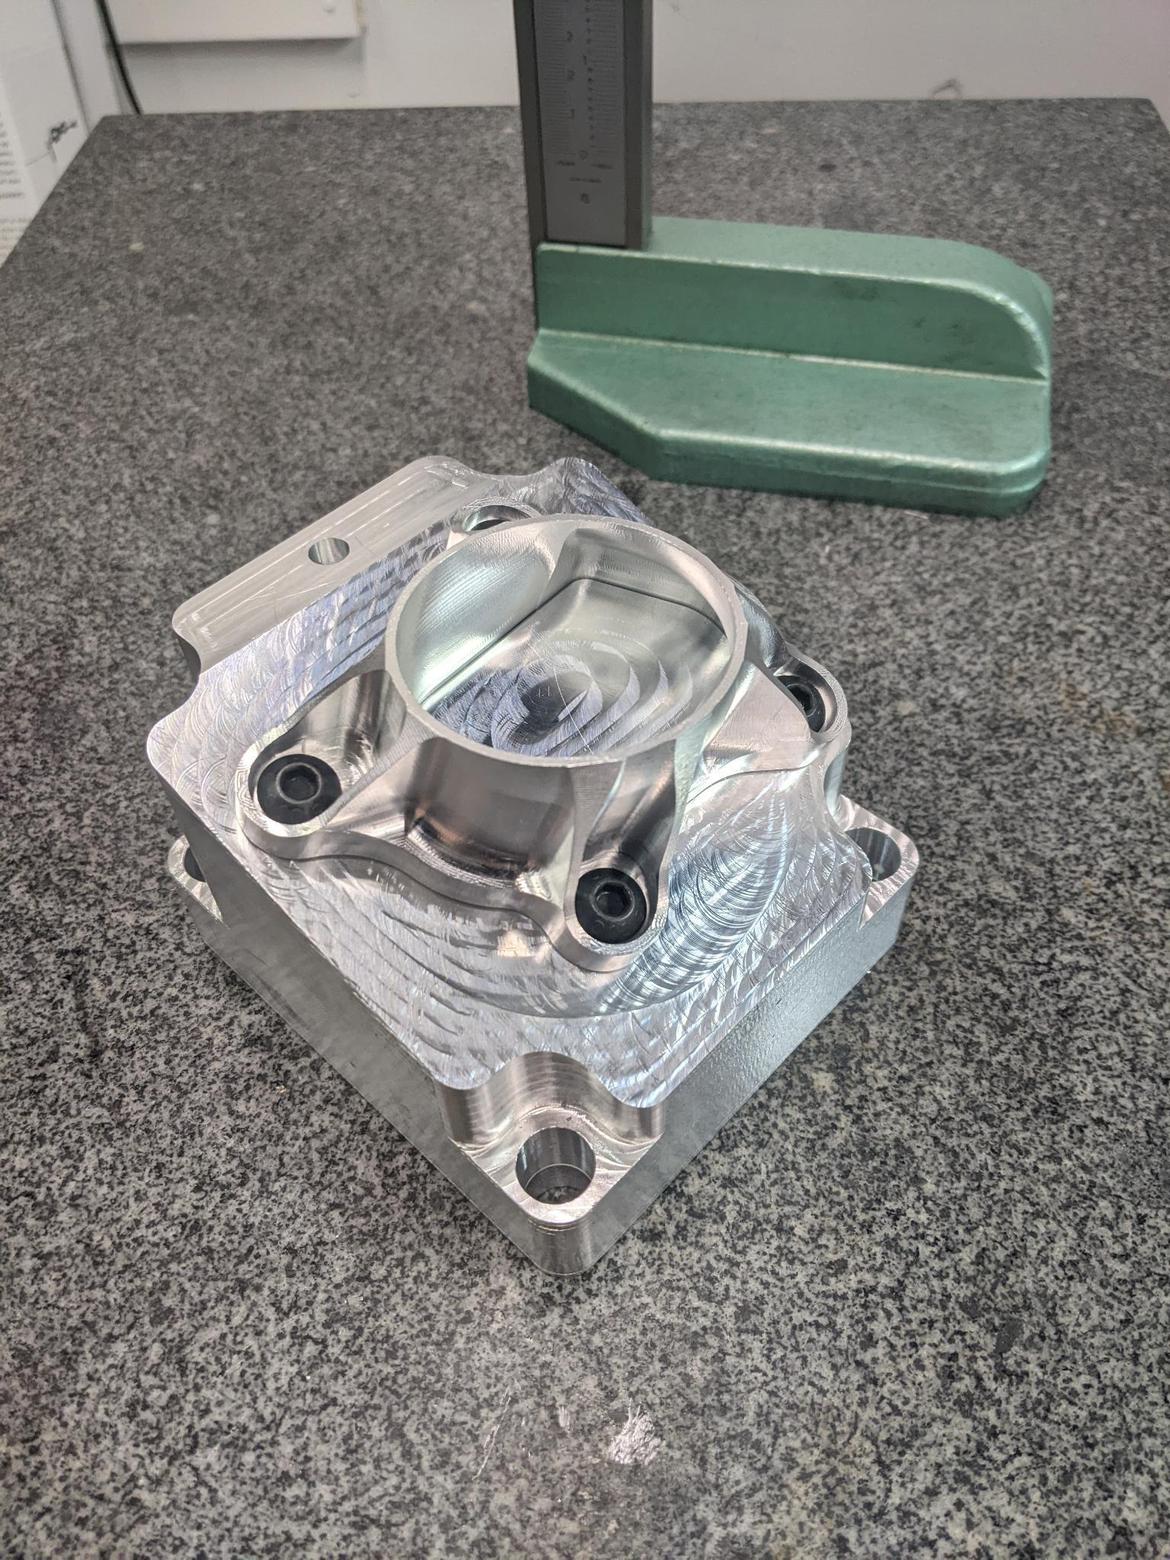
The following two pictures show the relationship between the part and fixture, using a dial test indicator and 20 mm gage block to check the relationship of the two surfaces.
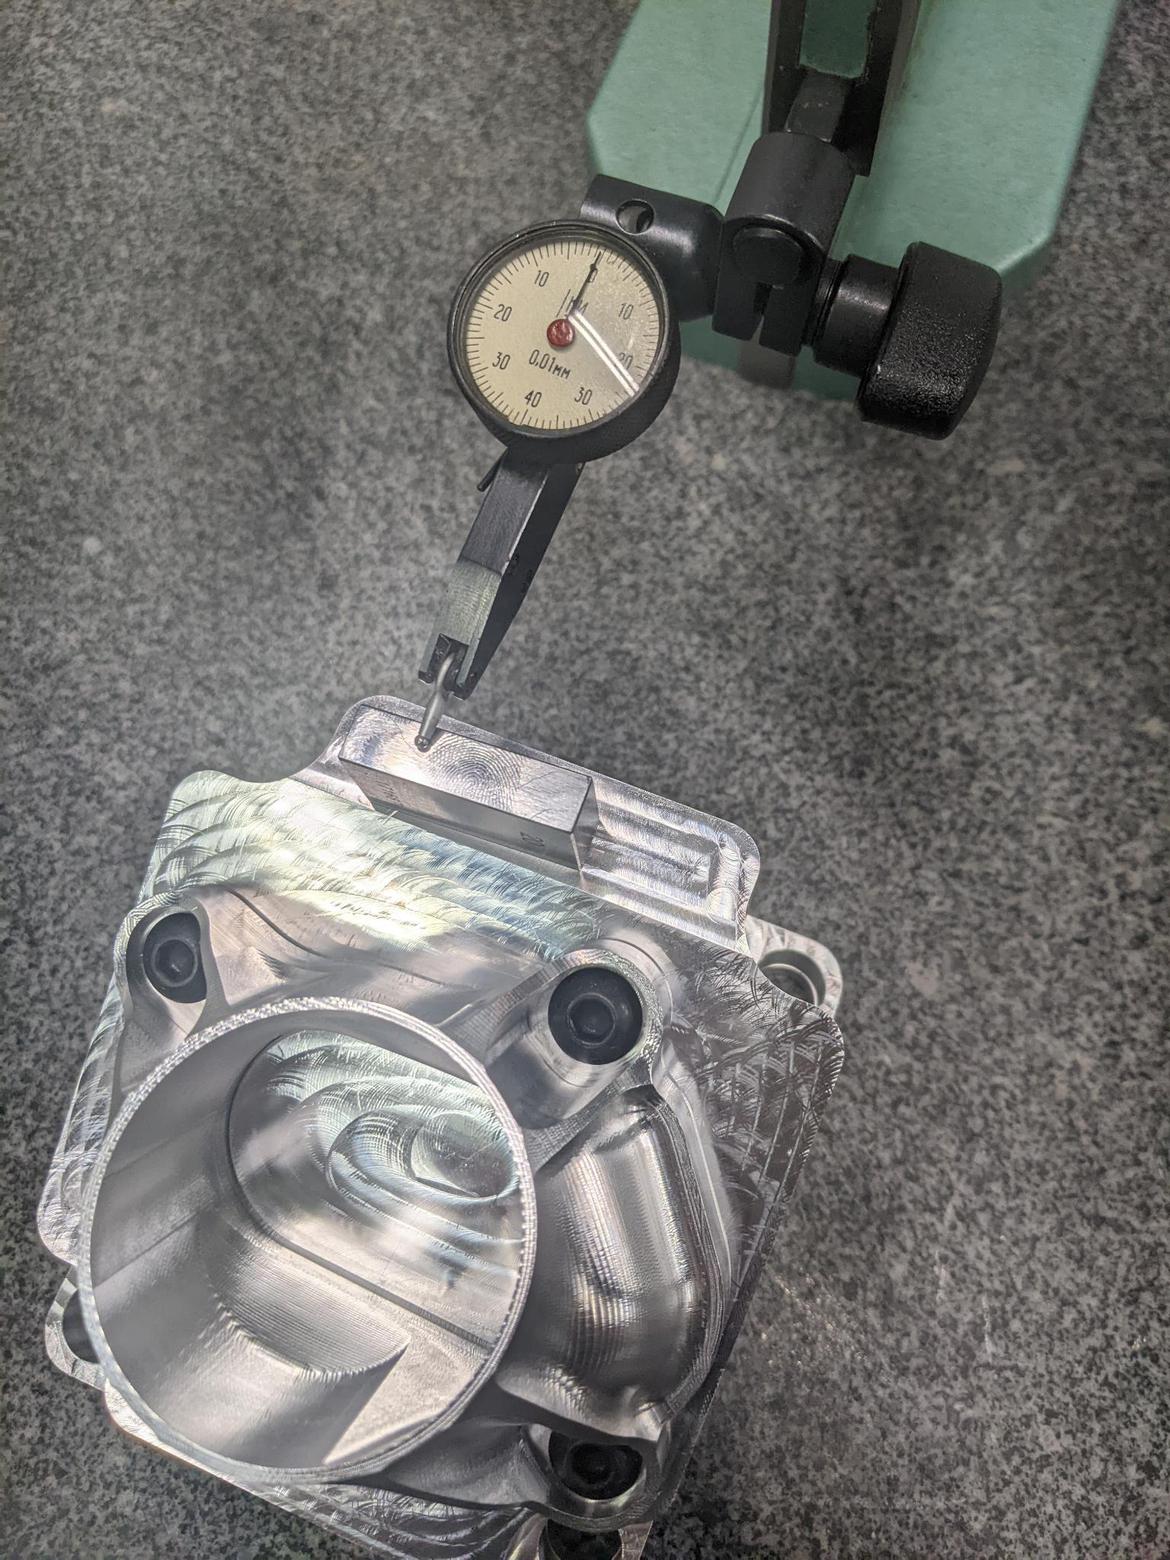
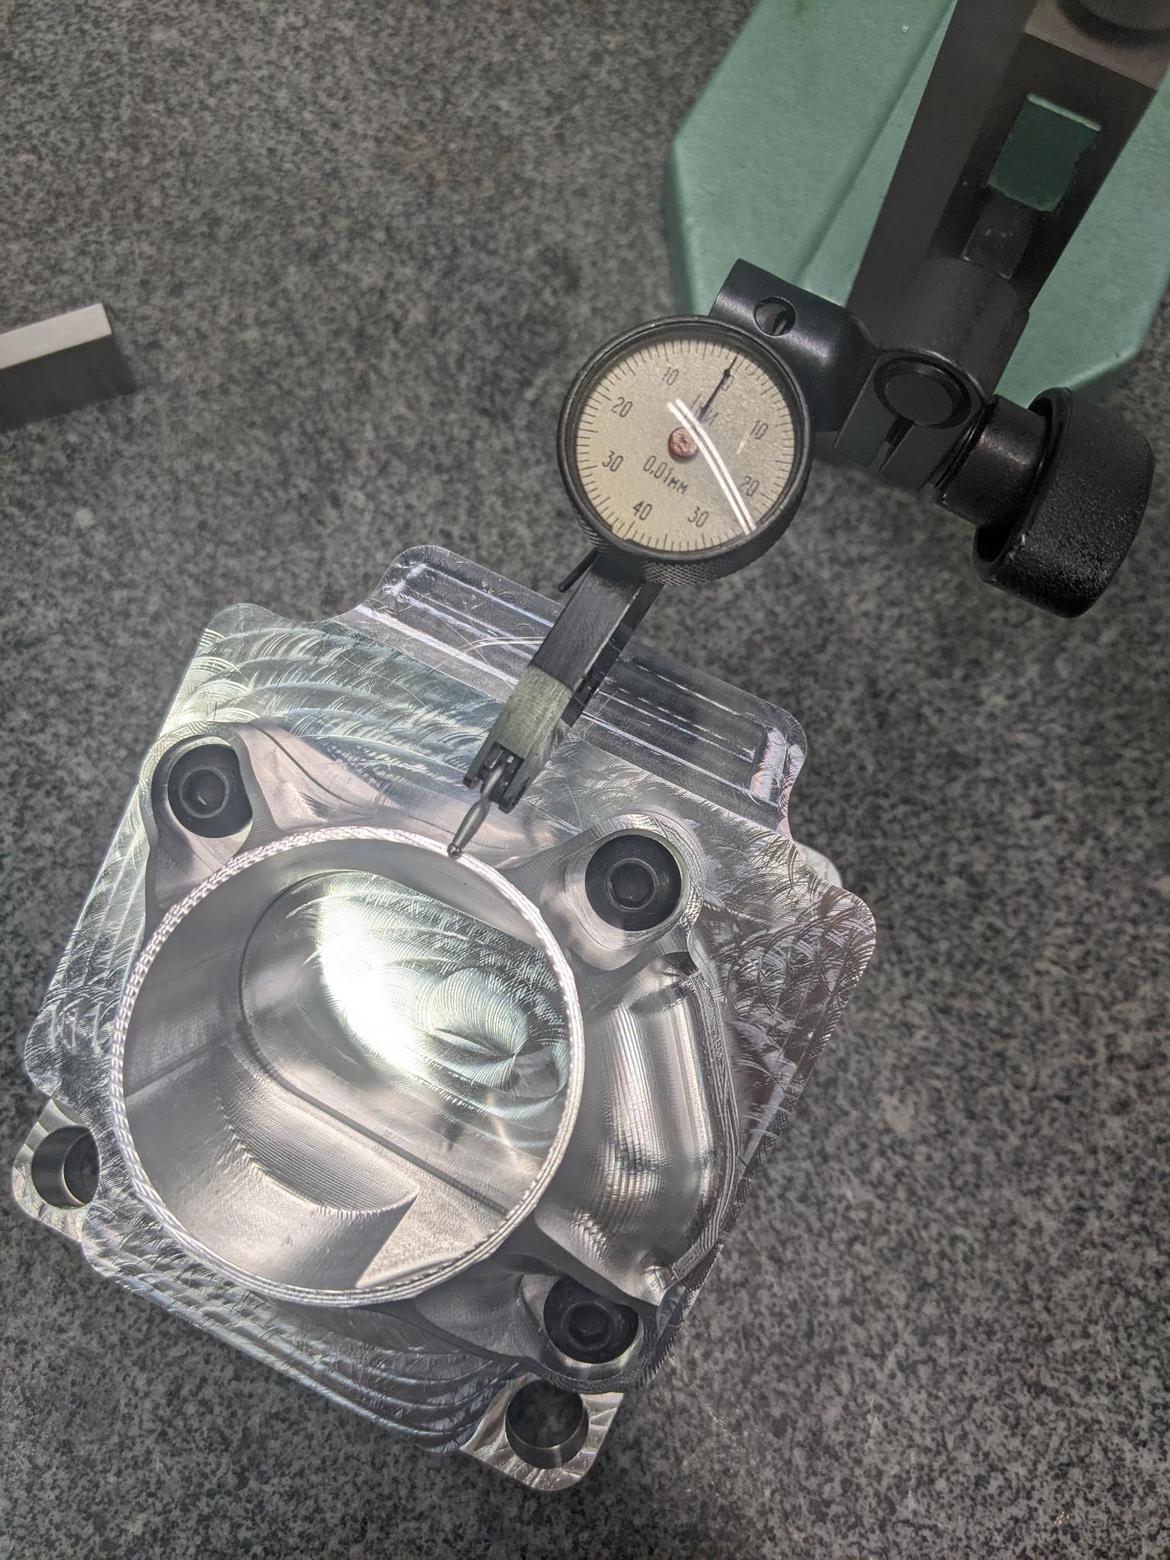
Once the 3rd setup fixture was finished and aligned in the machine an elbow could be machined from the final material. Because of the difficulty of machining X5CrNi18-10 and the expense of the raw material, only one part was machined before continuing to joining operations. The fixtures and toolpaths were left on the machine, and tooling was left assembled in case another needed to be manufactured.
Weld fixtures
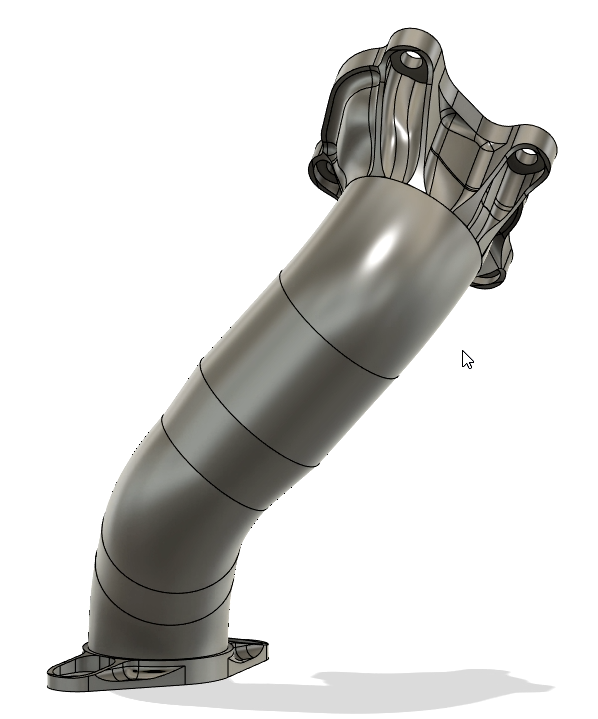
The outlet of the elbow is 57.15 mm in diameter, while the outlet of the downpipe is 50.8 mm in diameter. A cone is used to reduce from the larger to smaller diameter. This cone is manufactured by cutting down a larger part. To do this, a fixture was designed and printed to hold the cone square for sawing, and then milling to length. All straight sections were similarly cut and milled to exact lengths, with the intention of welding all joints autogenously.
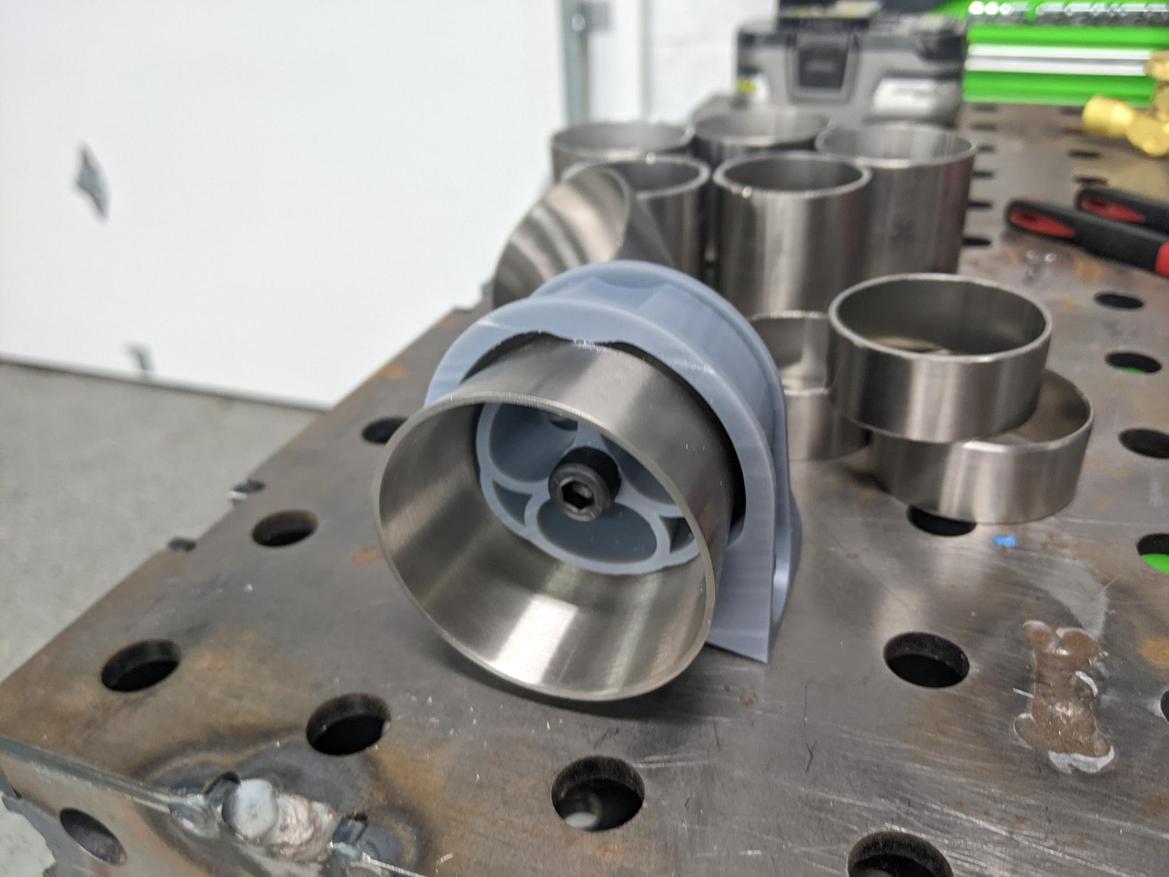
The order of operations of the necessary joints was developed to allow the joints which did not require specific orientations to be performed without bespoke fixturing, as shown below.
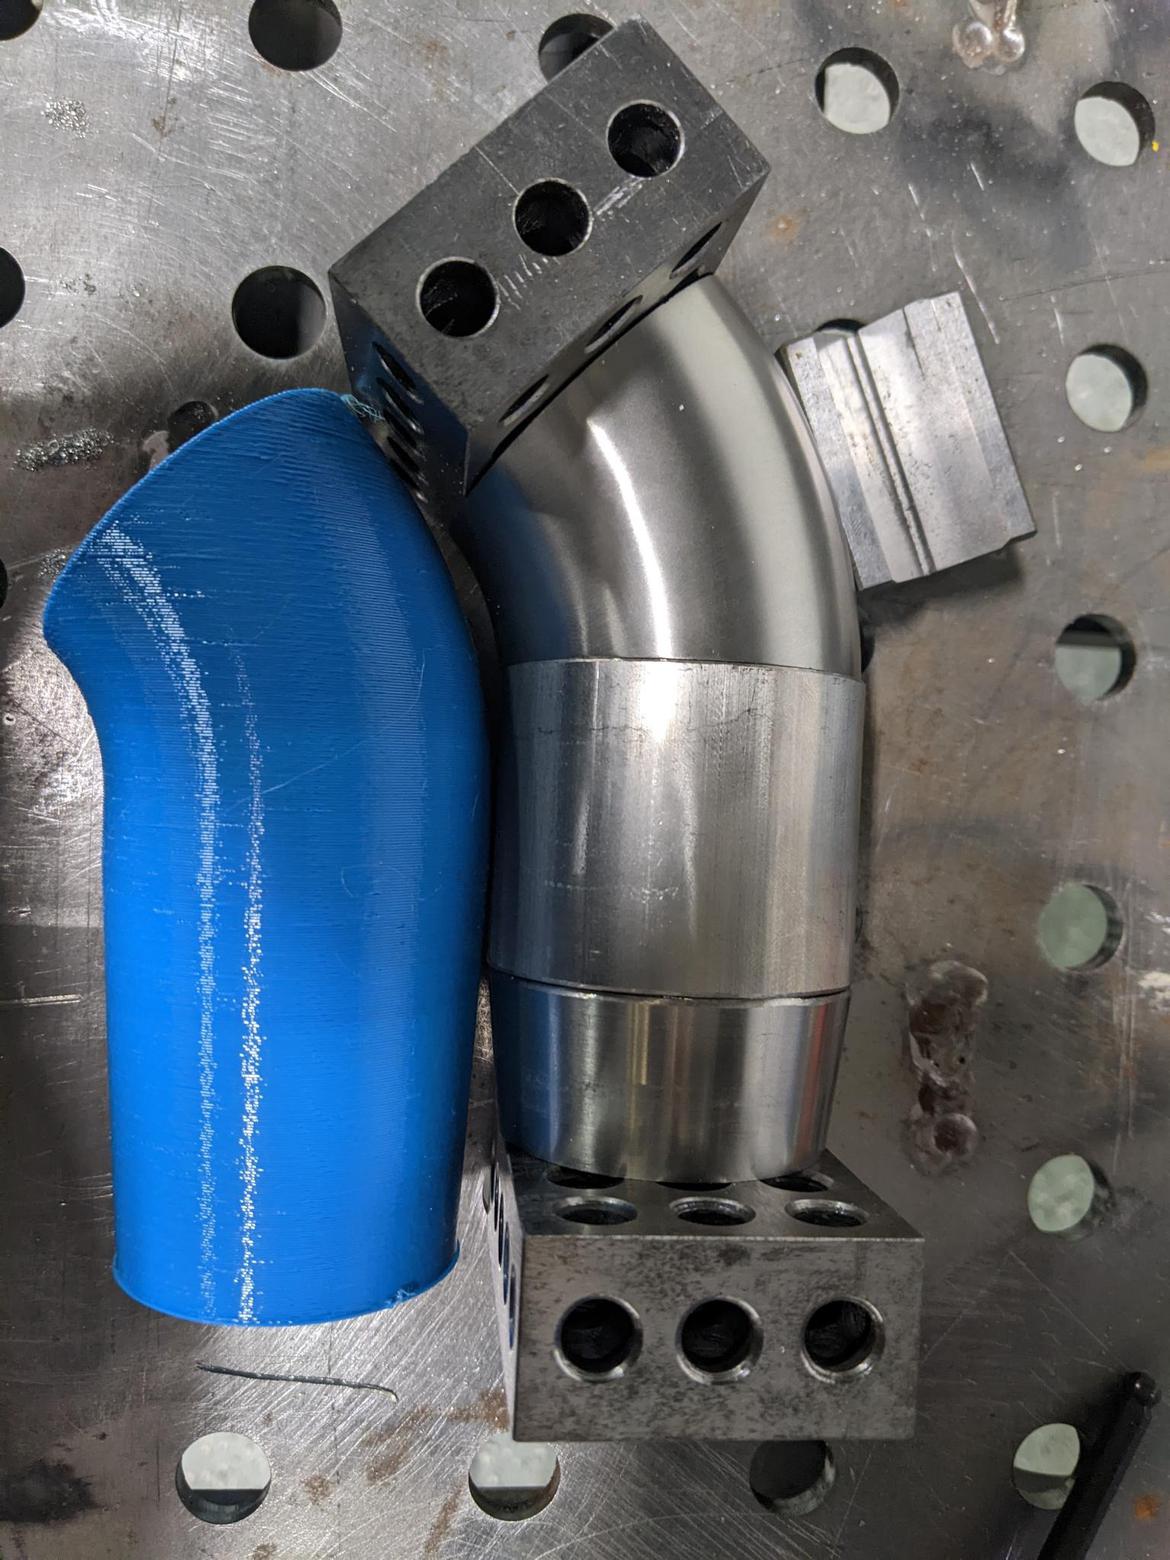
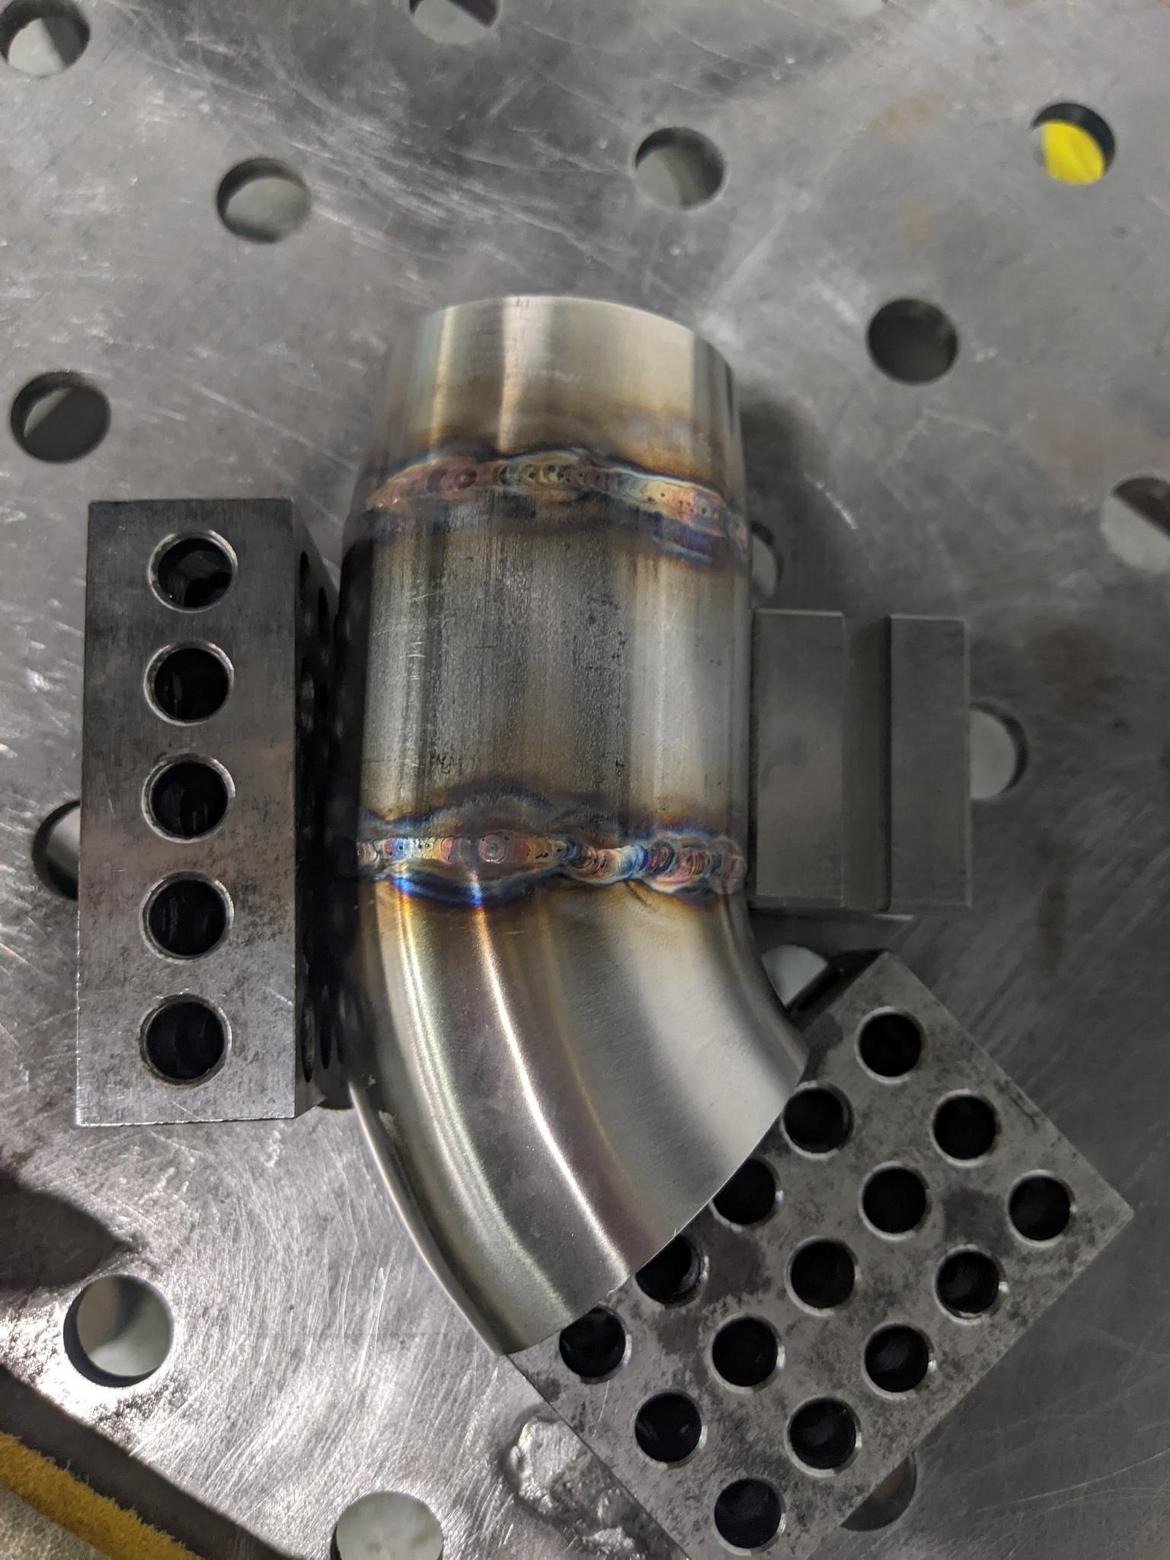
Other joints require specific orienation of the components. To complete these joints, fixtures were designed and printed in resin. These fixtures are precisely located on the table with 16 mm shoulder bolts.
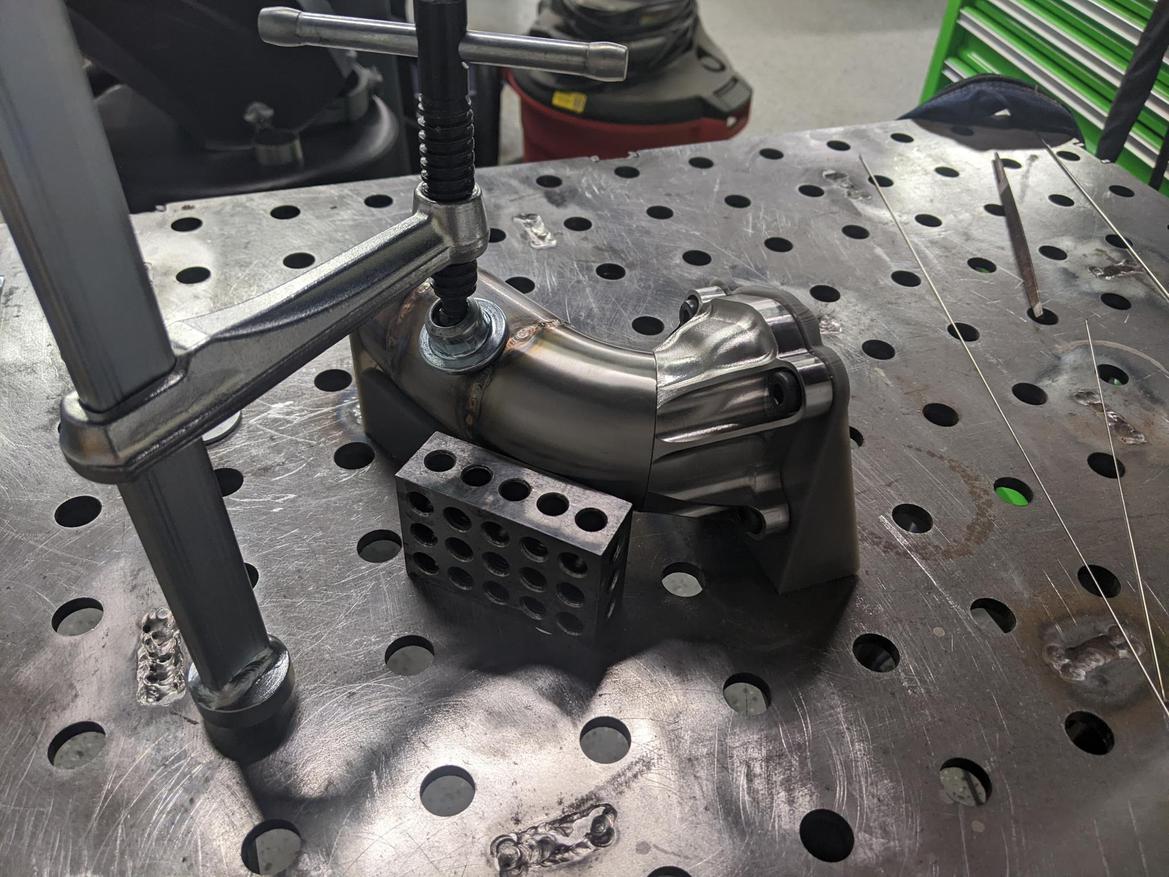
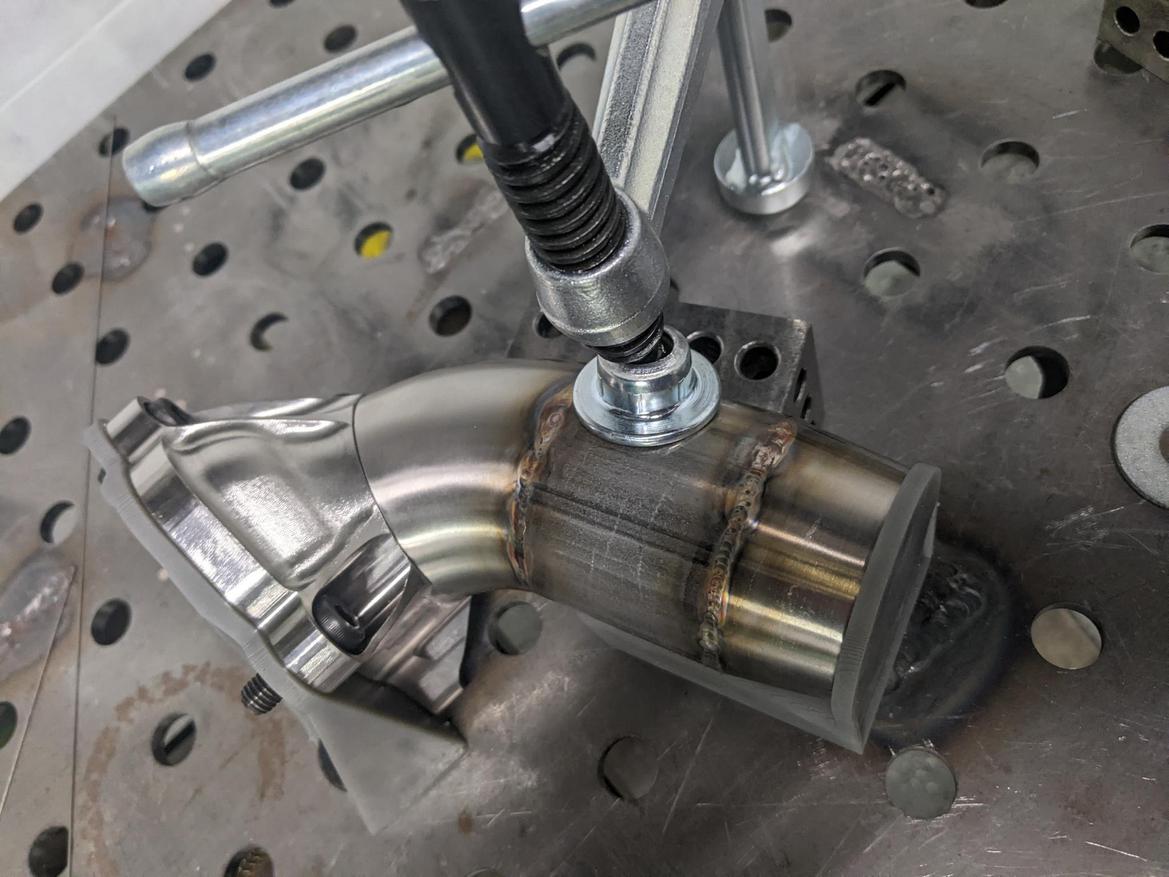
The welding process proceeds in this way, with fixtures providing one joint at a time and joints being fully welded before continuing on to the next joint and fixture.
Closing
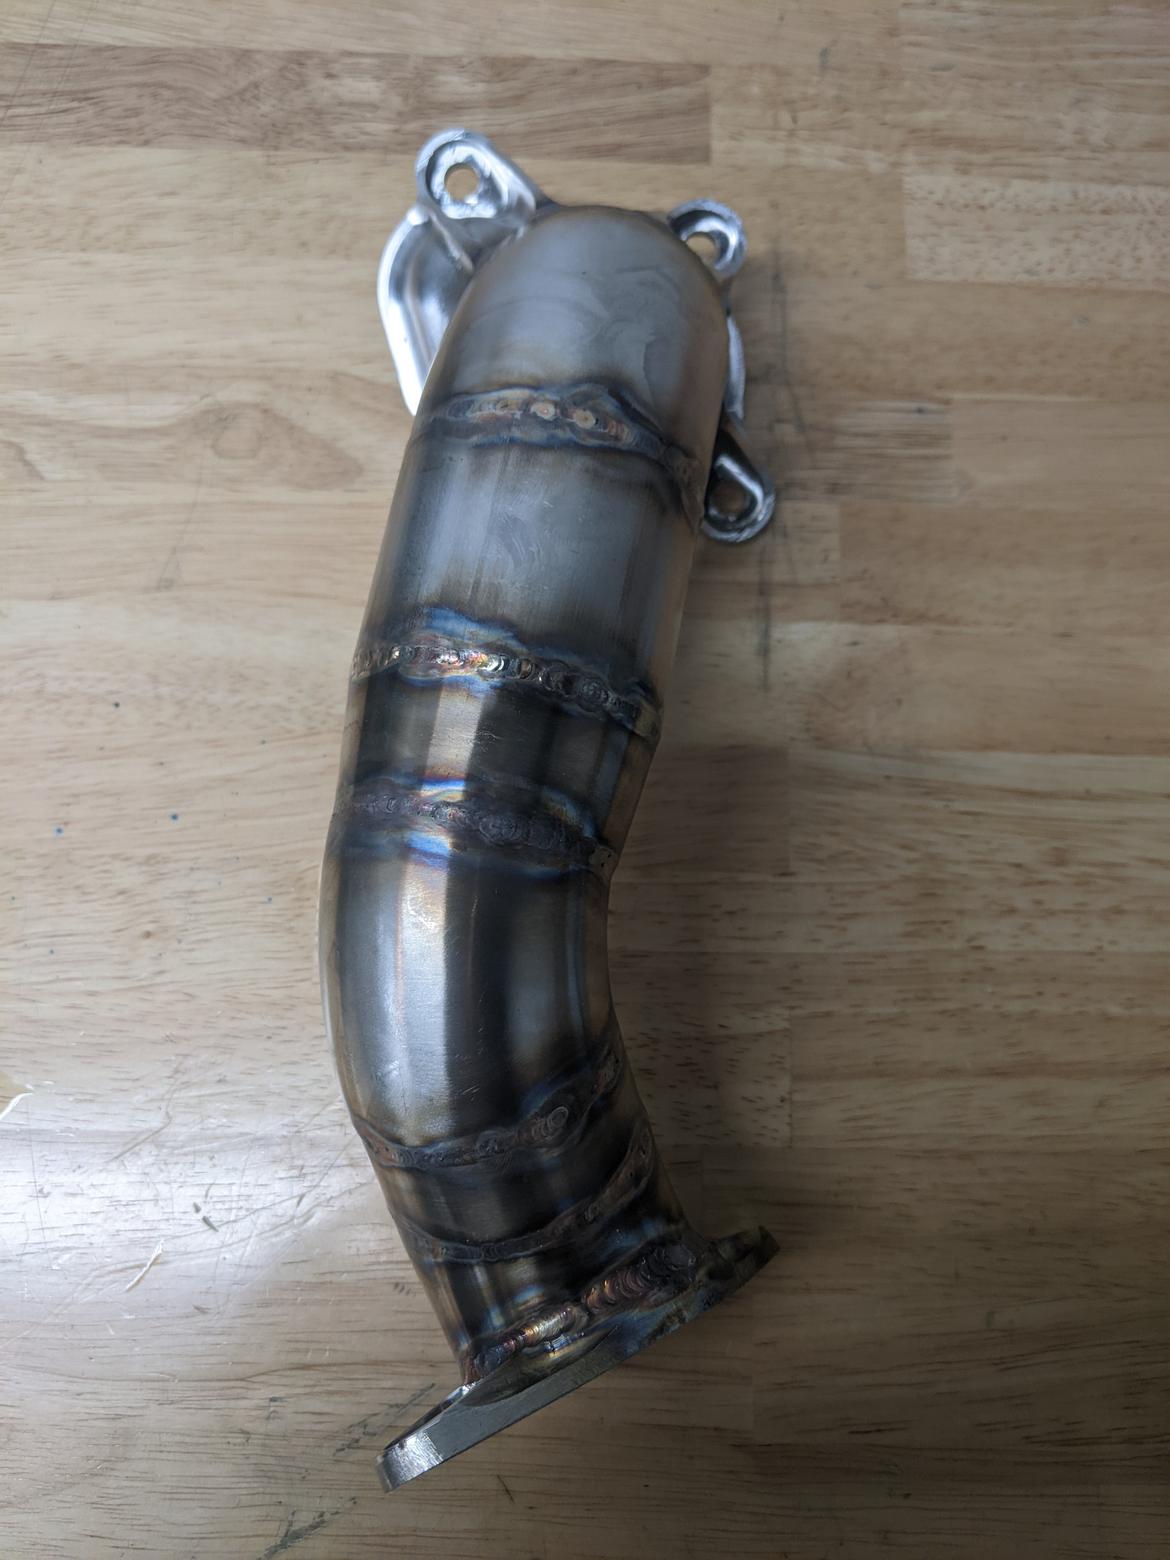
This was my first major welding project, the first time I’d welded stainless steel, the first I’d machined stainless steel in the Tormach, the first time I’d manufactured a custom fixture for the Tormach, and the first custom welding fixtures I designed and manufactured. This project required the procurement of many custom cutting tools and expanded my approach to managing CAD, CAM, and manufacturing designs in Autodesk Fusion 360. It was a very enjoyable project, and has set a high-water mark for projects coming out of my shop.